1. Setup
This section guides you through the initial setup of your NEC VY24G/D-9 laptop.
1.1 Unpacking and Initial Inspection
Carefully remove all components from the packaging. Verify that the following items are present:
- NEC VY24G/D-9 Laptop
- AC Adapter and Power Cord
- Recovery CD
- Any additional software CDs (e.g., WinDVD, Roxio Creator)
Inspect the laptop and accessories for any visible damage. Note that the exterior casing and LCD screen may have minor cosmetic scratches from previous use, which do not affect functionality.
1.2 Connecting the AC Adapter
Before first use, connect the AC adapter to the laptop and a power outlet to charge the battery and provide power.
- Plug the DC output connector of the AC adapter into the power input port on the side of the laptop.
- Connect the power cord to the AC adapter.
- Plug the other end of the power cord into a grounded electrical outlet.
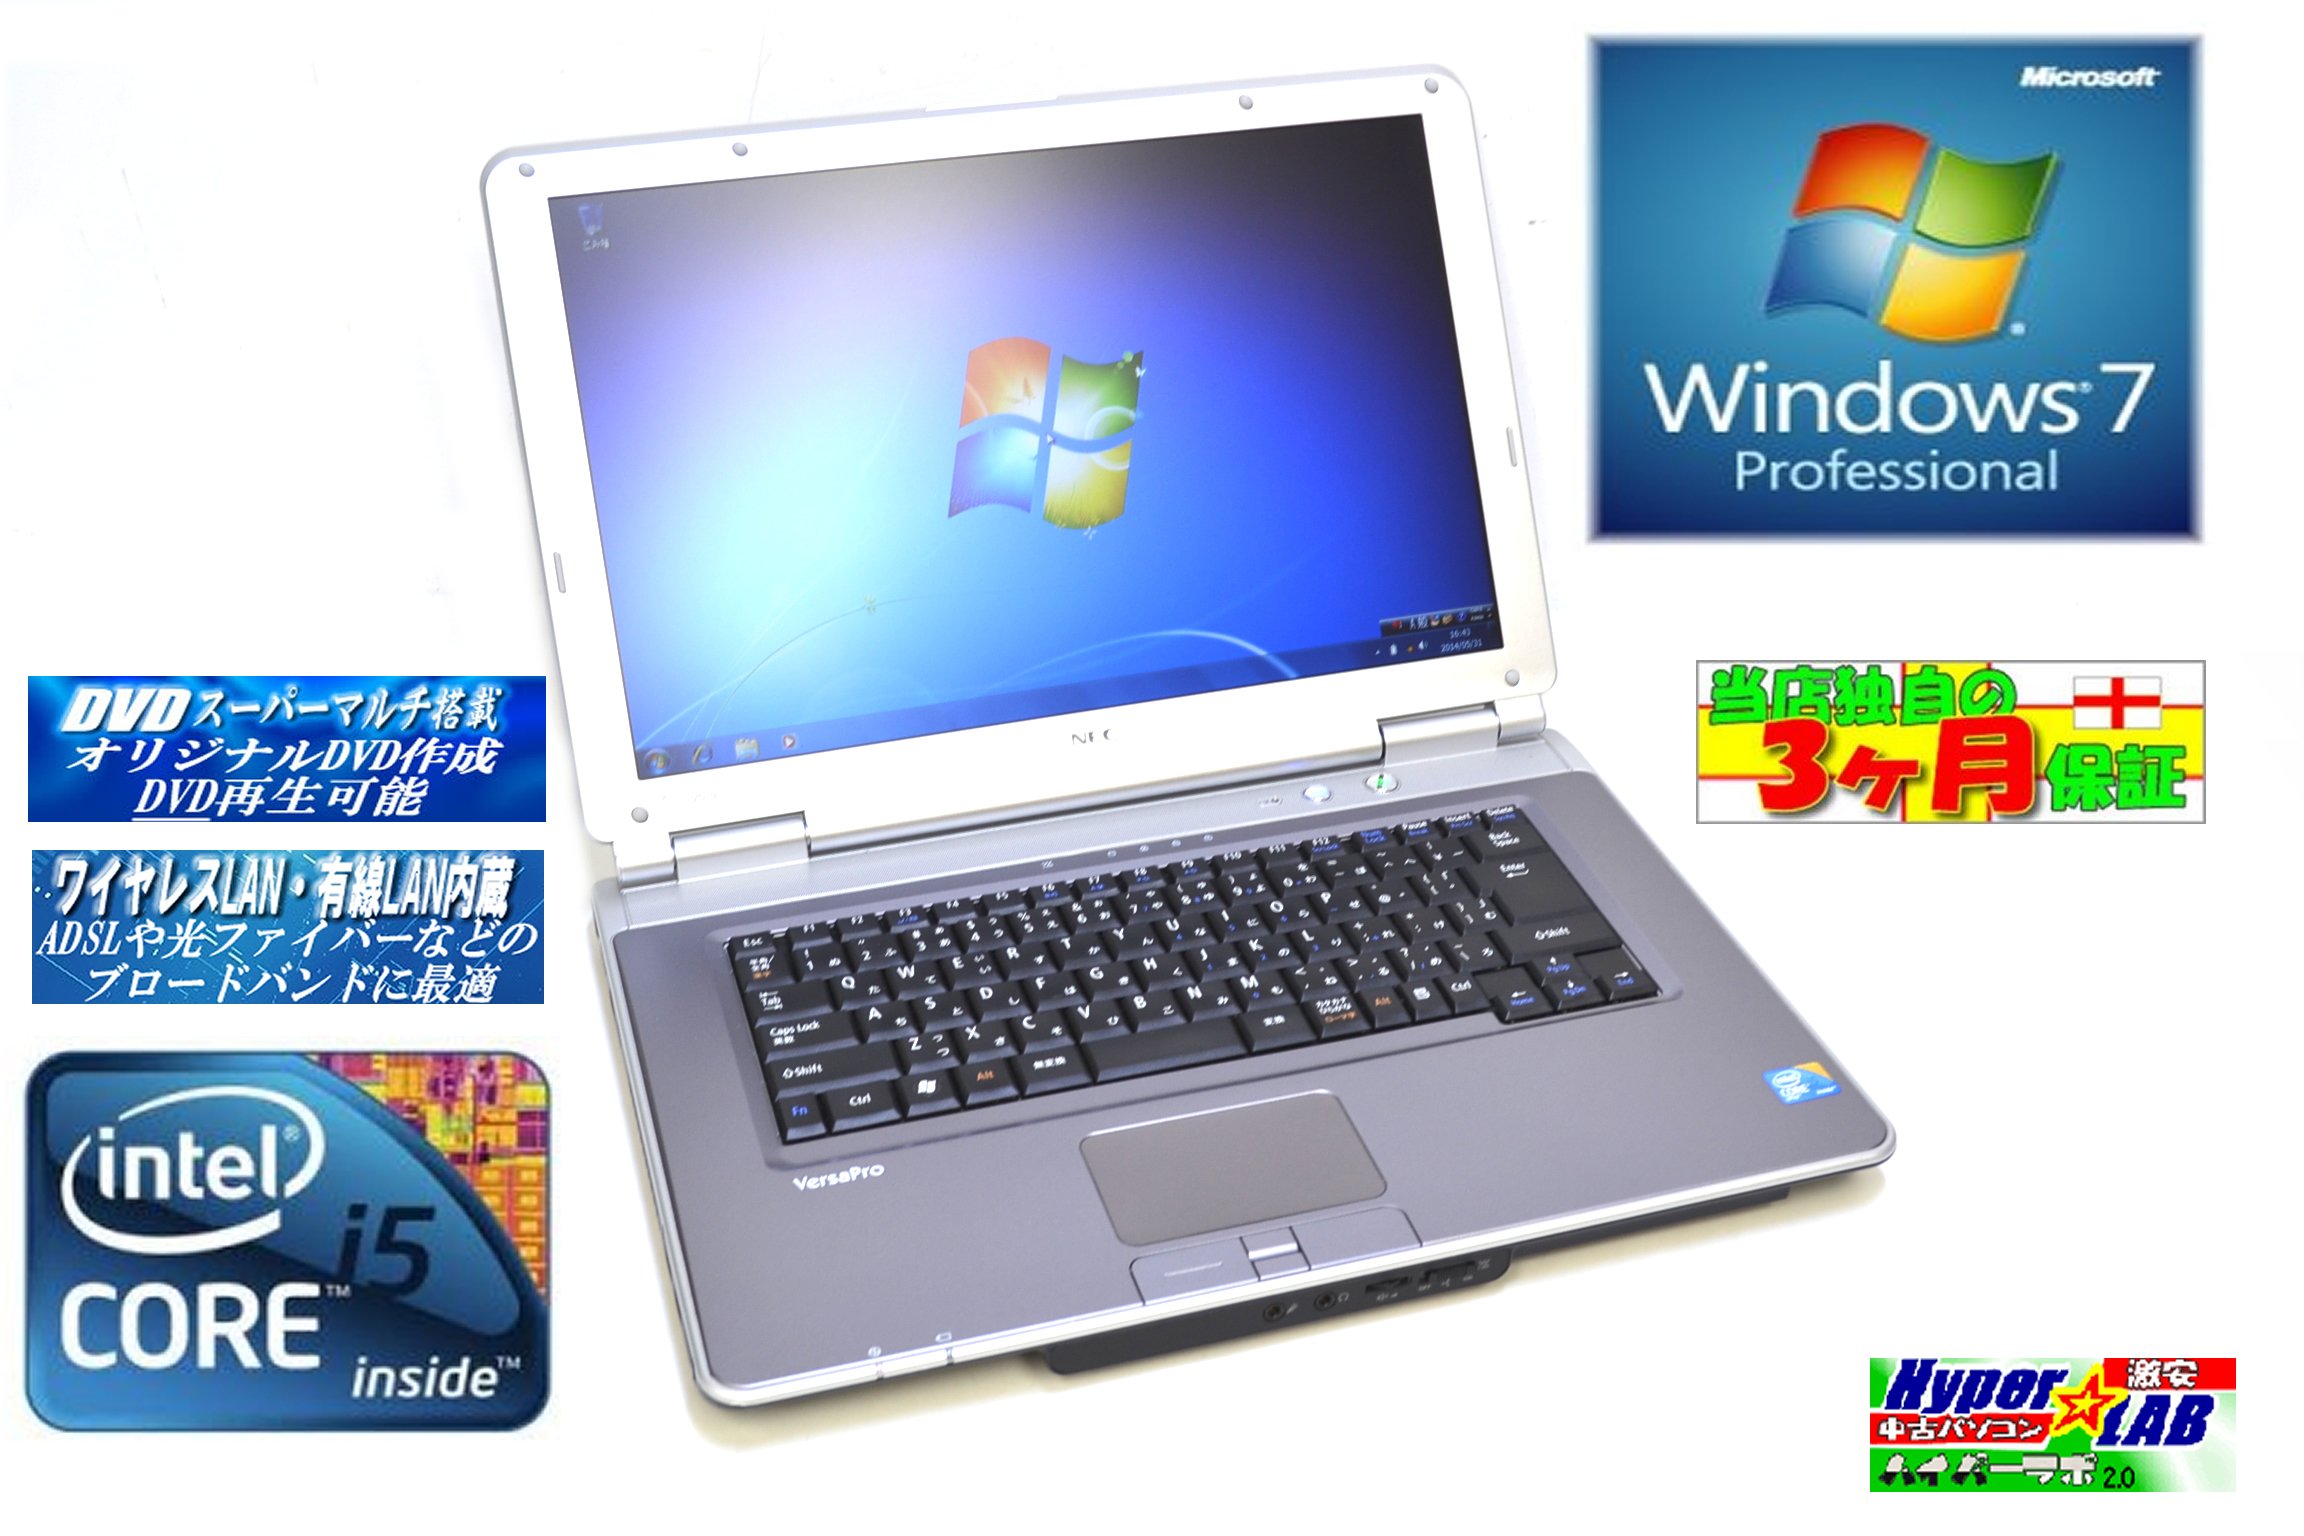
Image 1.1: The NEC VY24G/D-9 laptop shown with its AC adapter and included software/recovery CDs. The laptop is silver with a black base, and the AC adapter is a black rectangular unit with a power cord.
1.3 Initial Power On and Operating System Setup
Press the power button to turn on the laptop. The system comes with Windows 7 Professional 32-bit pre-installed. Follow the on-screen prompts to complete the initial operating system setup, which may include setting up user accounts, time zone, and network connections.
2. Operating Instructions
This section covers the basic operation of your NEC VY24G/D-9 laptop.
2.1 Power On/Off
- To Power On: Press the power button located on the laptop.
- To Shut Down: Click the Start button in Windows, then select "Shut Down."
- To Restart: Click the Start button, then select "Restart."
- To Sleep: Click the Start button, then select "Sleep."
2.2 Using the DVD Multi Drive
The laptop is equipped with a DVD Multi optical drive for reading and writing CDs and DVDs.
- Press the eject button on the optical drive to open the tray.
- Place a CD or DVD onto the tray with the label side facing up.
- Gently push the tray back into the laptop until it clicks shut.
- The operating system will typically detect the disc automatically.
2.3 Connecting to a Network
The laptop supports both wired and wireless network connections.
- Wired LAN: Connect an Ethernet cable to the LAN port on the side of the laptop.
- Wireless LAN (802.11bgn): Use the Windows network settings to connect to available Wi-Fi networks. Ensure the wireless adapter is enabled (check for a physical switch or function key combination if Wi-Fi is not detected).
2.4 Using USB Ports and PC Card Slot
The laptop features multiple USB 2.0 ports and a PC Card slot for connecting external devices.
- USB 2.0 Ports (x5): Connect USB devices such as mice, keyboards, external hard drives, or flash drives.
- PC Card Slot (x1): Insert compatible PC Cards for expanded functionality, such as additional network adapters or storage.

Image 2.1: A side view of the NEC VY24G/D-9 laptop, illustrating the arrangement of its various ports, including USB, LAN, and potentially VGA or serial ports.
3. Maintenance
Proper maintenance ensures the longevity and optimal performance of your laptop.
3.1 Cleaning the Laptop
- Exterior: Use a soft, lint-free cloth slightly dampened with water or a mild cleaning solution. Avoid harsh chemicals.
- Screen: Use a microfiber cloth specifically designed for electronics screens. Do not spray liquid directly onto the screen.
- Keyboard: Use compressed air to remove dust and debris from between the keys.
3.2 Software Updates
Regularly check for and install updates for Windows 7 Professional and any installed applications to ensure security and performance.
3.3 Battery Care
To maximize battery life, avoid extreme temperatures and allow the battery to discharge partially before recharging. If storing the laptop for an extended period, ensure the battery is charged to about 50%.
4. Troubleshooting
This section provides solutions to common issues you might encounter.
4.1 Laptop Does Not Power On
- Ensure the AC adapter is securely connected to both the laptop and a working power outlet.
- Verify that the power outlet is functional by plugging in another device.
- If using battery power, ensure the battery is charged.
4.2 No Display on Screen
- Check if the laptop is powered on.
- Adjust the screen brightness using the function keys (Fn + brightness keys).
- Connect an external monitor to determine if the issue is with the laptop's internal display.
4.3 Network Connectivity Issues
- Wired: Ensure the Ethernet cable is properly connected and the network router/modem is working.
- Wireless: Verify that Wi-Fi is enabled and you are connecting to the correct network with the correct password. Restart your router/modem.
4.4 System Recovery
If the operating system becomes unstable or corrupted, you can use the provided Recovery CD to restore the system to its factory settings. Refer to the instructions included with the Recovery CD for detailed steps.
5. Specifications
Detailed technical specifications for the NEC VY24G/D-9 laptop.
| Feature | Specification |
|---|---|
| Brand | NEC |
| Model Name | VY24G/D-9 (VersaPro VY24G/D-9) |
| Screen Size | 15.4 inches |
| Resolution | 1280 x 800 |
| CPU Brand | Intel |
| CPU Type | Core i5 (520M) |
| CPU Speed | 2.4 GHz |
| Processor Count | 1 |
| RAM Size | 2 GB |
| HDD Capacity | 160 GB |
| HDD Interface | Serial ATA |
| Optical Drive | DVD Multi |
| Wireless Type | 802.11bgn |
| Wired LAN | Yes |
| USB Ports | USB 2.0 x 5 |
| PC Card Slot | x 1 |
| Operating System | Windows 7 Professional (32-bit) |
| Hardware Platform | PC |
6. Warranty & Support
This section provides information regarding the product warranty and how to obtain support.
6.1 Product Warranty
This NEC VY24G/D-9 laptop comes with a 3-month warranty from the date of purchase. This warranty covers manufacturing defects and hardware malfunctions under normal use. It does not cover damage caused by misuse, accidents, unauthorized modifications, or normal wear and tear.
6.2 Technical Support
For technical assistance or warranty claims, please contact your retailer or the authorized NEC service center. Have your purchase receipt and the laptop's serial number ready when contacting support.


