
Introduction
This manual provides essential information for the safe installation, operation, and maintenance of your HJM CF-42 Ceiling Fan with Light. Please read these instructions thoroughly before installation and keep them for future reference. This ceiling fan is designed to provide air circulation and illumination for indoor spaces, particularly bedrooms.
Safety Information
WARNING: To reduce the risk of fire, electric shock, or personal injury, always follow these basic precautions:
- Ensure the power is turned off at the circuit breaker before installation or servicing.
- All electrical connections must be made in accordance with local codes, ordinances, or national electrical codes. If you are unfamiliar with wiring, consult a qualified electrician.
- The mounting structure must be capable of supporting the weight of the fan (approximately 4.5 kg) plus the dynamic load of the fan in operation.
- Do not operate the fan with a damaged power cord or plug.
- Avoid placing objects in the path of the fan blades.
- This appliance is not intended for use by persons (including children) with reduced physical, sensory or mental capabilities, or lack of experience and knowledge, unless they have been given supervision or instruction concerning use of the appliance by a person responsible for their safety.
Setup and Installation
The HJM CF-42 Ceiling Fan is designed for downrod mounting. Professional installation is recommended for safety and optimal performance.
Required Tools (Not Included):
- Screwdrivers (Phillips and Flathead)
- Wire strippers
- Adjustable wrench
- Ladder
Installation Steps:
- Turn Off Power: Locate the circuit breaker for the fan location and turn off the power.
- Mounting Bracket Installation: Securely attach the mounting bracket to the ceiling joist or a fan-rated outlet box. Ensure it can support the fan's weight.
- Downrod Assembly: Insert the downrod through the canopy and connect it to the fan motor housing.
- Hang the Fan: Carefully lift the fan assembly and hang it from the mounting bracket.
- Electrical Connections: Connect the fan's electrical wires to the household wiring according to the wiring diagram provided in the packaging. Ensure all connections are secure and insulated.
- Attach Blades: Securely attach the four fan blades to the motor housing using the provided screws.
- Install Light Kit: Connect and install the light kit to the fan motor housing. Install appropriate light bulbs (not included).
- Canopy Installation: Slide the canopy up and secure it to the mounting bracket, covering the wiring.
- Restore Power: Turn the power back on at the circuit breaker.
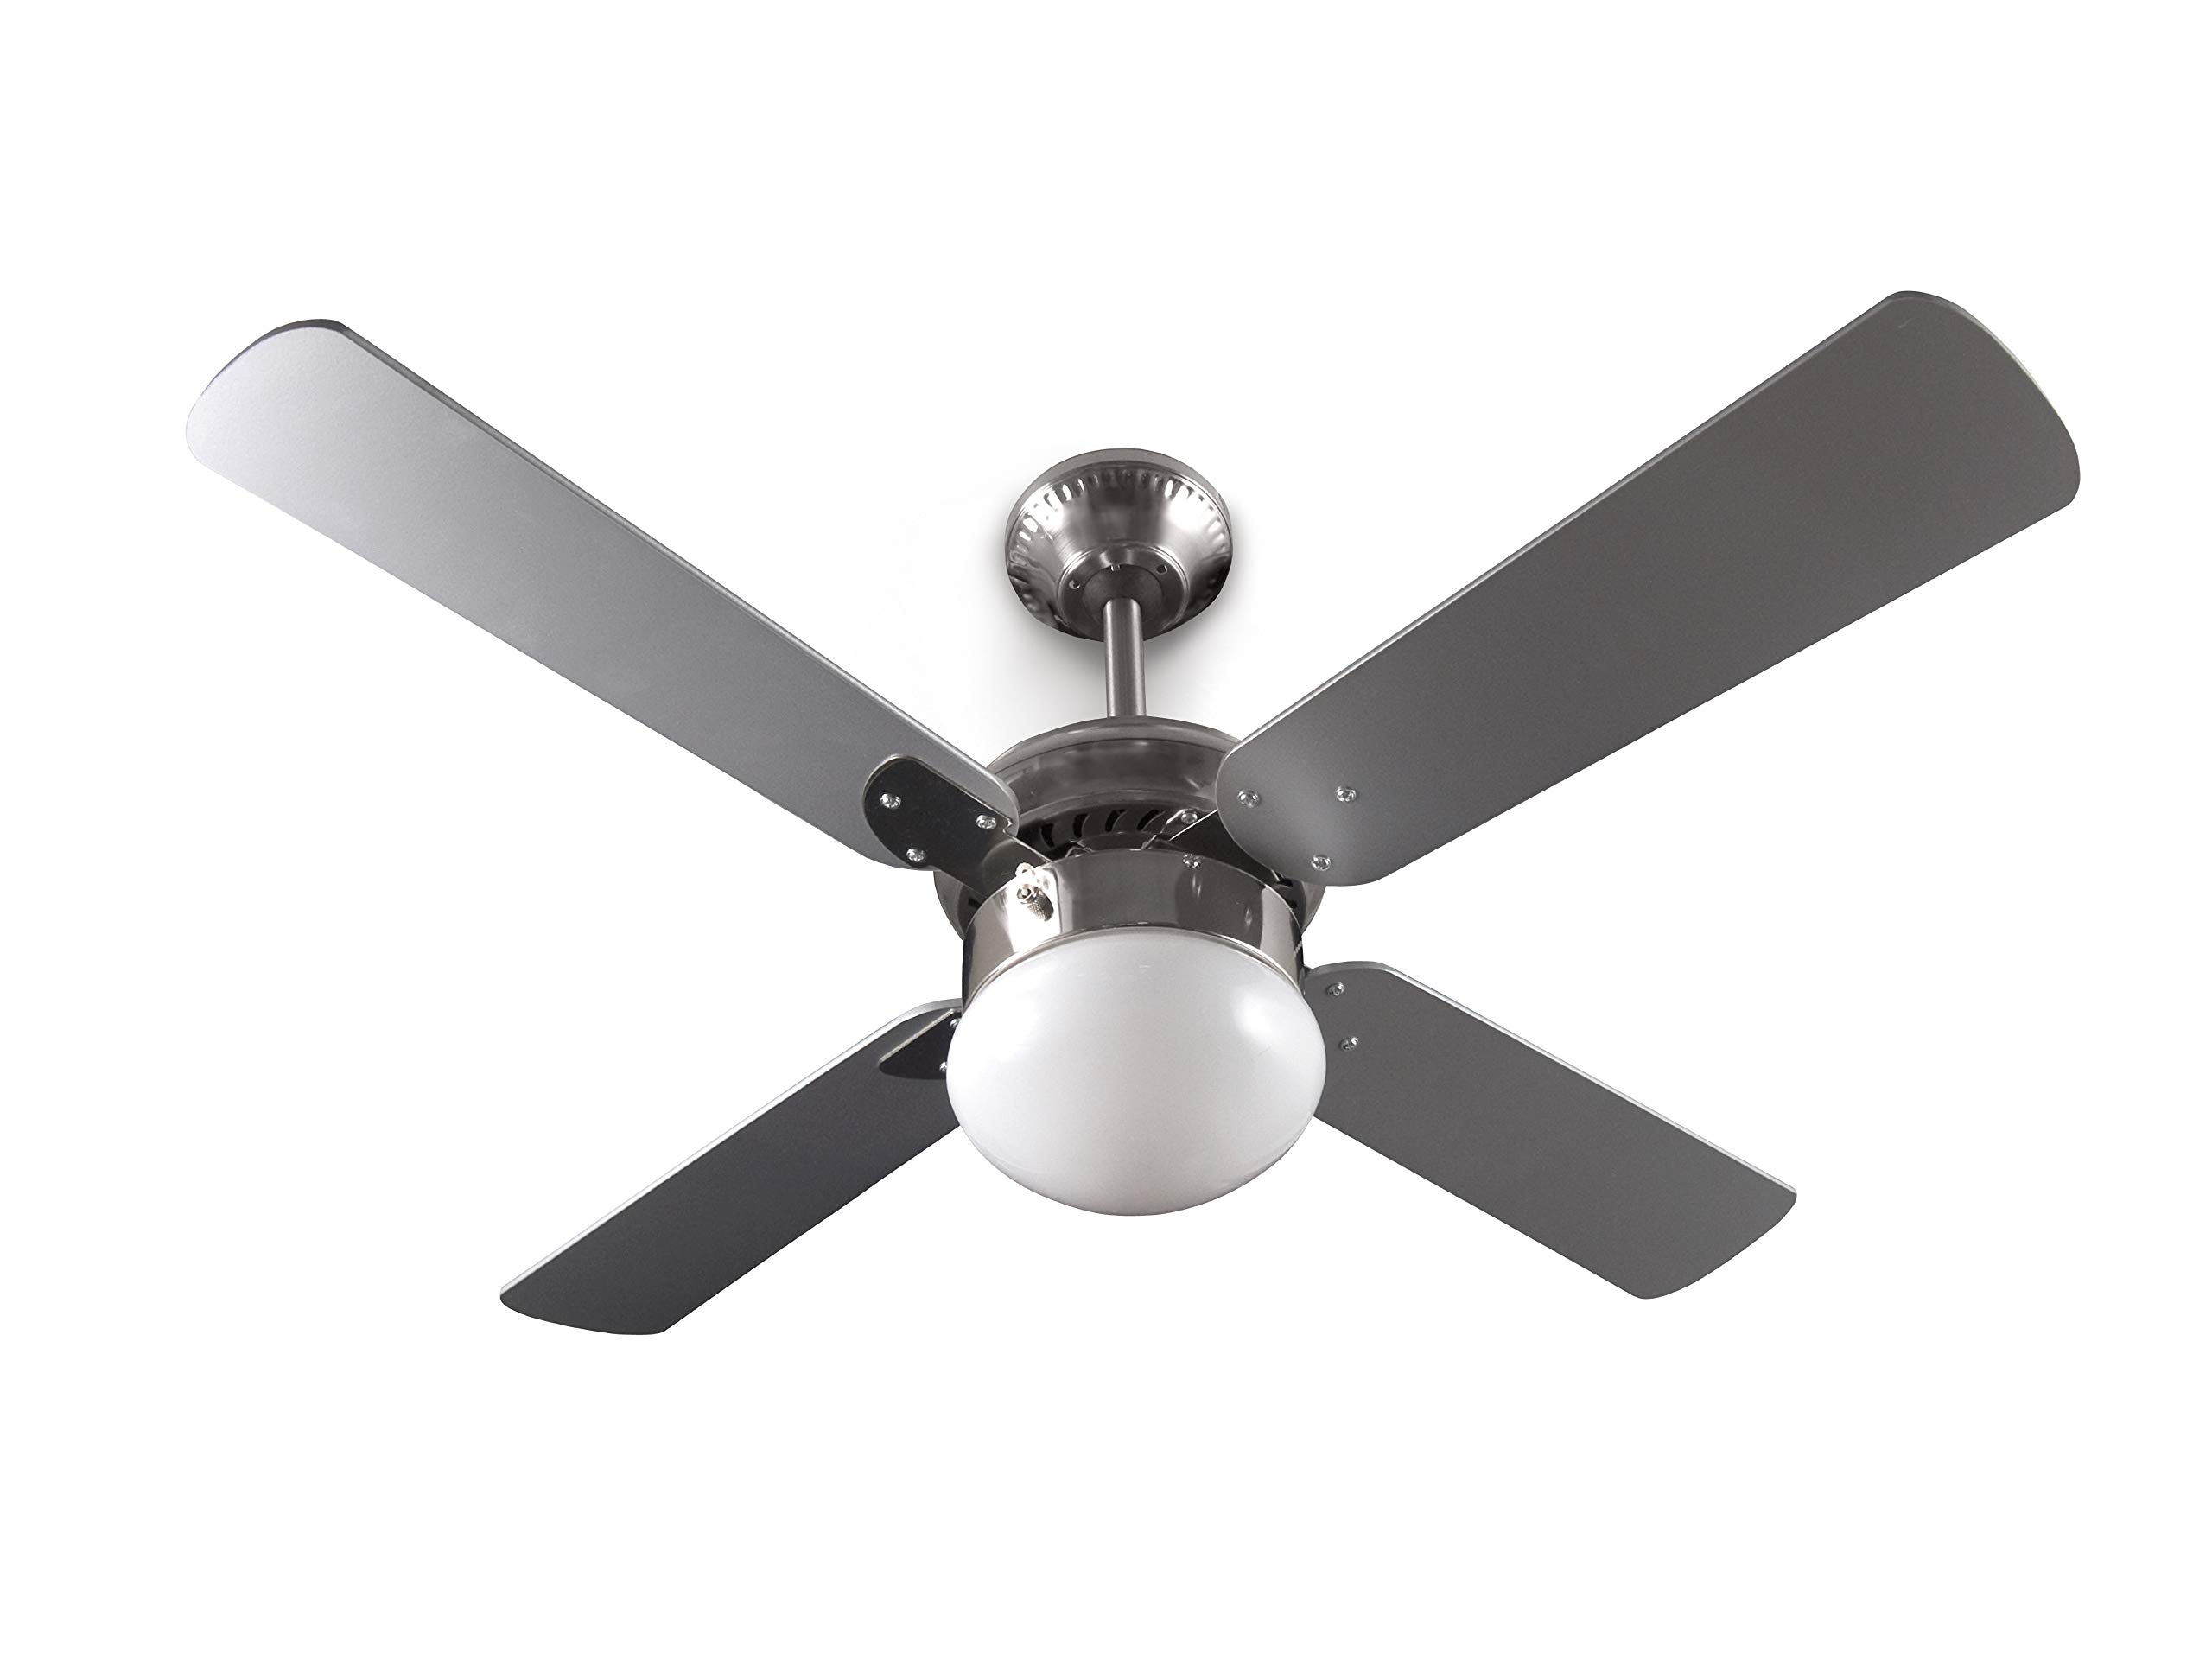
Image: The HJM CF-42 Ceiling Fan with Light, featuring four blades and an integrated light fixture, installed in a room. This image illustrates the fan's appearance and typical mounting.
Operating Instructions
Your HJM CF-42 Ceiling Fan with Light is controlled via a pull chain or a compatible wall control (if installed separately).
Fan Speed Control:
The fan features 3 ventilation speeds. Pull the fan control chain repeatedly to cycle through the speeds:
- Pull 1: High Speed
- Pull 2: Medium Speed
- Pull 3: Low Speed
- Pull 4: Off
Light Operation:
The integrated light is controlled by a separate pull chain. Pull the light chain to turn the light ON or OFF.
Reverse Function (Winter Mode):
The fan includes a reverse function to optimize air circulation for different seasons. A switch, typically located on the fan motor housing, controls this function.
- Summer Mode (Downward Airflow): Blades rotate counter-clockwise, creating a downward breeze for cooling.
- Winter Mode (Upward Airflow): Blades rotate clockwise, drawing cool air up and pushing warm air down from the ceiling, reducing warm air stratification and potentially lowering heating costs. To activate, ensure the fan is off, then slide the reverse switch to the desired position. Turn the fan back on.
Maintenance
Regular maintenance ensures the longevity and optimal performance of your ceiling fan.
- Cleaning: Dust the fan blades and motor housing periodically with a soft, damp cloth. Do not use abrasive cleaners or solvents, as they may damage the finish.
- Blade Care: Check the blade screws periodically to ensure they are tight. Loose blades can cause wobbling and noise.
- Light Bulb Replacement: Before replacing light bulbs, ensure the power to the fan is turned off. Allow bulbs to cool completely. Replace with bulbs of the same type and wattage as specified in the fan's light kit instructions.
- Lubrication: The fan motor is permanently lubricated and does not require additional oiling.
Troubleshooting
If you experience issues with your HJM CF-42 Ceiling Fan, refer to the following common problems and solutions:
| Problem | Possible Cause | Solution |
|---|---|---|
| Fan does not start | No power to the fan; Loose wire connections; Motor malfunction. | Check circuit breaker; Verify all wire connections are secure; Contact customer support if motor is faulty. |
| Light does not work | Light bulb faulty; Loose wire connection in light kit; No power to light kit. | Replace light bulb; Check light kit wiring; Ensure power is on. |
| Fan wobbles | Loose blades or blade holders; Unbalanced blades; Loose mounting bracket. | Tighten all blade screws; Ensure blades are balanced (balancing kit may be needed); Secure mounting bracket. |
| Noisy operation | Loose screws; Motor bearings; Blades hitting an obstruction. | Check and tighten all screws; Ensure no obstructions; Contact customer support if motor noise persists. |
Specifications
| Feature | Detail |
|---|---|
| Brand | HJM |
| Model Name | CF-42 |
| Design | Ceiling Fan with Light |
| Color | Grey |
| Blade Span | 105 cm |
| Number of Blades | 4 |
| Number of Speeds | 3 |
| Power Source | Electric |
| Wattage | 50 Watts |
| Mounting Type | Downrod Mounting |
| Material | Metal |
| Item Weight | 4.5 Kilograms |
| Recommended Room Type | Bedroom |
| Recommended Use | Ventilating |
| ASIN | B00KHQMA8W |
| Part Number | 22096042 |
| GTIN | 08425120091189 |
Warranty and Support
For warranty information or technical support, please refer to the documentation included with your product or contact HJM customer service directly. Keep your purchase receipt as proof of purchase.


