1. Introduction
Thank you for choosing the Bauknecht MW 80 SL Microwave Oven. This manual provides essential information for the safe and efficient operation, maintenance, and troubleshooting of your appliance. Please read it thoroughly before first use and keep it for future reference.
The Bauknecht MW 80 SL is a versatile 30-liter microwave oven featuring a powerful 2100W output, digital controls, and multiple cooking functions including Microwave, Grill, Crisp, Forced Air (convection), and Steam. Its sleek silver design integrates well into any modern kitchen.
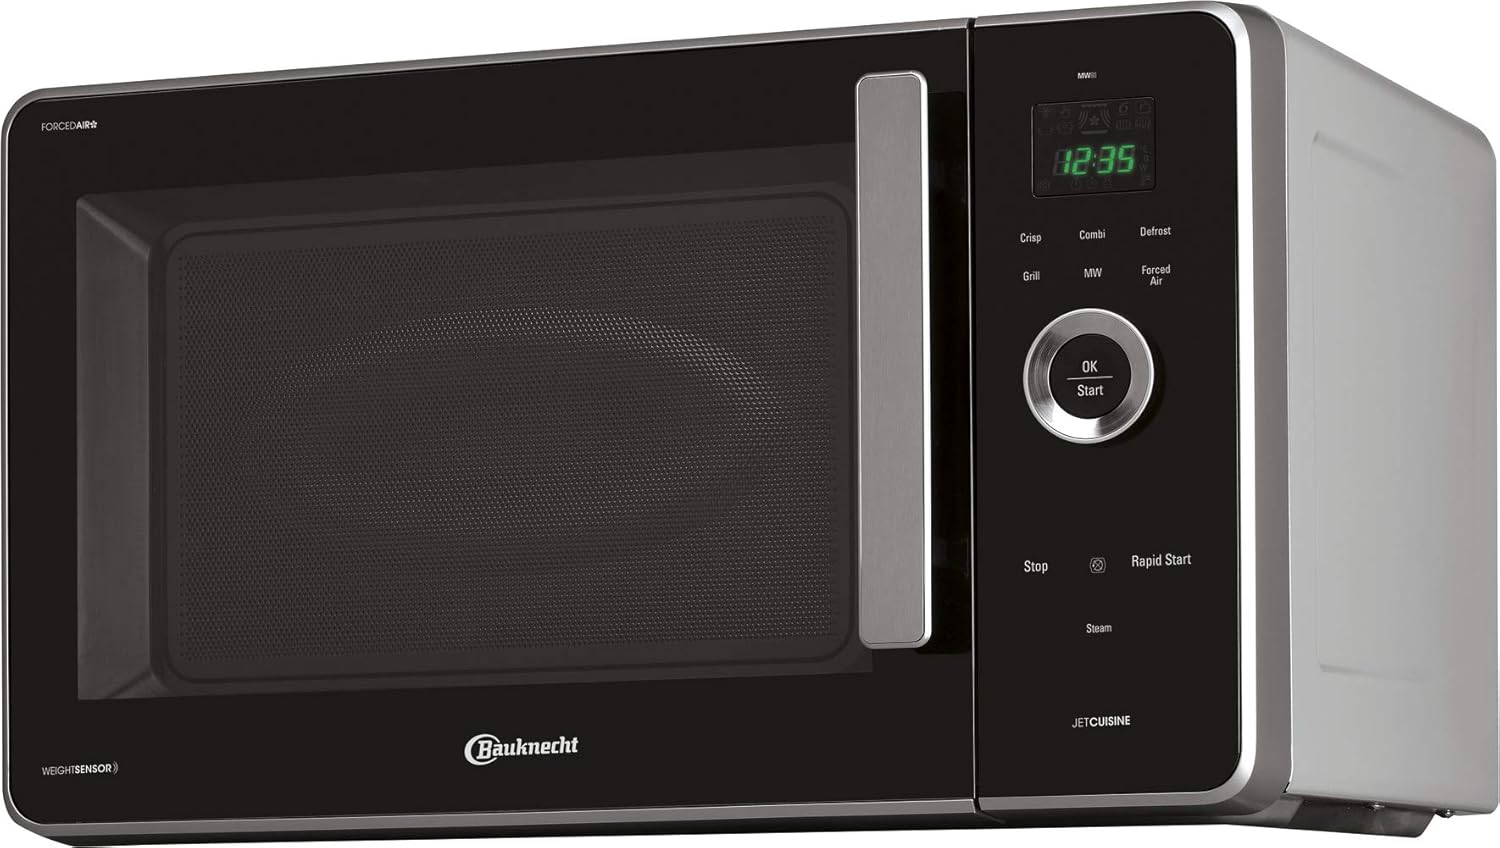
Image 1.1: Front view of the Bauknecht MW 80 SL Microwave Oven, showcasing its silver finish and black door.
2. Safety Instructions
Always follow basic safety precautions when using electrical appliances to reduce the risk of fire, electric shock, injury to persons, or exposure to excessive microwave energy.
General Safety
- Read all instructions before using the appliance.
- Ensure the voltage indicated on the rating plate matches your mains voltage.
- Do not operate the oven if the cord or plug is damaged, if it is not working properly, or if it has been damaged or dropped.
- Do not immerse the cord or plug in water. Keep the cord away from heated surfaces.
- Do not allow the cord to hang over the edge of a table or counter.
- Only use utensils suitable for microwave ovens.
- Do not heat liquids or other foods in sealed containers as they are liable to explode.
- The appliance is not intended for use by persons (including children) with reduced physical, sensory or mental capabilities, or lack of experience and knowledge, unless they have been given supervision or instruction.
Microwave Specific Safety
- Do not attempt to operate this oven with the door open as this can result in harmful exposure to microwave energy.
- Do not place any object between the oven front face and the door or allow soil or cleaner residue to accumulate on sealing surfaces.
- Do not operate the oven if it is damaged. It is particularly important that the oven door closes properly and that there is no damage to the: (1) door (bent), (2) hinges and latches (broken or loosened), (3) door seals and sealing surfaces.
- Only qualified service personnel should adjust or repair the oven.
- Overheating liquids: Be careful when heating liquids in the microwave oven, as boiling can occur without visible bubbling. Always stir liquids before and halfway through heating.
- Eggs in their shell and whole hard-boiled eggs should not be heated in microwave ovens as they may explode, even after microwave heating has ended.
3. Setup and Installation
Unpacking
- Remove all packaging materials from inside and outside the oven.
- Check the oven for any damage, such as a misaligned or bent door, damaged door seals and sealing surface, broken or loose door hinges and latches, or dents inside the cavity or on the door. If any damage is present, do not operate the oven and contact your dealer or authorized service personnel.
Placement
- Place the oven on a flat, stable surface that can support its weight and the heaviest food likely to be cooked in the oven.
- Ensure there is adequate ventilation. Allow a minimum of 20 cm (8 inches) of space above the oven, 10 cm (4 inches) at the rear, and 5 cm (2 inches) on both sides for proper airflow. Do not block any ventilation openings.
- Do not place the oven near heat sources such as a conventional oven or radiator.
- The dimensions of the appliance are approximately 52.5 cm (width) x 54.8 cm (depth) x 33.3 cm (height).
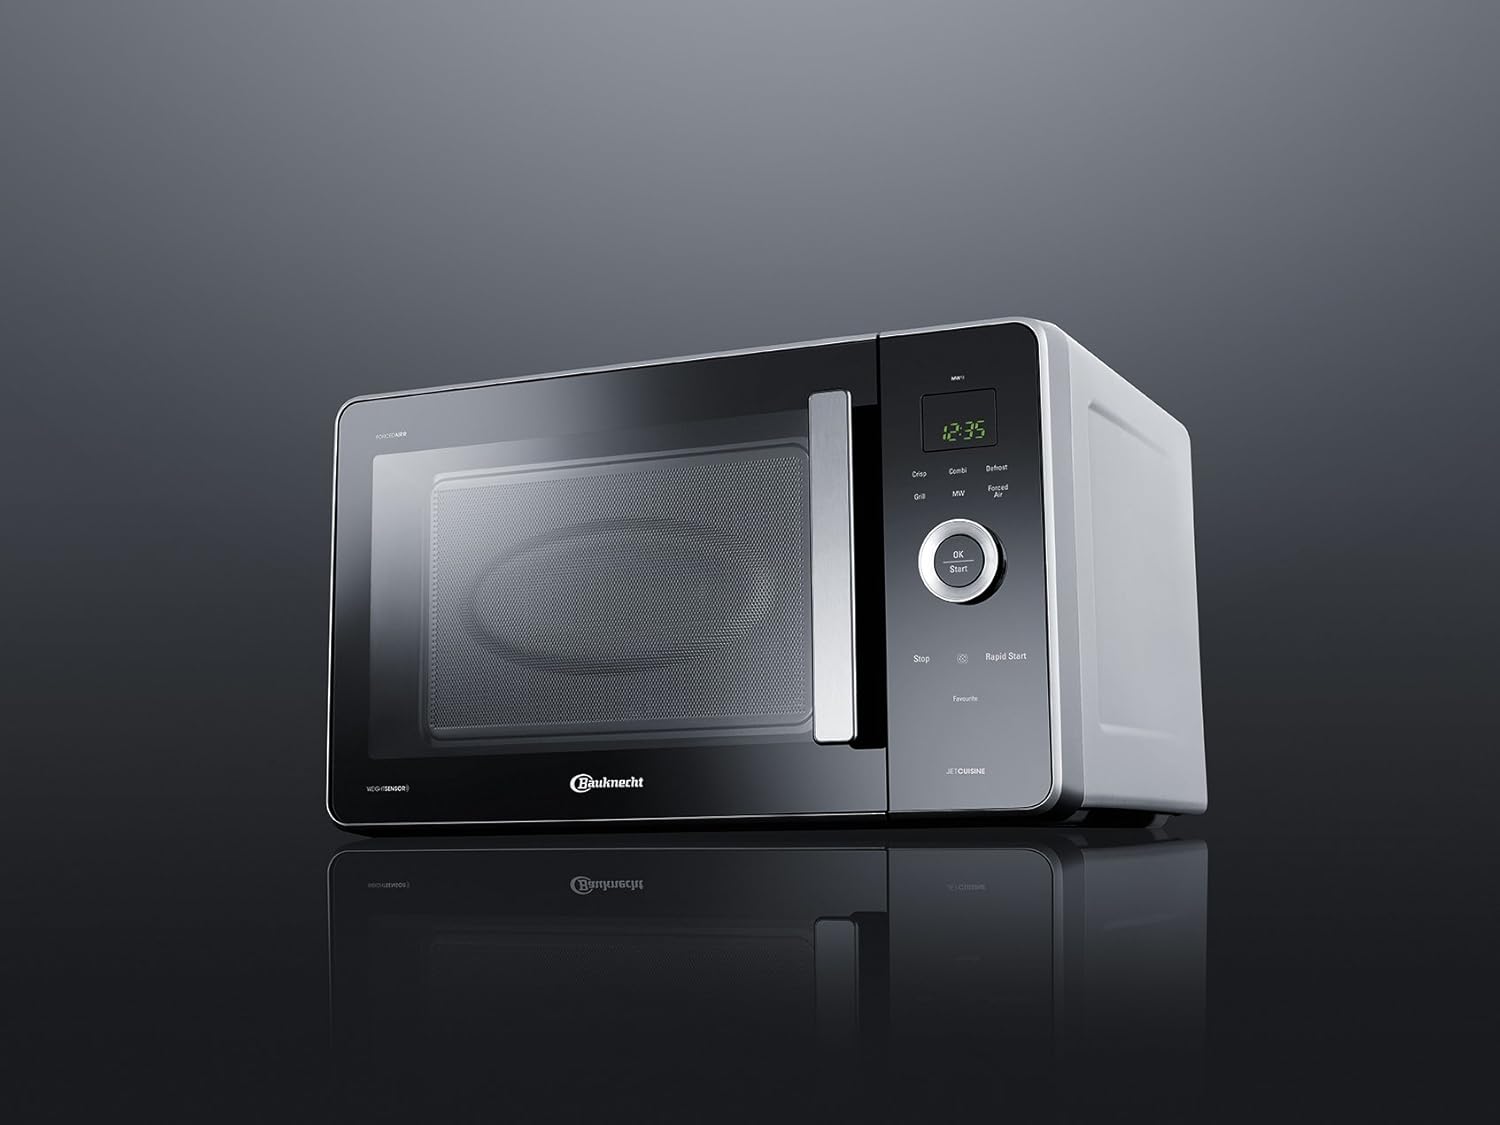
Image 3.1: Angled view of the microwave oven, illustrating its compact design suitable for countertop placement.
Electrical Connection
- Plug the oven into a properly installed and grounded wall outlet. Do not use an extension cord or adapter.
- Ensure the electrical circuit is adequately rated for the oven's power consumption (2100W).
4. Operating Instructions
Control Panel Overview
The control panel features a digital display, a central control knob, and various function buttons for easy operation.

Image 4.1: Detailed view of the digital control panel, showing the display, control knob, and function buttons.
- Digital Display: Shows time, cooking settings, and indicators.
- Control Knob: Used to adjust time, weight, or select menu options.
- OK/Start Button: Confirms selections and starts cooking.
- Stop Button: Stops cooking or clears settings.
- Function Buttons: Crisp, Combi, Defrost, Grill, MW (Microwave), Forced Air, Rapid Start, Steam, Favourite.
Setting the Clock
- When the oven is first plugged in, "12:00" will flash on the display.
- Rotate the control knob to set the hour. Press OK/Start.
- Rotate the control knob to set the minutes. Press OK/Start to confirm.
Microwave Cooking
- Place food in a microwave-safe container on the turntable.
- Press the MW button repeatedly to select the desired power level (e.g., 900W, 750W, 500W, 350W, 160W).
- Rotate the control knob to set the cooking time.
- Press OK/Start to begin cooking.
Grill Function
Ideal for browning and toasting. Use the grill rack provided.
- Place food on the grill rack.
- Press the Grill button.
- Rotate the control knob to set the grilling time.
- Press OK/Start to begin.
Crisp Function
The Crisp function, combined with the special Crisp plate, allows for crispy results similar to conventional frying or baking, but with less fat. It is suitable for pizzas, quiches, and fried foods.

Image 4.2: Food being prepared on the Crisp plate, demonstrating its use for achieving crispy textures.
- Place the Crisp plate on the turntable. Preheat the Crisp plate if specified in the recipe.
- Place food directly onto the preheated Crisp plate.
- Press the Crisp button.
- Rotate the control knob to set the cooking time.
- Press OK/Start to begin.
Forced Air (Convection) Function
This function circulates hot air, similar to a conventional oven, for baking and roasting. Use heat-resistant dishes.
- Place food in a suitable baking dish on the turntable or grill rack.
- Press the Forced Air button.
- Rotate the control knob to set the desired temperature (e.g., 150°C - 225°C). Press OK/Start.
- Rotate the control knob to set the cooking time. Press OK/Start to begin.
Combi Functions (Microwave + Grill / Forced Air)
Combine microwave power with grill or forced air for faster cooking and browning.
- Place food in a suitable dish.
- Press the Combi button repeatedly to select the desired combination mode (e.g., MW+Grill, MW+Forced Air).
- Rotate the control knob to set the cooking time.
- Press OK/Start to begin.
Defrost Function
Defrost food by weight or time.
- Place frozen food in a microwave-safe dish.
- Press the Defrost button.
- Rotate the control knob to select defrost by weight or time.
- Adjust weight/time using the control knob.
- Press OK/Start to begin.
Steam Function
Use the dedicated steam accessory for healthy steaming of vegetables, fish, and other foods.

Image 4.3: Asparagus placed in the steam accessory, ready for cooking.

Image 4.4: The steam accessory opened, showing internal basket and water level markings for different foods.
- Fill the bottom part of the steam accessory with water according to the food type and quantity (refer to markings on the accessory).
- Place food in the steaming basket.
- Cover with the lid and place the accessory on the turntable in the oven.
- Press the Steam button.
- Rotate the control knob to set the steaming time.
- Press OK/Start to begin.
Rapid Start
For quick heating at full microwave power. Each press of the Rapid Start button adds a set amount of cooking time (e.g., 30 seconds or 1 minute).
- Place food in a microwave-safe container.
- Press the Rapid Start button repeatedly for the desired cooking time. The oven will start immediately.
5. Maintenance and Cleaning
Regular cleaning helps maintain the performance and longevity of your microwave oven.
Cleaning the Interior
- Always unplug the oven before cleaning.
- Clean the oven cavity after every use with a damp cloth and mild detergent. For stubborn stains, place a cup of water with lemon juice in the oven and heat for 2-3 minutes to loosen residue.
- Do not use abrasive cleaners, steel wool, or harsh chemicals, as these can damage the interior surfaces.
- Clean the door seals, hinges, and latches regularly to ensure proper door closure.
Cleaning the Exterior
- Wipe the exterior surfaces with a soft, damp cloth.
- Avoid getting water into the ventilation openings.
- Clean the control panel with a soft, damp cloth. Do not use excessive water or spray cleaners directly onto the panel.
Cleaning Accessories
- The glass turntable can be removed and washed in warm soapy water or in a dishwasher.
- The grill rack, crisp plate, and steam accessory should be washed in warm soapy water. Ensure they are completely dry before reuse.
6. Troubleshooting
If you encounter problems with your microwave oven, consult the following table before contacting service.
| Problem | Possible Cause | Solution |
|---|---|---|
| Oven will not start. | Power cord not plugged in. Door not closed properly. Fuse blown or circuit breaker tripped. | Plug into outlet. Close door securely. Replace fuse or reset circuit breaker. |
| Food not cooking. | Cooking time or power level not set. Door not closed. | Set cooking time and power level. Close door securely. |
| Sparking inside the oven. | Metal or foil in the oven. Utensils not microwave-safe. | Remove any metal objects. Use only microwave-safe dishes. |
| Turntable not rotating. | Turntable not properly placed. Debris under turntable. | Ensure turntable is correctly seated on the support. Clean under the turntable. |
| Unusual noise during operation. | Normal operation noise (fan, turntable motor). Loose accessories. | This may be normal. Ensure all accessories are correctly placed. If noise is excessive or unusual, contact service. |
7. Specifications
| Model Number | MW 80 SL |
| Brand | Bauknecht |
| Capacity | 30 Liters |
| Power Output (Microwave) | Up to 900W (variable) |
| Total Power Consumption | 2100W |
| Forced Air Temperature Range | Up to 225°C |
| Dimensions (W x D x H) | 52.5 x 54.8 x 33.3 cm |
| Weight | 21.2 kg |
| Color | Silver |
| Control Type | Digital, Knob and Buttons |
| Special Features | Crisp Function, Grill Function, Forced Air (Convection), Steam Function, Digital Control |
8. Warranty and Support
Warranty Information
Your Bauknecht MW 80 SL Microwave Oven is covered by a manufacturer's warranty. The specific terms and duration of the warranty may vary based on your region and point of purchase. Please refer to the warranty card included with your product or consult your retailer for detailed information regarding warranty coverage, conditions, and claims procedures.
Keep your proof of purchase (receipt or invoice) as it will be required for any warranty claims.
Customer Support
For technical assistance, spare parts, or service requests, please contact Bauknecht customer support. You can typically find contact details (phone numbers, email, or website) on the Bauknecht official website or in the documentation provided with your appliance.
When contacting support, please have your model number (MW 80 SL) and serial number (if applicable) ready to expedite the process.


