
1. Introduction
This manual provides detailed instructions for the assembly, operation, and maintenance of your Simon Rack BT-6 Metal Workbench. Please read this manual thoroughly before beginning assembly or use to ensure safe and efficient operation. Keep this manual for future reference.

Image 1.1: The Simon Rack BT-6 Metal Workbench in blue, shown with various tools and paint cans on its surface, demonstrating its utility in a workshop environment.
2. Safety Information
Always prioritize safety when assembling and using the workbench. Failure to follow these instructions may result in injury or damage to the product.
- Ensure all components are present and undamaged before assembly.
- Assemble the workbench on a flat, stable surface.
- Use appropriate tools for assembly (e.g., wrenches).
- Do not exceed the maximum load capacity of 600 kg.
- Distribute weight evenly across the workbench surface.
- Keep children and pets away from the assembly area.
- Regularly inspect the workbench for loose bolts or damaged parts.
3. Included Components
The Simon Rack BT-6 Metal Workbench includes the following components:
- Workbench structure (metal frame components)
- Work surface (tabletop)
- All necessary bolts and nuts for assembly
Please verify that all parts are present before starting assembly. If any parts are missing or damaged, contact customer support.
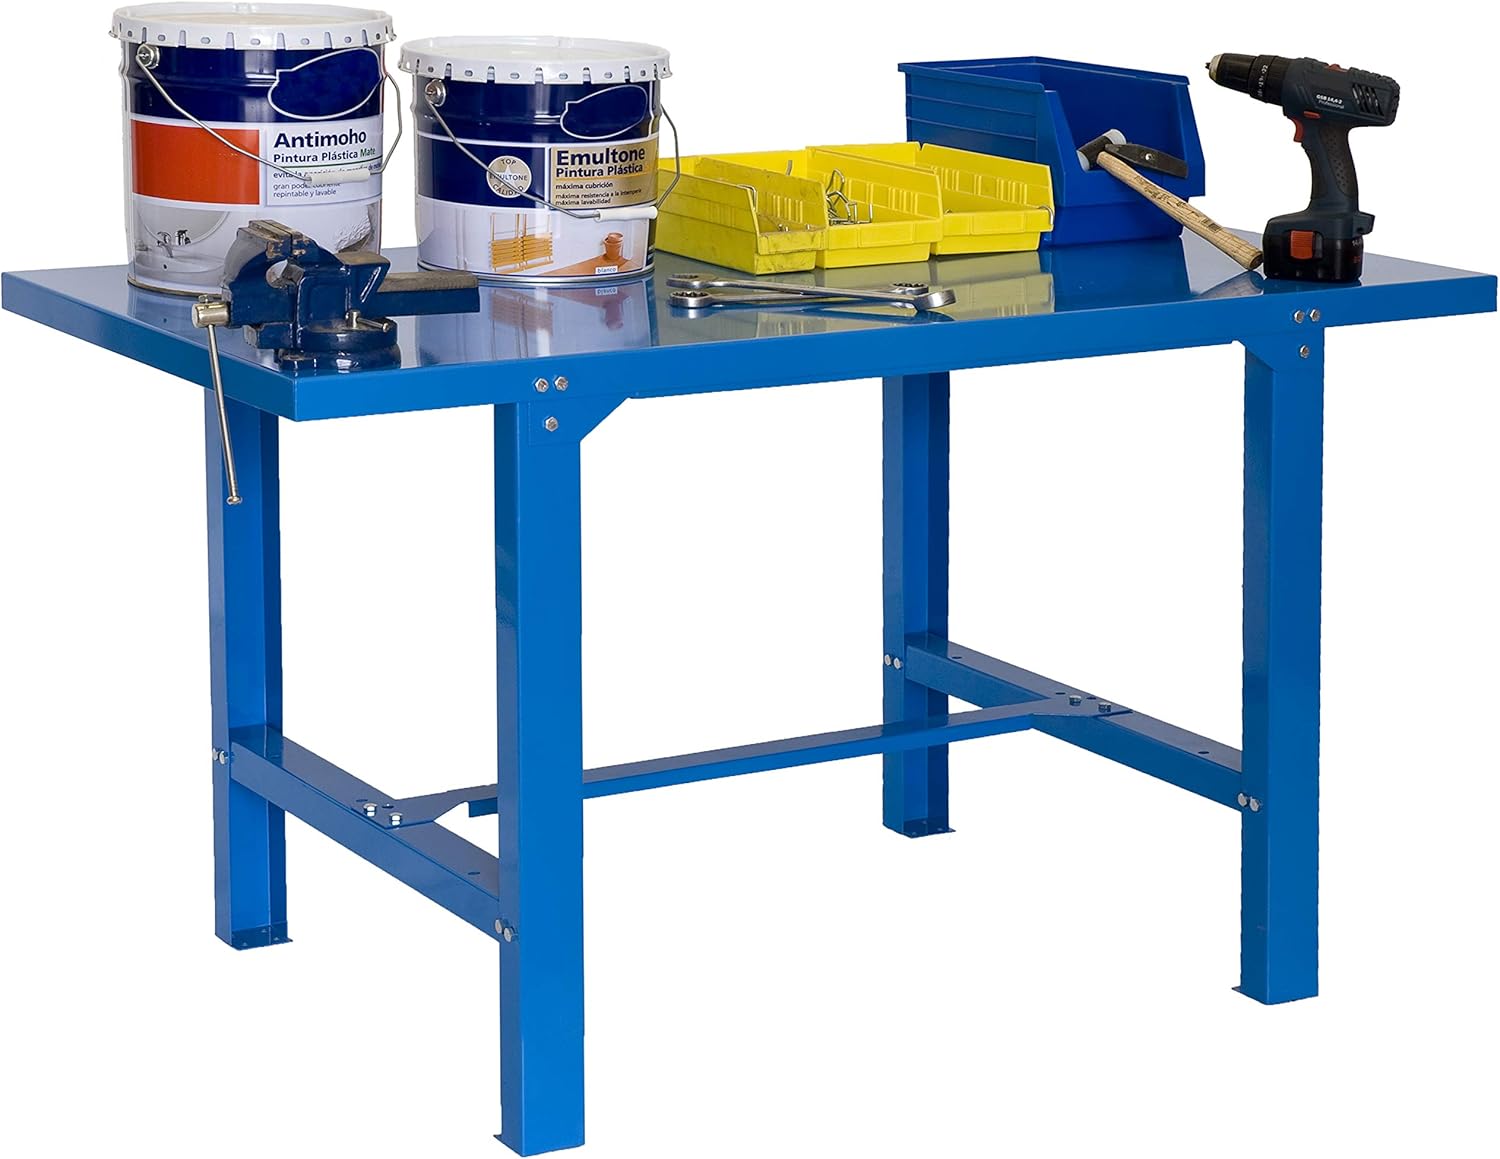
Image 3.1: Various metal components of the workbench laid out, ready for assembly.
4. Assembly Instructions
Follow these steps to assemble your Simon Rack BT-6 Metal Workbench. Assembly typically takes approximately 9 minutes.
4.1. Step-by-Step Guide
- Unpack Components: Carefully remove all parts from the packaging and lay them out on a clean, flat surface. Refer to the component list to ensure all pieces are present.
- Assemble the Side Frames: Attach the horizontal support beams to the vertical legs using the provided bolts and nuts. Ensure all connections are secure but do not fully tighten yet.
- Connect the Side Frames: Join the two assembled side frames using the longer horizontal support beams. This forms the main base structure of the workbench.
- Attach the Work Surface: Place the work surface (tabletop) onto the assembled frame. Align the pre-drilled holes on the tabletop with the holes on the frame.
- Secure the Work Surface: Fasten the tabletop to the frame using the remaining bolts and nuts.
- Final Tightening: Once all components are in place, systematically tighten all bolts and nuts using a wrench. Ensure the workbench is stable and all connections are firm.
Video 4.1: This short video demonstrates the assembly process of the Simon Rack BT-6 Metal Workbench, showing how to connect the frame components and secure the tabletop. It highlights the use of bolts and nuts for a sturdy construction.

Image 4.1: A diagram illustrating the key dimensions of the workbench: 83 cm height, 180 cm width, and 73 cm depth.
5. Operating the Workbench
The Simon Rack BT-6 Metal Workbench is designed for various workshop tasks. Its robust construction allows for a load capacity of up to 600 kg.
- Load Distribution: Always distribute the weight of items evenly across the work surface to maintain stability and prevent damage.
- Secure Placement: Ensure the workbench is placed on a level and stable floor.
- Tool Organization: Utilize the spacious surface for organizing tools and materials. Consider adding compatible accessories like drawers or cabinets (sold separately) for enhanced organization.

Image 5.1: The workbench integrated into a workshop environment, demonstrating its use as a stable platform for equipment like a computer and control panel.
6. Maintenance and Care
Regular maintenance will extend the lifespan of your Simon Rack BT-6 Metal Workbench.
- Cleaning: Wipe down the metal surfaces with a damp cloth and mild detergent. Avoid abrasive cleaners that could damage the paint finish.
- Inspection: Periodically check all bolts and nuts for tightness. Retighten as necessary to ensure structural integrity.
- Damage: Inspect for any signs of rust, dents, or structural damage. Address any issues promptly to prevent further deterioration.
- Storage: If storing the workbench, ensure it is in a dry environment to prevent rust.
7. Troubleshooting
Here are solutions to common issues you might encounter:
| Problem | Possible Cause | Solution |
|---|---|---|
| Workbench is wobbly. | Loose bolts or uneven floor. | Tighten all assembly bolts. Ensure the workbench is on a level surface. |
| Parts do not fit together. | Incorrect orientation of parts or manufacturing defect. | Review the assembly instructions carefully. If parts are still not fitting, contact customer support. |
| Missing components. | Packaging error. | Contact customer support with your purchase details and a list of missing parts. |
8. Product Specifications
| Feature | Detail |
|---|---|
| Model Number | BT-6 |
| Brand | Simon Rack |
| Material | Metal |
| Color | Blue |
| Product Dimensions (Height x Width x Depth) | 83 cm x 180 cm x 73 cm |
| Product Weight | 37.33 kg |
| Load Capacity | 600 kg |
| Assembly Required | Yes |
| Finish | Electrostatic paint |
| Country of Origin | Spain |

Image 8.1: The workbench displayed alongside various quality certifications, including ISO 9001:2015 and "Made in Spain" for European quality assurance.
9. Warranty Information
Simon Rack products are manufactured to high-quality standards. This product comes with a 5-year Simon Rack guarantee. For specific warranty terms and conditions, please refer to the documentation included with your purchase or visit the official Simon Rack website.
10. Customer Support
If you have any questions, require assistance with assembly, or need to report missing/damaged parts, please contact Simon Rack customer service. You can find contact information on the official Simon Rack website or through your retailer.
Website: www.simonrack.com


