
1. Introduction
The Magicfly Mini Egg Incubator is designed for efficient and reliable hatching of various poultry eggs, including chickens, ducks, geese, and other birds. This unit features automatic temperature control and egg turning, simplifying the incubation process for both beginners and experienced users. Constructed from durable PP+ABS material, it offers a stable environment crucial for successful hatching. This manual provides detailed instructions for setup, operation, maintenance, and troubleshooting to ensure optimal performance and a high hatch rate.
2. Product Components
Familiarize yourself with the main components of your Magicfly Mini Egg Incubator:
- Top Shell: The upper transparent cover with integrated control panel.
- Control Panel: Digital display for temperature, humidity, and day count, with buttons for settings and functions.
- Automatic Egg Turning Mechanism: Internal system that gently rotates eggs.
- Movable Egg Tray: Adjustable dividers to accommodate different egg sizes.
- Incubator Grid: Base grid for egg placement.
- Hatching Tray: Lower tray for eggs during the final hatching stage.
- Bottom Shell: The base of the incubator, often used for water reservoir.
- Power Cord: For connecting the incubator to a power source.
- Water Bottle/Hose: For adding water to maintain humidity.

Figure 2.1: Overall view of the Magicfly Mini Egg Incubator with various poultry eggs and hatched chicks, highlighting its multi-purpose functionality.

Figure 2.2: Detailed dimensions of the Magicfly Mini Egg Incubator, including measurements for the unit and individual egg slots.

Figure 2.3: Close-up of the incubator's control panel, LED display, and internal components like the automatic turner kit and temperature probe.

Figure 2.4: Exploded view showing the different layers of the incubator: Top Shell, Movable Egg Tray, Incubator Grid, Hatching Tray, and Bottom Shell.
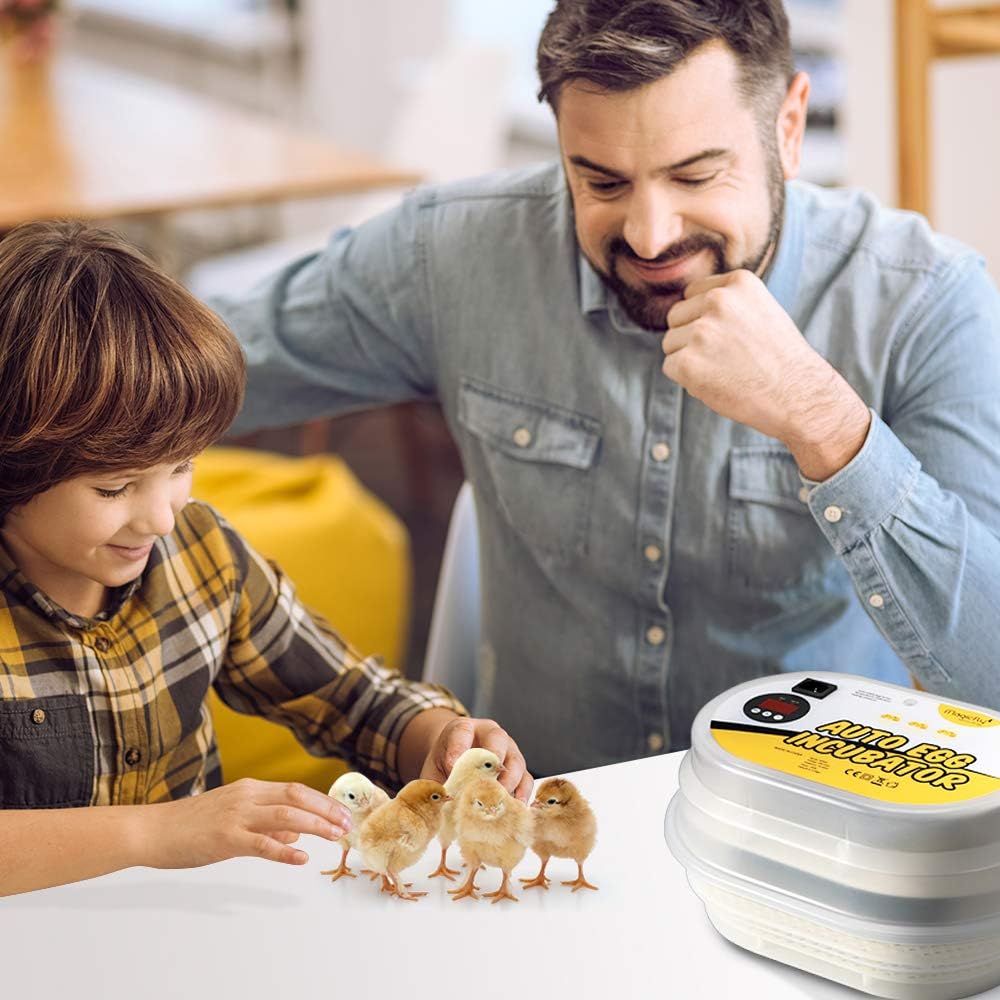
Figure 2.5: All accessories included with the Magicfly Mini Egg Incubator, such as the power cord, instruction manual, and egg dividers.
3. Setup
Follow these steps to set up your Magicfly Mini Egg Incubator:
- Unpack Components: Carefully remove all parts from the packaging.
- Assemble Trays: Place the hatching tray (smaller grid) at the bottom of the bottom shell. Then, place the incubator grid on top of the hatching tray.
- Install Egg Tray: Position the movable egg tray with dividers onto the incubator grid. Adjust dividers as needed to fit your egg size (typically 9 chicken eggs).
- Connect Power: Plug the power cord into the designated port on the control panel, then connect to a power outlet. The unit will automatically power on.
- Initial Warm-up: Allow the incubator to warm up and stabilize its temperature for several hours before placing eggs inside.
- Placement: Place the incubator in a room with a stable ambient temperature, ideally between 72°F (22°C) and 80°F (27°C). Avoid placing it on cold surfaces like metal tables; consider using insulation underneath.
Video 3.1: This video demonstrates the step-by-step installation process of the Magicfly Egg Incubator, including assembling the trays and connecting the power.
4. Operating Instructions
4.1 Temperature Control
The incubator features automatic temperature control. The factory temperature setting is approximately 38°C (100.4°F), which is recommended for chicken eggs. For other egg types, adjust as needed.
- Setting Temperature: Press the '+' or '-' buttons on the control panel to adjust the desired temperature.
- Calibrating Temperature: If you need to adjust the offset temperature, hold the 'TEMP' button until capital letters flash, then press '+' until you reach 'CA'. Use '+' or '-' to calibrate.
- Monitoring: While the incubator provides a temperature reading, it is recommended to use an additional, calibrated thermometer/hygrometer inside the incubator for precise monitoring.
4.2 Humidity Control
The incubator does not have an automatic humidity setting. Humidity must be manually adjusted by adding or removing water from the external water port.
- Adding Water: Use the provided water bottle or a similar tool to add water through the external port on the side of the bottom shell. This allows you to add water without opening the incubator, maintaining stable internal conditions.
- Monitoring: Use an external hygrometer to monitor humidity levels. Aim for approximately 55% humidity during most of the incubation period.
- Increasing Humidity for Hatching: A few days before hatching (e.g., day 18 for chickens), you will need to increase humidity. This typically involves opening the incubator briefly to add water to an internal water port or channel, in addition to the external port.
4.3 Automatic Egg Turning
The incubator features an automatic egg turning mechanism to ensure even heat distribution and prevent the embryo from sticking to the shell.
- Operation: The auto turner operates slowly and continuously. It may not be visibly turning at all times, but it is working. Manual turning is not required.
- Verification: To verify the turner is working, mark an egg with a pencil and periodically check if the marked side has moved.
- Disabling Turning: The automatic turner cannot be turned off. However, you can position the egg tray so that eggs do not get turned if necessary, though eggs generally need turning until very close to hatching.
Video 4.1: This video provides a brief demonstration of the automatic egg turning function of the Magicfly incubator, showing the eggs being gently rotated.
4.4 Egg Candling
The incubator includes a built-in egg candler to observe embryo development.
- Using the Candler: Place an egg over the candler light on the control panel to view the internal contents of the egg.
- Observation: This allows you to check for fertility and monitor the growth of the embryo without disturbing the incubation environment.
5. Hatching Tips
Maximize your hatch rate with these essential tips:
- Egg Quality: Use fresh, fertile eggs. Protect eggs from damage during storage and transportation.
- Stable Environment: Maintain stable temperature and humidity levels throughout the incubation period. Ensure proper light and ventilation.
- Egg Placement: Place eggs correctly in the tray, typically with the pointed end facing down if placed vertically, or horizontally within the turning mechanism.
- Regular Checks: Regularly check the incubator's temperature and humidity. Avoid opening the incubator unnecessarily, especially during the final days before hatching.
- Breed-Specific Adjustments: Different egg breeds have varying incubation requirements. Adjust temperature, humidity, and turning schedules according to the specific needs of the eggs you are hatching.
6. Maintenance
Proper maintenance ensures the longevity and hygiene of your incubator:
- Cleaning: After each hatch, thoroughly clean all removable parts with a mild disinfectant and warm water. Ensure all parts are completely dry before reassembly or storage.
- Storage: Store the incubator in a clean, dry place away from direct sunlight and extreme temperatures.
- Fan and Probe: Periodically check the fan for any obstructions and ensure the temperature probe is clean and unobstructed for accurate readings.
7. Troubleshooting (FAQ)
Common questions and solutions for your Magicfly Mini Egg Incubator:
- Q: Is this a forced-air or still-air incubator?
A: It is a forced-air incubator, equipped with a small fan that circulates the air for even temperature distribution. - Q: How do I know if the automatic egg turner is working?
A: The turning process is slow and may not be immediately visible. Mark an egg with a pencil and periodically check to see if the marked side has moved. - Q: Can I turn off the automatic turner?
A: The automatic turner cannot be turned off. However, you can position the egg tray to prevent eggs from being turned if desired, but eggs typically require turning until close to hatching. - Q: Does it show the humidity reading? How do I maintain humidity?
A: This incubator does not have a built-in humidity sensor. You can add your own hygrometer inside. Manually adjust humidity by adding or removing water from the external port. Aim for around 55% humidity, adjusting based on your local environment. - Q: How do I adjust the offset temperature?
A: Hold the 'TEMP' button until capital letters flash, then press '+' until you reach 'CA'. Use '+' or '-' to calibrate the temperature. - Q: The incubator is not holding a consistent temperature. What should I do?
A: Ensure the incubator is placed in a room with a stable ambient temperature (ideally 72-80°F or 22-27°C). If the ambient temperature is below 25°C (77°F), take measures for heat preservation, such as enclosing the device with clothes or other warm materials. If the environment temperature reaches 37°C (98.6°F), the incubator's temperature might reach 41-43°C (105.8-109.4°F); use it in a cool location. Consider using multiple thermometers/humidity sensors for verification.
8. Specifications
| Feature | Specification |
|---|---|
| Product Dimensions | 13.98 x 7.48 x 6.89 inches |
| Item Weight | 4.84 pounds |
| Manufacturer | Magicfly |
| Item Model Number | FBA_Magicfly-MF014 |
| Egg Capacity | 9-12 Eggs (depending on size, typically 9 chicken eggs) |
| Material | Durable healthy PP+ABS |
9. Warranty and Support
Magicfly provides a 100% Satisfaction Guarantee for this product. We are committed to providing detailed instruction manuals and after-sales service. If you encounter any problems or have questions regarding your egg incubator, please do not hesitate to contact us. We will do our best to resolve any issues and ensure your satisfaction.