
1. Introduction
This manual provides comprehensive instructions for the safe and effective use of your OptiMate 3 Smart Battery Charger. The OptiMate 3 is designed for 12V lead-acid batteries, including STD, AGM, and GEL types, commonly found in motorcycles, ATVs, side-by-sides, and personal watercraft. It features advanced battery saving, charging, and long-term maintenance capabilities.
2. Safety Information
WARNING: Read all safety warnings and instructions before using this product. Failure to follow the warnings and instructions may result in electric shock, fire, and/or serious injury.
- Always connect the charger to a 100-240V AC power source.
- Ensure correct polarity when connecting to the battery: positive to positive, negative to negative.
- Do not charge damaged, frozen, or non-rechargeable batteries.
- Avoid sparks when connecting or disconnecting the battery.
- Use in a well-ventilated area. Batteries can produce explosive gases.
- Keep out of reach of children.
- The charger is designed for indoor use and protection against light rain, but avoid direct water exposure.
3. Product Overview
The OptiMate 3 charger is a compact, intelligent device with intuitive LED indicators. It comes with various connection accessories for versatile use.

Figure 1: OptiMate 3 Smart Battery Charger with included accessories.
The image displays the OptiMate 3 charger unit, featuring input/output specifications and LED indicators. Alongside the main unit are two types of battery connectors: traditional battery clips (red and black) and ring terminal connectors, providing flexible options for connecting to various 12V lead-acid batteries.
3.1 Key Features
- Battery Saving: Recovers deeply discharged batteries from as low as 0.5V.
- Fully Automatic: Connect and forget operation with continuous monitoring.
- Longer Battery Life: Provides 24/7 protection against discharge and ensures optimal battery health.
- Tests Battery Health: Automatically tests and indicates battery problems.
- Durable Design: Fully sealed case for protection against spillage and light rain.
3.2 Supported Battery Types
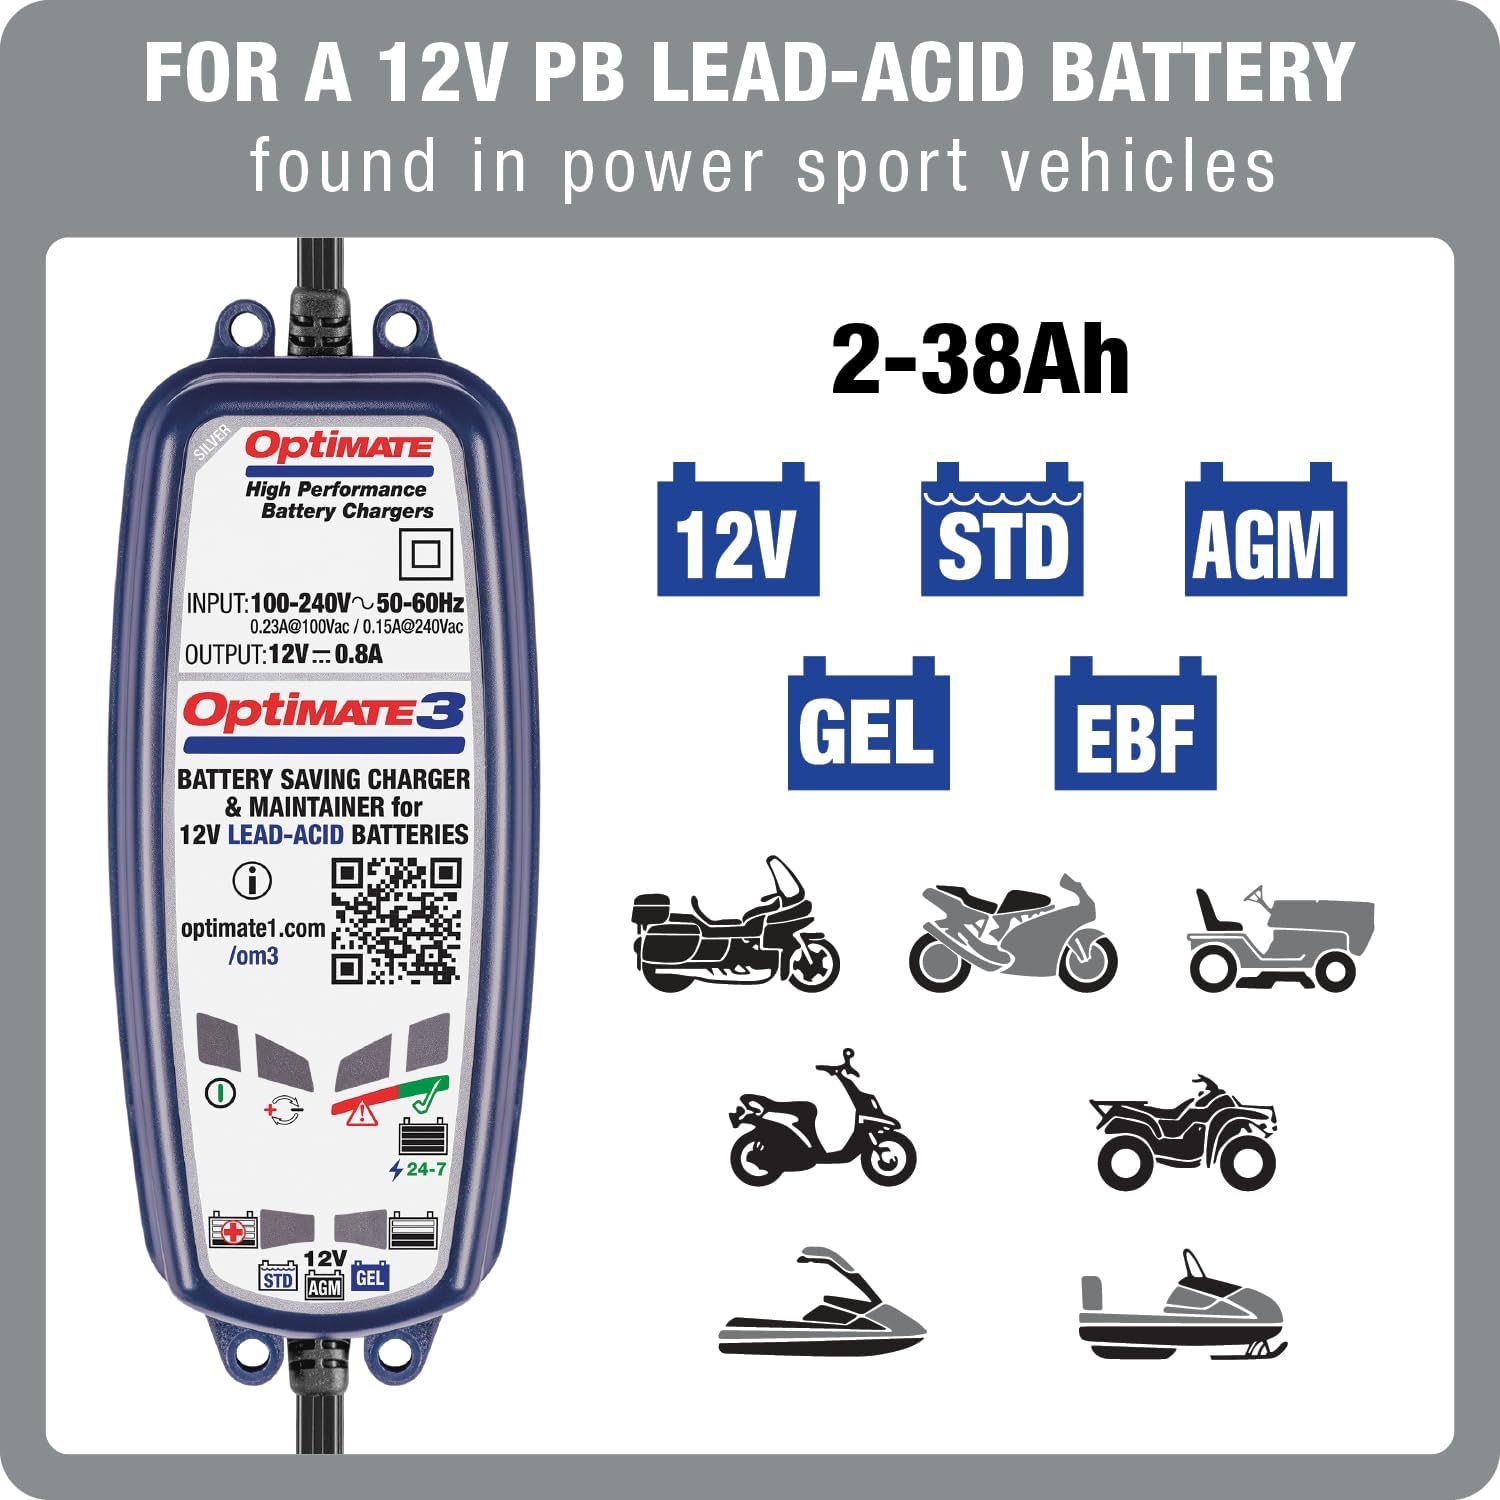
Figure 2: Supported Battery Types and Applications.
This image illustrates the compatibility of the OptiMate 3 charger with various 12V lead-acid battery types, including STD (Standard), AGM (Absorbed Glass Mat), GEL, and EBF (Enhanced Flooded Battery). It also shows common powersport vehicles like motorcycles, ATVs, and scooters, indicating the charger's intended use for these applications.
The OptiMate 3 is compatible with 12V lead-acid batteries ranging from 2-38Ah, including Standard (STD), Absorbed Glass Mat (AGM), Gel, and Enhanced Flooded Battery (EBF) types. It is ideal for powersport vehicles such as motorcycles, ATVs, and personal watercraft.
4. Setup
- Choose Connection Method: The OptiMate 3 comes with both battery clips and ring terminal connectors. Select the appropriate connector for your battery. For long-term maintenance, the ring terminals are often preferred for a more permanent connection.
- Connect to Battery:
- Ensure the charger is NOT plugged into AC power.
- Connect the red (+) charger lead to the positive (+) battery terminal.
- Connect the black (-) charger lead to the negative (-) battery terminal.
- For in-vehicle charging, ensure the battery harness is fused.

Figure 3: Connection Options for OptiMate 3.
This image demonstrates the flexibility of connecting the OptiMate 3 charger using either the 01 SAE battery clips or the 04 SAE ring terminal harness. It shows the charger connected to both a motorcycle and a side-by-side vehicle, highlighting the 180cm (6ft) cable length and the SAE connector for easy interchangeability of accessories.
- Connect to AC Power: Plug the charger's AC cord into a standard 100-240V wall outlet.
5. Operating Instructions
The OptiMate 3 operates fully automatically. Once connected, it will diagnose the battery and proceed through its multi-step charging program.

Figure 4: Fully Automatic Operation.
This image illustrates the fully automatic operation of the OptiMate 3 charger, emphasizing that no supervision is required. It shows the charging progression from a completely discharged battery (0%) through various stages (50%, 75%) to a fully charged state (100%), with a "SAFE" checkmark indicating secure operation.
5.1 LED Indicators Explained
The OptiMate 3 features six LED indicators that provide real-time status of the charging process and battery health. Refer to the video below for a detailed explanation of each LED.
Video 1: OptiMate 3 LED Indicators Explained.
This video explains the meaning of the LED indicators on the OptiMate 3 charger, guiding users through its various operational stages, from power connection to battery health assessment and maintenance.
- LED 1 (Green): Indicates AC power connection (100-240V).
- LED 2 (Red): Indicates incorrect battery connection (reverse polarity).
- LED 3 (Orange/Red): Indicates a deeply discharged or sulfated battery requiring recovery. The charger will attempt to desulfate and recondition the battery.

Figure 5: Saving Deeply Discharged Batteries.
This image demonstrates the OptiMate 3's capability to save "dead" flat batteries, automatically recovering them from as low as 0.5 Volts. It visually represents the charger's ability to revive severely discharged batteries, which might otherwise be considered unrecoverable.
- LED 4 (Yellow/Green): Indicates the battery is charging and its voltage is above 12.4V. The charger is delivering a constant current bulk charge followed by pulsed absorption.
- LED 5 (Green): Indicates the battery has reached full charge and is undergoing a test. The rest voltage is monitored for 30 minutes to 12 hours. If the battery is healthy, this LED will remain green.
- LED 6 (Red, Blinking): Indicates the battery was unable to hold more than 50% charge after testing, suggesting a faulty battery. The charger will re-charge and repeat the test.
5.2 Long-Term Maintenance (24/7 Safe Care)
Once the battery is fully charged and passes the test (LED 5 solid green), the OptiMate 3 enters its 24/7 interactive maintenance program. It monitors the charge level hourly and delivers charge only when needed, preventing overcharging and ensuring optimal battery health for extended periods.
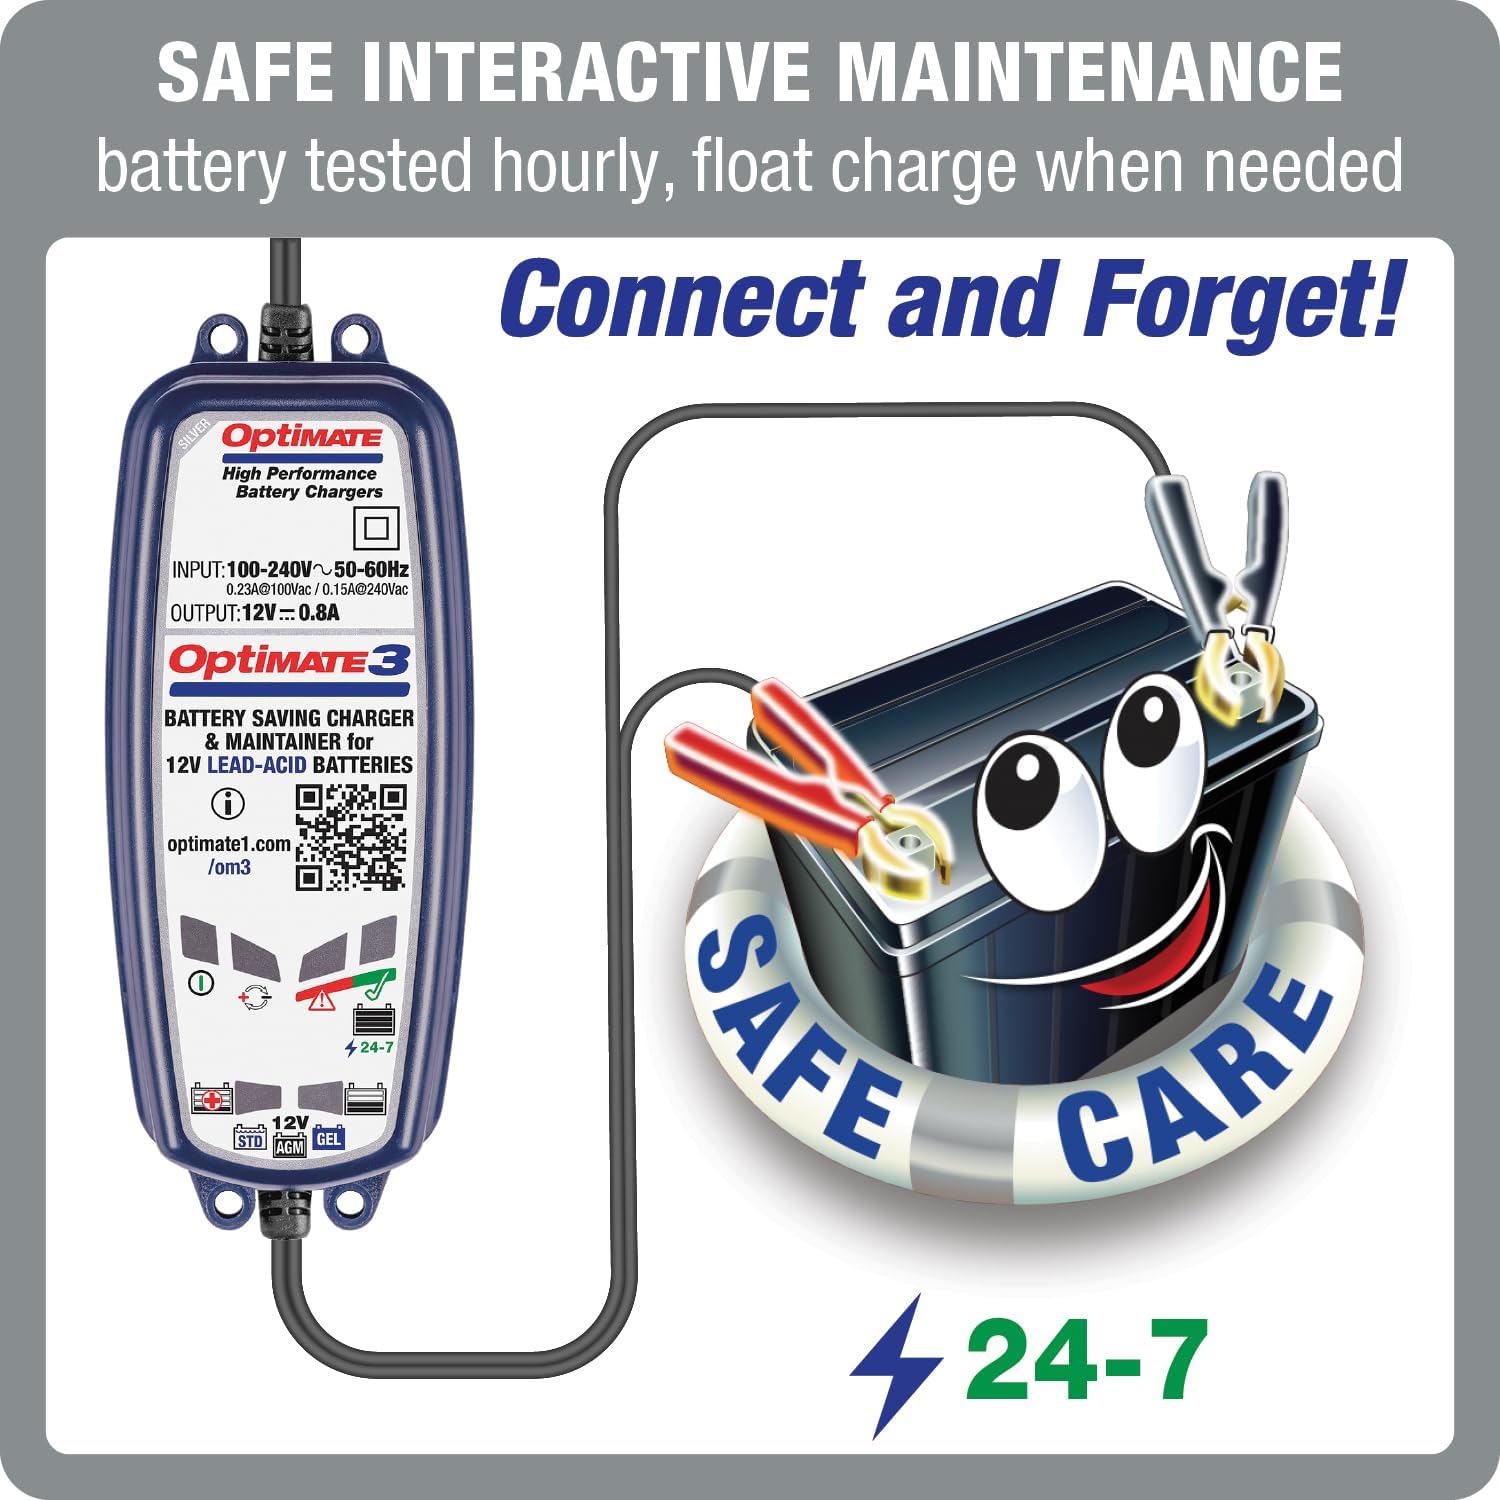
Figure 6: Safe Interactive Maintenance.
This image highlights the "Safe Interactive Maintenance" feature of the OptiMate 3, emphasizing the "Connect and Forget!" convenience. It shows the charger continuously testing the battery hourly and providing a float charge only when necessary, ensuring 24/7 optimal battery care.
6. Maintenance
- Keep the charger clean and dry. Wipe with a soft, damp cloth.
- Inspect cables and connectors regularly for any damage. Do not use if damaged.
- Store the charger in a cool, dry place when not in use.
- For optimal battery life, keep the OptiMate 3 connected during periods of non-use.
7. Troubleshooting
| Problem | Possible Cause | Solution |
|---|---|---|
| LED 1 (AC Power) is off. | No AC power or faulty outlet. | Check wall outlet, power cord, and circuit breaker. |
| LED 2 (Reverse Polarity) is on. | Battery connections are reversed. | Disconnect from AC, then reconnect red (+) to positive (+) and black (-) to negative (-). |
| LED 3 (Recovery) stays on for a long time. | Battery is deeply discharged or sulfated. | Allow the charger to continue its recovery process. This can take several hours. If it doesn't progress, the battery may be unrecoverable. |
| LED 6 (Faulty Battery) is blinking. | Battery unable to hold charge, possibly damaged. | The charger will attempt to re-charge and re-test. If LED 6 continues to blink, the battery is likely faulty and needs replacement. |
8. Specifications
- Model: TM432
- Input Voltage: 100-240V AC
- Output Voltage: 12 Volts
- Output Current: 0.8A
- Wattage: 15.00W
- Supported Battery Types: 12V Lead-acid (STD, AGM, GEL, EBF)
- Battery Capacity Range: 2-38Ah
- Dimensions: 6.61"D x 1.61"W x 1.73"H (Product), 8.5 x 6 x 2 inches (Package)
- Item Weight: 1 Pound
- Manufacturer: OptiMate
- Color: Multicolor, Red
9. Warranty and Support
For warranty information and technical support, please refer to the official OptiMate website or contact their customer service. Keep your purchase receipt for warranty claims.
Official product information and support can be found at: www.optimate1.com/om3


