
Introduction
This manual provides instructions for the installation and maintenance of the Roca Dual Flush Valve Base Sealing Washer, model AH0007100R (part number 822403000). This component is designed to restore proper sealing in Roca dual flush valves, preventing continuous water leakage into the toilet pan.
Over time, the original base sealing washer can develop imperfections or warp, leading to an inadequate seal and water waste. Replacing this washer can resolve such issues without needing to replace the entire flush valve.

Image 1: The Roca Dual Flush Valve Base Sealing Washer, a clear rubber ring designed to create a watertight seal within the toilet's flush mechanism.
Package Contents
Verify that your package contains the following item:
- 1 x Roca Dual Flush Valve Base Sealing Washer (AH0007100R / 822403000)
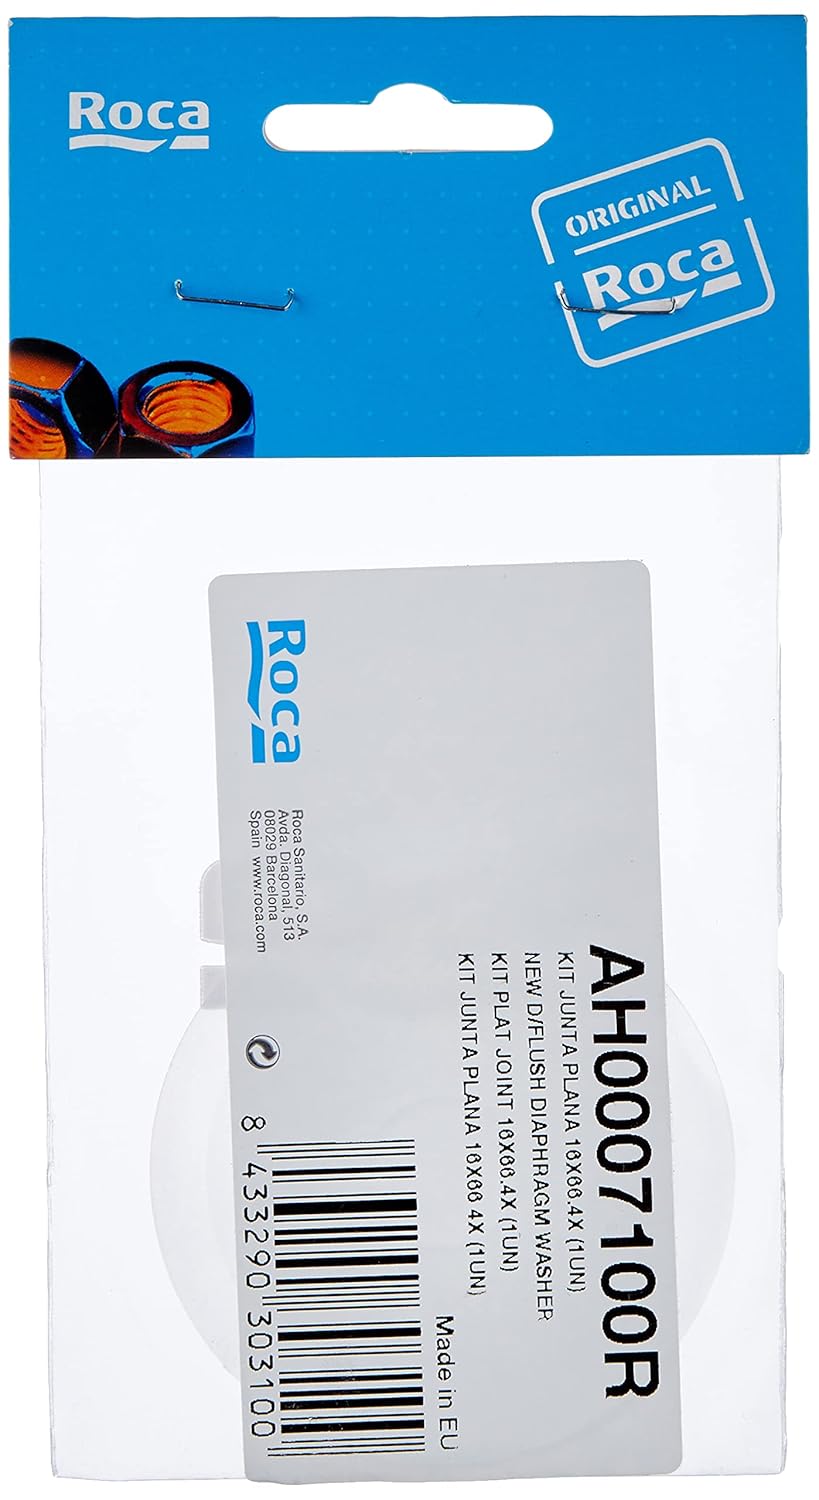
Image 2: The packaging for the Roca Dual Flush Valve Base Sealing Washer, showing the product name AH0007100R and the Roca brand logo. The UPC 8433290303100 is visible on the packaging.
For more information, you can visit the official Roca website or contact their support using the UPC: 8433290303100
Compatibility
This base sealing washer is suitable for both old and new style Roca dual flush valves. It is designed as a direct replacement part to ensure proper function and fit within compatible Roca toilet cisterns.
Installation Instructions
Replacing the base sealing washer is a straightforward process. Follow these steps carefully:
- Turn off Water Supply: Locate the water shut-off valve for your toilet, usually found on the wall behind or near the toilet, and turn it clockwise until the water flow stops.
- Flush the Toilet: Flush the toilet to empty the cistern of water. Hold the flush handle down to ensure as much water as possible drains out.
- Remove Cistern Lid: Carefully lift off the toilet cistern lid and set it aside in a safe place.
- Access the Flush Valve: The flush valve is typically located in the center of the cistern. You may need to disconnect the flush button or lever mechanism from the valve.
- Remove the Old Washer: The base sealing washer is usually held in place by a nut or a quarter-turn locking mechanism at the bottom of the flush valve unit.
- If it's a nut, unscrew it.
- If it's a quarter-turn mechanism, rotate it counter-clockwise and pull the flush valve unit upwards to detach it from the base.
- Clean the Seating Area: Clean any residue or debris from the area where the washer sits on the flush valve base to ensure a proper seal with the new washer.
- Install the New Washer: Place the new Roca Dual Flush Valve Base Sealing Washer (AH0007100R) onto the flush valve unit, ensuring it sits flat and correctly in its groove.
- Reassemble the Flush Valve: Carefully reinsert the flush valve unit into its base, ensuring the new washer is properly seated. Secure it by tightening the nut or performing a quarter-turn clockwise until it locks into place. Ensure it is securely fastened to prevent leaks.
- Reconnect Flush Mechanism: Reconnect the flush button or lever mechanism to the flush valve.
- Restore Water Supply: Turn the water shut-off valve counter-clockwise to restore the water supply to the toilet.
- Test for Leaks: Allow the cistern to fill. Once full, observe for any signs of water leakage into the toilet pan or around the flush valve base. Flush the toilet a few times to confirm proper operation and absence of leaks.
- Replace Cistern Lid: Once you've confirmed there are no leaks and the toilet is functioning correctly, replace the cistern lid.

Image 3: A top-down view of the Roca Dual Flush Valve Base Sealing Washer, highlighting its flat, circular design and central opening for the flush valve shaft.

Image 4: The Roca Dual Flush Valve Base Sealing Washer held in a hand, providing a visual reference for its approximate size, which is about 2.7 inches (6 cm) in diameter.
Maintenance
The Roca Dual Flush Valve Base Sealing Washer is designed for durability. However, to prolong its lifespan and ensure optimal performance:
- Regular Inspection: Periodically check the toilet for signs of continuous water flow into the pan, which may indicate a failing seal.
- Avoid Harsh Chemicals: Do not use harsh chemical cleaners inside the cistern, as these can degrade rubber components over time.
- Proper Installation: Ensure the washer is installed correctly and not twisted or pinched, as this can lead to premature wear.
Troubleshooting
If your toilet continues to leak after replacing the base sealing washer, consider the following:
- Incorrect Seating: Ensure the new washer is perfectly flat and seated correctly without any folds or obstructions.
- Flush Valve Base Damage: Inspect the flush valve base for cracks, chips, or uneven surfaces that might prevent a proper seal. If damaged, the entire flush valve unit may need replacement.
- Inlet Valve Issue: If the problem persists, the leak might be originating from the inlet valve (fill valve) rather than the flush valve. Check the water level in the cistern; if it's too high and overflowing into the overflow pipe, the inlet valve needs adjustment or replacement.
- Other Components: Verify that all other components of the flush valve are intact and functioning correctly.
Specifications
| Model Number | 822403000 |
| Part Number | AH0007100R |
| Material | Rubber |
| Washer Type | Flat |
| Product Dimensions (Washer) | Approx. 2.7 inches (6 cm) diameter |
Support
For further assistance, technical support, or warranty information regarding Roca products, please visit the official Roca website or contact their customer service department. Ensure you have your product model number (822403000) and part number (AH0007100R) available when seeking support.

Image 5: The official Roca brand logo, representing the manufacturer of this product.