
1. Introduction and Overview
Thank you for choosing the MARATHON Atomic Travel Alarm Clock. This compact and versatile clock is designed for convenience and accuracy, featuring atomic time synchronization, an auto night light, and a clear display for time, date, and indoor temperature. This manual provides essential information for setting up, operating, and maintaining your new alarm clock.

Front view of the MARATHON Atomic Travel Alarm Clock, displaying the current time, date, and indoor temperature. The clock features a black casing and a clear digital screen.
2. Key Features
- Atomic Time Synchronization: Automatically sets time and date via radio signal for precise accuracy.
- Auto Night Light: Features a built-in sensor that illuminates the display dimly in low-light conditions for easy viewing without pressing buttons.
- 12 or 24-Hour Display: Easily switch between standard and military time formats.
- Six Time Zones: Pre-programmed time zones for convenient travel.
- Indoor Temperature Display: Shows temperature in Celsius or Fahrenheit.
- Date and Day of Week: Clear display of the current date and day.
- Compact and Portable Design: Ideal for travel with its foldable cover that protects the screen and buttons.
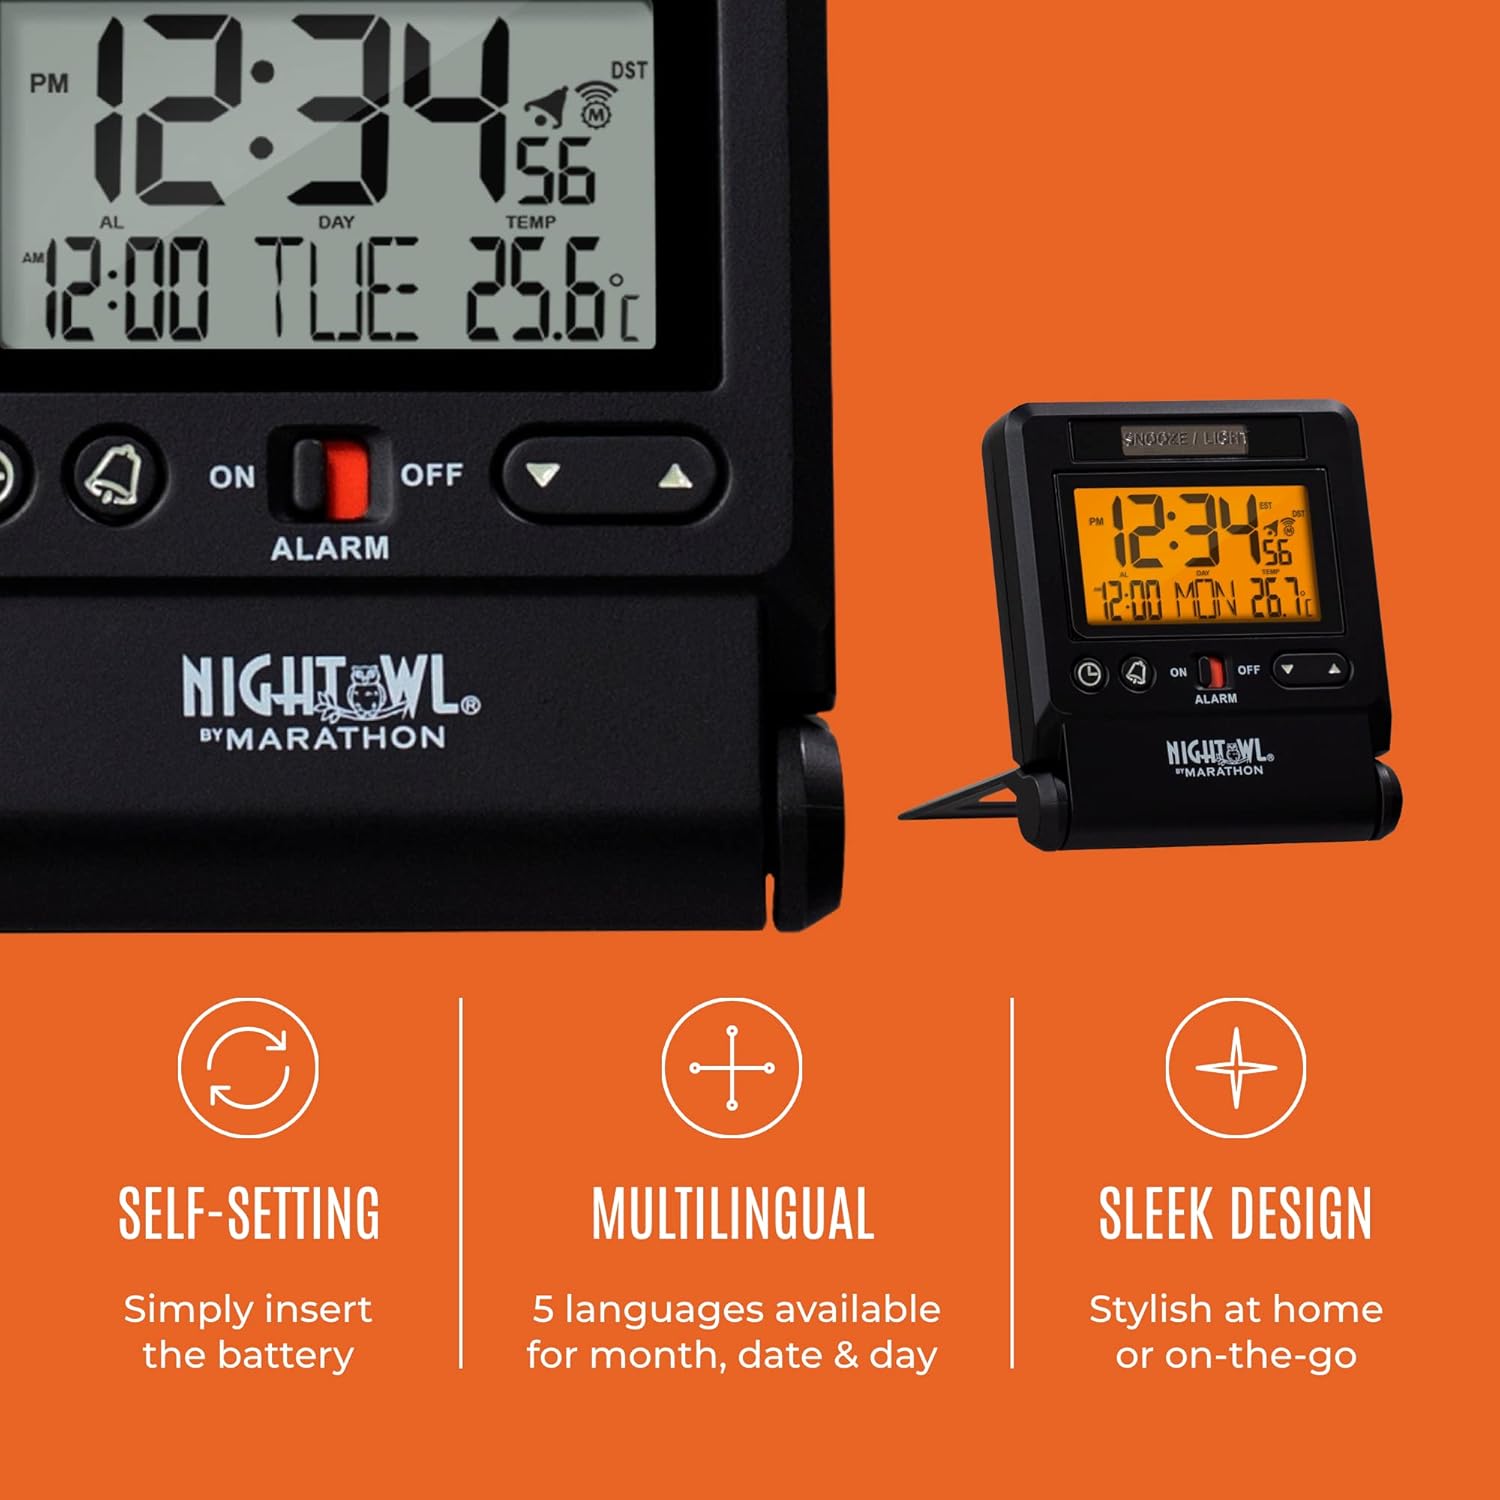
Visual representation of the clock's self-setting capability, multilingual options for month/date/day, and sleek design suitable for home or travel.

The travel alarm clock neatly packed inside a black travel bag, highlighting its compact size and suitability for on-the-go use.
3. Setup
3.1. Battery Installation
- Locate the battery compartment on the back of the clock.
- Open the battery compartment cover.
- Insert two (2) AAA batteries, ensuring correct polarity (+ and -). Batteries are included with your purchase.
- Close the battery compartment cover securely.
3.2. Initial Setup and Atomic Time Synchronization
Upon battery installation, the clock will automatically attempt to synchronize with the atomic time signal. This process may take several minutes to a few hours, depending on your location and signal strength. For best reception, place the clock near a window, away from electronic devices that may cause interference.
- The atomic signal icon (often a tower or wave symbol) on the display will flash during synchronization and become solid once a successful signal is received.
- If the atomic time does not set automatically within 24 hours, you may need to manually set the time (see Section 4.1). The clock will continue to attempt synchronization daily, typically in the early morning hours.
4. Operating Instructions
4.1. Setting Time, Date, and Day Manually
While the clock is designed for atomic synchronization, manual setting is possible if needed.
- Press and hold the SET button (often indicated by a clock icon) for approximately 3 seconds to enter setting mode.
- The first setting (e.g., Time Zone) will begin to flash. Use the UP and DOWN buttons to adjust the value.
- Press SET again to confirm the selection and move to the next setting (Year, Month, Day, 12/24-hour format, Hour, Minute, Second, Language, DST).
- Repeat step 2 and 3 until all desired settings are adjusted.
- Press SET one last time or wait for 10 seconds for the clock to exit setting mode automatically.
4.2. Setting the Alarm
- Locate the ALARM ON/OFF switch on the front of the clock. Slide it to the ON position. A red indicator will become visible, and an alarm icon will appear on the display.
- Press and hold the ALARM button (often indicated by a bell icon) for 3 seconds. The alarm hour will flash.
- Use the UP and DOWN buttons to set the desired alarm hour.
- Press ALARM again to set the alarm minute. Use the UP and DOWN buttons to adjust.
- Press ALARM one last time or wait for 10 seconds to exit alarm setting mode.
- To activate the snooze function when the alarm sounds, press the SNOOZE/LIGHT bar at the top of the clock. The alarm will pause and sound again after approximately 5 minutes.
- To turn off the alarm completely, slide the ALARM ON/OFF switch to the OFF position.
4.3. Using the Night Light
The clock features an automatic night light that activates in low-light conditions. You can also manually activate the backlight.
- Auto Night Light: The night light sensor is located on the clock. When enabled (check the manual for specific switch/setting), the display will glow dimly in dark environments.
- Manual Backlight: Press the SNOOZE/LIGHT bar at the top of the clock to temporarily illuminate the display for a few seconds.
4.4. Switching Temperature Units (°C/°F)
To switch between Celsius and Fahrenheit, locate the dedicated button (often labeled °C/°F or similar) or cycle through settings in manual setup mode until the temperature unit flashes, then adjust.

A detailed view of the clock's dynamic display, highlighting the time in 12/24-hour format, calendar information, and indoor temperature reading in Celsius.
5. Maintenance
5.1. Battery Replacement
When the display becomes dim or the clock stops functioning, it's time to replace the batteries. Follow the steps in Section 3.1 for battery installation. Always use fresh AAA batteries.
5.2. Cleaning
Wipe the clock with a soft, dry cloth. Do not use abrasive cleaners or chemical solvents, as they may damage the clock's finish or display.
6. Troubleshooting
- Clock not setting time automatically:
- Ensure the clock is placed near a window and away from strong electronic interference.
- Verify the correct time zone is selected.
- Check battery levels; low batteries can affect signal reception.
- Perform a manual time set (Section 4.1) and allow the clock to attempt atomic synchronization overnight.
- Display is dim or blank:
- Replace batteries with fresh AAA batteries.
- Ensure the auto night light feature is enabled if expecting continuous dim illumination in darkness.
- Alarm not sounding:
- Verify the ALARM ON/OFF switch is in the ON position (red indicator visible).
- Confirm the alarm time is correctly set (Section 4.2).
7. Specifications
| Specification | Detail |
|---|---|
| Brand | MARATHON |
| Model Number | CL030036BK |
| Color | Black |
| Style | Digital |
| Product Dimensions | 2.75"W x 3"H (approx. 7 cm W x 8.25 cm H) |
| Power Source | Battery Powered |
| Batteries Required | 2 AAA batteries (included) |
| Item Weight | 4.2 ounces |
| Operation Mode | Atomic |
| Alarm Clock | Yes |
| Mounting Type | Tabletop |

Diagram illustrating the compact dimensions of the clock: 2.75 inches (7 cm) wide and 3.25 inches (8.25 cm) high.

The clock positioned on a nightstand, demonstrating its lightweight and compact design, making it easy to place in various settings.
8. Warranty and Support
MARATHON products are manufactured with high standards of quality and precision. For detailed warranty information and further support, please refer to the official User Manual PDF available for download or contact MARATHON customer service.
A comprehensive user manual in PDF format is available for download: User Manual (PDF)
9. About the Brand: MARATHON
MARATHON has a rich history dating back to 1939, with a legacy of manufacturing precision timing instruments. The company prides itself on producing durable and reliable products, originally for military forces and now for the general public, while maintaining strict quality control and traditional craftsmanship.
Official video: "Marathon - 80th Anniversary Film". This video provides an overview of Marathon's history, its Canadian roots, and its commitment to manufacturing high-quality, military-grade timing instruments. It features interviews with company leadership and showcases the meticulous craftsmanship involved in their products.

An image detailing the MARATHON brand logo and a short historical note, emphasizing its establishment in 1939 and its long-standing tradition in timing instruments.


