
1. Important Safety Information
Please read these instructions carefully before installation and use. Keep this manual for future reference.
- Electrical Safety: Installation must be carried out by a qualified electrician in accordance with local wiring regulations. Ensure the power supply is disconnected before installation, maintenance, or bulb replacement.
- Outdoor Use: This product is designed for outdoor use and has an IP44 rating, protecting against solid objects larger than 1mm and splashes of water from any direction. However, it is not submersible.
- Voltage: Connect only to a 230 Volt AC power supply.
- Bulb Type: Use only E27 bulbs with a maximum wattage of 15 Watts. Do not exceed the specified wattage.
- Handling: Handle the product with care to avoid damage. Do not modify the product in any way.
2. Package Contents
Verify that all components are present before beginning installation:
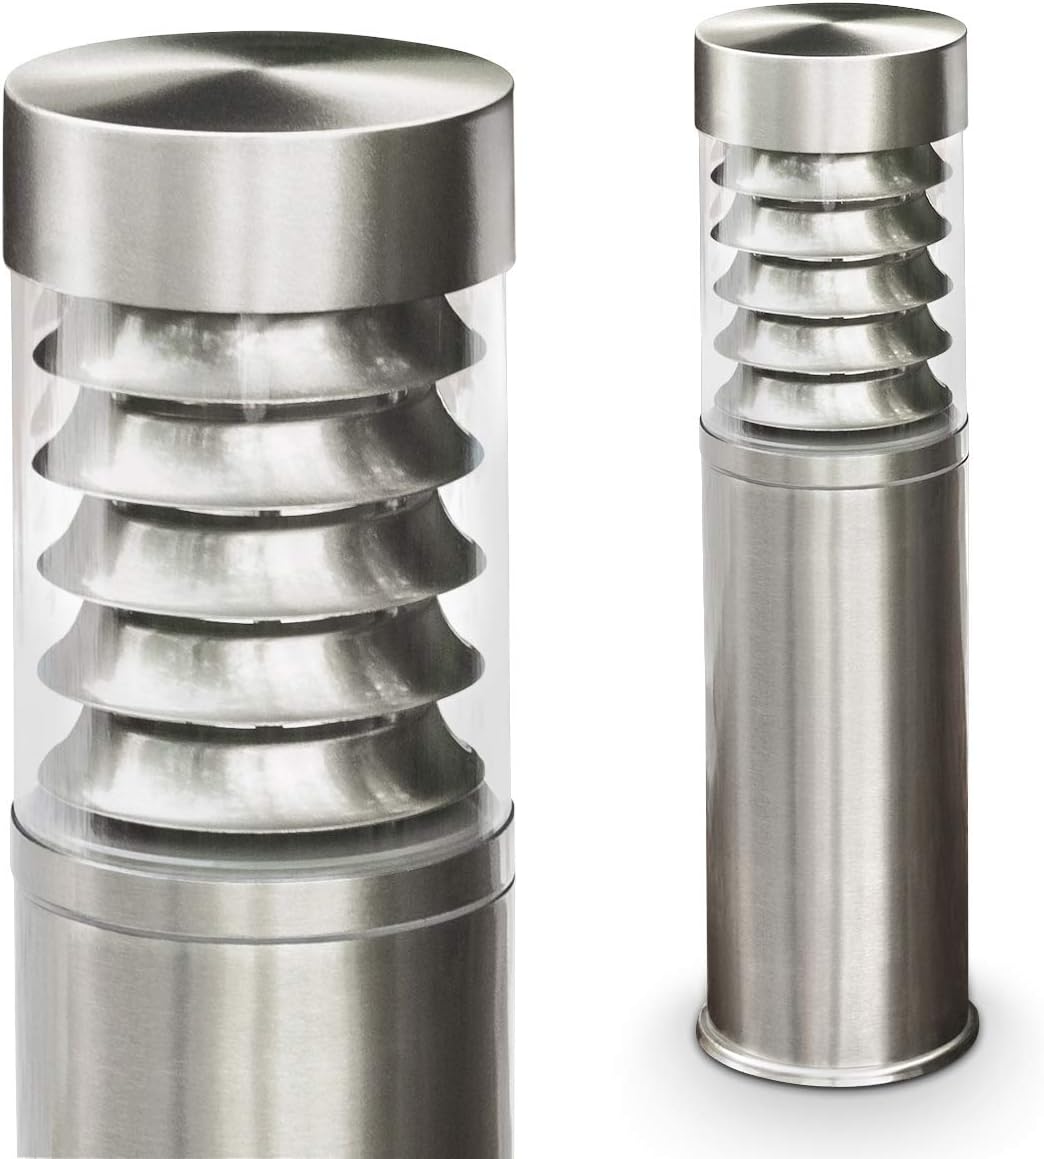
- 1x Hofstein Outdoor Stainless Steel Bollard Light (Model H361)
- Mounting hardware (screws, anchors)
- Note: An E27 bulb is not included and must be purchased separately.
3. Installation Instructions
Follow these steps for proper installation:
3.1 Site Preparation
- Choose a suitable location for the bollard light, ensuring it is on a stable, level surface.
- Ensure the chosen location allows for safe electrical wiring according to local regulations.
3.2 Mounting the Fixture
- Disconnect the main power supply to the installation area.
- Carefully remove the base plate from the bollard light if it is not already separate.
- Position the base plate on the desired mounting surface. Mark the locations for the three mounting holes.
- Drill pilot holes at the marked locations. Insert appropriate anchors if mounting into concrete or masonry.
- Secure the base plate to the surface using the provided mounting screws.

3.3 Electrical Connection
- Route the electrical cable through the designated opening in the base plate and into the fixture.
- Connect the live, neutral, and earth wires to the corresponding terminals inside the fixture. Ensure all connections are secure and properly insulated.
- Reattach the bollard light body to the secured base plate, ensuring a watertight seal.
3.4 Bulb Installation
- Unscrew the top section of the bollard light to access the E27 bulb socket.
- Carefully screw an E27 bulb (max 15W) into the socket until it is firm. Do not overtighten.
- Replace the top section, ensuring it is securely fastened to maintain the IP44 rating.

4. Operating Instructions
Once installed and connected to the power supply, the Hofstein H361 bollard light operates via your external wall switch or timer. There are no integrated controls on the fixture itself.
- To turn the light ON, activate the connected external switch.
- To turn the light OFF, deactivate the connected external switch.

5. Maintenance
5.1 Cleaning
- Ensure the power supply is disconnected before cleaning.
- Wipe the stainless steel and plastic surfaces with a soft, damp cloth.
- Do not use abrasive cleaners, solvents, or harsh chemicals, as these can damage the finish.
5.2 Bulb Replacement
- Disconnect the power supply to the light fixture.
- Unscrew the top section of the bollard light.
- Carefully unscrew the old E27 bulb and replace it with a new E27 bulb (max 15W).
- Securely reattach the top section.
- Reconnect the power supply.
6. Troubleshooting
| Problem | Possible Cause | Solution |
|---|---|---|
| Light does not turn on | No power supply | Check circuit breaker and external switch. |
| Faulty bulb | Replace the E27 bulb. | |
| Loose wiring connection | (Consult a qualified electrician) Check all electrical connections. | |
| Water inside the fixture | Improper sealing after bulb replacement or installation | Ensure all parts are securely fastened and seals are intact. |
7. Specifications
| Model Number | H361 |
| Type of Luminaire | Bollard Light |
| Height | 40 cm |
| Diameter | 10 cm (top), 11 cm (base) |
| Fixture Material | Metal (Stainless Steel) |
| Shade Material | Plastic |
| Fixture Color | Stainless Steel / Silver |
| Shade Color | Clear |
| Usage | Outdoor, Garden, Pathway |
| Style | Modern, Cylindrical |
| Number of Lights | 1 |
| Bulb Socket | E27 |
| Bulb Included | No |
| Replaceable Bulb | Yes |
| Max Wattage per Light | 15 Watt |
| Power Supply | 230 Volt |
| Protection Rating | IP44 |
| Protection Class | I |
| Weight | 1.22 Kilograms |
8. Warranty and Support
Specific warranty information for this product is not provided in the available data. For warranty details or technical support, please contact Hofstein customer service directly or refer to their official website.
Information regarding spare parts availability and software updates is not available.
You can visit the Hofstein brand store for more products and information: Hofstein Brand Store