
1. Introduction
Thank you for choosing the RICOO S1911 Monitor Wall Mount. This manual provides essential information for the safe and correct installation, operation, and maintenance of your new monitor mount. Please read these instructions carefully before beginning installation and keep them for future reference.
The RICOO S1911 is designed for monitors ranging from 13 to 32 inches, supporting VESA mounting patterns of 75x75 mm and 100x100 mm, and a maximum weight of 15 kg. It offers swivel, tilt, and rotation adjustments for optimal viewing flexibility.
2. Safety Information
WARNING: Failure to read and follow these instructions may result in serious personal injury, property damage, or voiding your warranty. If you do not understand these instructions or have doubts about the safety of the installation, please contact RICOO customer support.
- Ensure the mounting surface can safely support the combined weight of the mount and the monitor.
- Do not exceed the maximum weight capacity of 15 kg (33 lbs).
- Use only the provided hardware. If any parts are missing or damaged, contact RICOO for replacement.
- This product is intended for indoor use only.
- Installation should be performed by qualified personnel.
- Keep children and pets away during installation.
- Check all connections regularly to ensure they remain secure.
3. Package Contents
Verify that all components are present before beginning installation. If any parts are missing or damaged, please contact RICOO customer support.
- Pre-assembled Monitor Wall Mount
- Wall Plugs (for concrete walls only)
- Screws for Monitor Attachment
- Screws for Wall Mounting
- Assembly Accessories
- Allen Key for adjustments

Image: Overview of the RICOO S1911 Monitor Wall Mount and its components.
4. Setup and Installation
Follow these steps carefully to install your RICOO S1911 Monitor Wall Mount.
4.1. Check VESA Compatibility and Monitor Weight
Before installation, ensure your monitor is compatible with the VESA standards (75x75 mm or 100x100 mm) and does not exceed the maximum weight capacity of 15 kg (33 lbs).

Image: Visual representation of monitor size compatibility (13-32 inches).

Image: Illustration showing the maximum load capacity of 15 kg.
Measure the horizontal (A) and vertical (B) distances between the mounting holes on the back of your monitor to confirm VESA compatibility.

Image: Diagram illustrating how to measure VESA mounting hole distances (A and B) on the back of a monitor.
4.2. Wall Mounting
- Select a suitable location on the wall, ensuring it is free from electrical wires or plumbing.
- Hold the wall plate against the wall at the desired height and mark the drilling holes.
- Drill pilot holes at the marked locations. For concrete walls, use the provided wall plugs. For other wall types, use appropriate anchors (not included).
- Secure the wall plate to the wall using the wall screws. Ensure it is level and firmly attached.

Image: Diagram showing the wall mount attached to a wall.
4.3. Attaching the VESA Plate to the Monitor
- Carefully place your monitor face down on a soft, clean surface to prevent scratches.
- Align the VESA plate (the X-shaped part of the mount) with the mounting holes on the back of your monitor.
- Secure the VESA plate to the monitor using the appropriate monitor screws from the package. Do not overtighten.

Image: Illustration of the VESA plate being attached to the back of a monitor.
4.4. Hanging the Monitor onto the Wall Mount
- With assistance, carefully lift the monitor with the attached VESA plate.
- Hook the VESA plate onto the wall-mounted arm.
- Secure the monitor to the mount using the two Allen screws provided. This prevents accidental dislodgement.
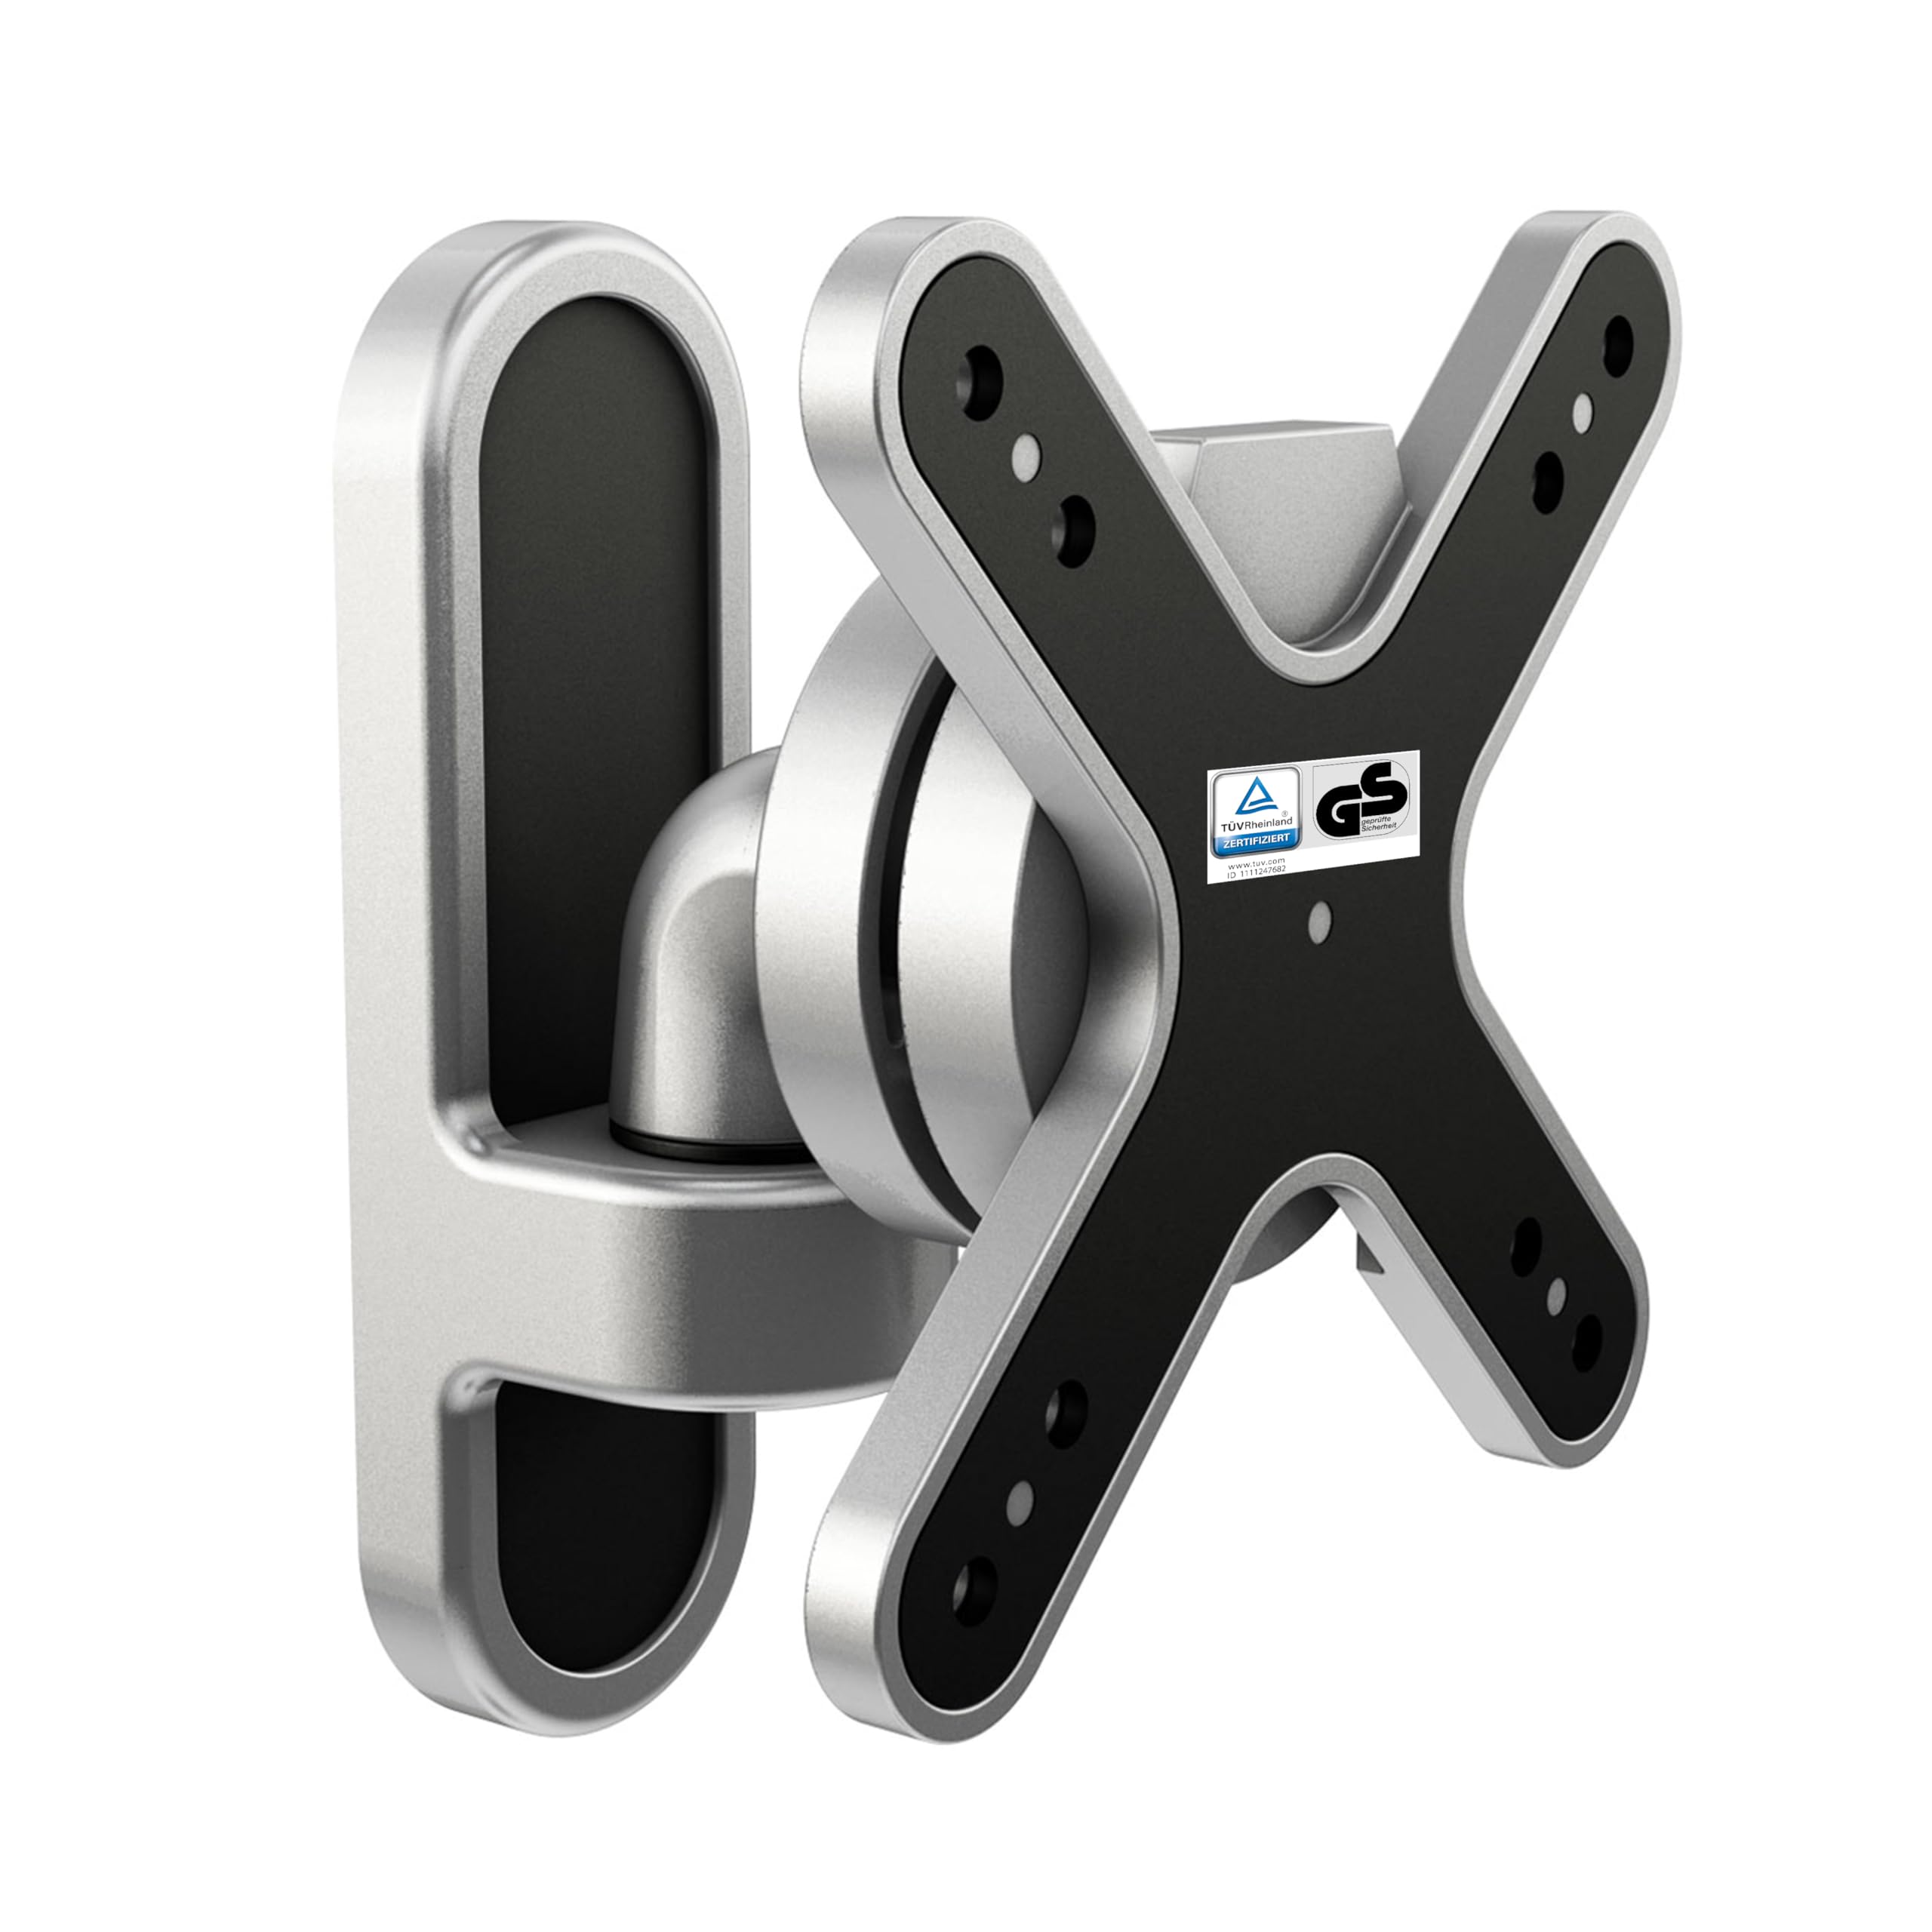
Image: A monitor being effortlessly hung onto the wall mount.
5. Operating Instructions (Adjustments)
The RICOO S1911 allows for various adjustments to achieve your desired viewing angle.

Image: Visual guide for swivel, tilt, and rotation adjustments.
- Swivel: The monitor arm can swivel up to 120 degrees horizontally, depending on the monitor's width. This allows for flexible positioning.
- Tilt: The monitor can be tilted +/- 15 degrees to reduce glare and optimize viewing comfort.
- Rotation: The front plate allows for a full 360-degree rotation, enabling easy switching between landscape and portrait orientations.
- Wall Distance: The mount maintains a wall distance of 98mm.
Use the provided Allen key to adjust the tension of the joints if the monitor is too loose or too stiff. Adjust gradually until the desired movement and stability are achieved.

Image: Illustration of using an Allen key to adjust the tension of the mount's joints.
6. Maintenance
- Periodically check all screws and connections to ensure they are tight and secure.
- Clean the mount with a soft, dry cloth. Avoid abrasive cleaners or solvents.
- Do not lubricate any parts of the mount unless specifically instructed by RICOO.
7. Troubleshooting
| Problem | Possible Cause | Solution |
|---|---|---|
| Monitor sags or does not hold position. | Joints are too loose. | Tighten the adjustment screws on the joints using the Allen key until the desired tension is achieved. |
| Mount feels too stiff to adjust. | Joints are too tight. | Loosen the adjustment screws on the joints slightly using the Allen key. |
| Monitor cannot be attached to the VESA plate. | Incorrect VESA pattern or screw size. | Verify your monitor's VESA pattern (75x75mm or 100x100mm) and ensure you are using the correct screws. Contact RICOO support if issues persist. |
| Mount is not securely attached to the wall. | Improper wall anchors or loose screws. | Ensure appropriate wall anchors are used for your wall type and all wall screws are tightened securely. Consult a professional if unsure. |
8. Specifications
- Model: S1911
- Mounting Type: Wall Mount
- Movement Type: Articulating, Swivel
- Material: Alloy Steel
- Color: Silver
- Compatible Monitor Sizes: 13 - 32 inches (33cm - 81cm diagonal)
- VESA Compatibility: 75x75 mm, 100x100 mm
- Maximum Load Capacity: 15 kg (33 lbs)
- Swivel Range: Up to 120 degrees (depending on monitor width)
- Tilt Range: +/- 15 degrees
- Rotation: 360 degrees (front plate)
- Wall Distance: 98 mm
- Product Weight: 600 grams

Image: Technical drawing with dimensions of the RICOO S1911 mount.

Image: Overview of RICOO S1911 features including 360° rotation, 120° swivel, +/-15° tilt, and TÜV Rheinland certification.
9. Warranty and Support
RICOO provides a statutory warranty of 24 months on new goods. For any questions regarding our products, please do not hesitate to contact us.
Customer Support:
- Email: support@ricoo.de
RICOO is a registered German brand, certified by the European Union Intellectual Property Office, known for quality, safety, technical expertise, and reliability.


