Product Overview
The Jones Stephens P37002 is a 1 1/2 inch PVC P-Trap designed for plumbing drainage systems. This essential component creates a water seal to prevent sewer gases from entering your living space while allowing wastewater to flow freely. Constructed from durable PVC plastic, it offers reliable performance and easy installation for various sink and drain applications.
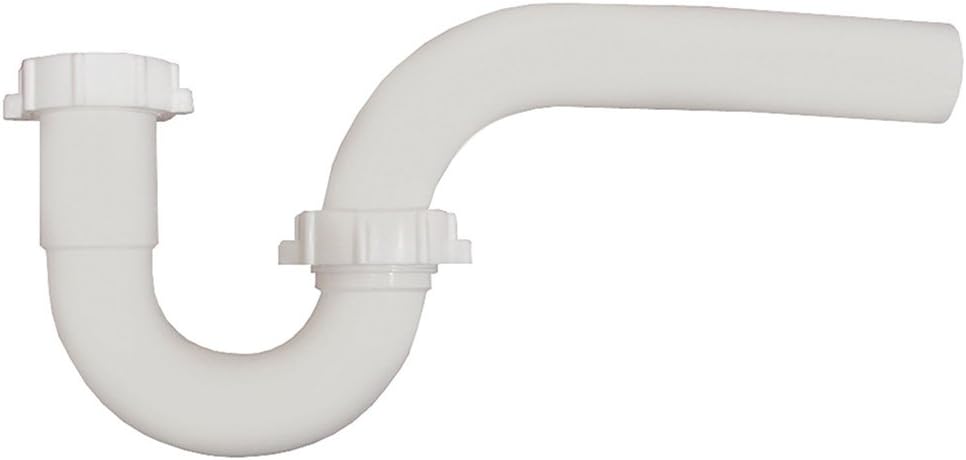
Image: The Jones Stephens P37002 1 1/2 PVC P-Trap, showing its characteristic U-bend and threaded connections for installation in a plumbing system.
Installation Guide
Follow these steps for proper installation of your Jones Stephens P37002 P-Trap. It is recommended to consult a professional plumber if you are unsure about any steps.
Tools and Materials Required:
- Adjustable wrench or slip-joint pliers
- Bucket (for catching residual water)
- Rag or towel
- New P-trap (Jones Stephens P37002)
- Washers and nuts (typically included with the P-trap)
Installation Steps:
- Preparation: Place a bucket directly under the existing P-trap to catch any water. Use an adjustable wrench or pliers to loosen the slip nuts connecting the old P-trap to the tailpiece (coming from the sink drain) and the wall drain. Carefully remove the old P-trap.
- Inspect Connections: Clean any debris from the tailpiece and the wall drain pipe. Ensure the surfaces are smooth for a good seal.
- Assemble New P-Trap: The Jones Stephens P37002 P-trap typically comes in a few pieces. Ensure all necessary washers and slip nuts are correctly positioned on the trap arms.
- Connect to Tailpiece: Slide one end of the P-trap (the inlet side) onto the tailpiece extending from the sink drain. Hand-tighten the slip nut.
- Connect to Wall Drain: Align the other end of the P-trap (the outlet side) with the wall drain pipe. If necessary, you may need to slightly adjust the length of the tailpiece or the wall drain pipe for a proper fit. Hand-tighten the slip nut.
- Final Tightening: Once both ends are aligned and hand-tightened, use an adjustable wrench or pliers to gently tighten the slip nuts. Do not overtighten, as this can crack the PVC. Tighten just enough to create a secure, leak-free seal.
- Test for Leaks: Turn on the water at the sink and let it run for a few minutes. Carefully inspect all connections of the newly installed P-trap for any signs of leaks. If leaks are present, tighten the nuts slightly more or re-check the washer placement.
Function and Operation
The primary function of the Jones Stephens P37002 P-Trap is to create a water seal within your plumbing system. This seal, formed by a small amount of water constantly held in the trap's U-bend, serves two critical purposes:
- Sewer Gas Prevention: It prevents unpleasant and potentially harmful sewer gases from rising through the drain and entering your home.
- Debris Collection: The P-trap also acts as a collection point for heavier debris (such as jewelry, small objects, or hair) that might accidentally fall into the drain, preventing them from entering the main drainage system and causing more severe blockages further down the line.
When water flows down the drain, it pushes the existing water in the trap out and refills it, maintaining the water seal. Regular use of the sink ensures the trap remains filled with water.
Maintenance
Proper maintenance of your P-trap can extend its lifespan and prevent common plumbing issues.
- Regular Cleaning: Periodically, especially if you notice slow drainage, the P-trap may accumulate hair, grease, or other debris. You can clean it by placing a bucket underneath, loosening the slip nuts, and removing the trap. Clean out any blockages and rinse thoroughly before reassembling.
- Leak Inspection: Routinely check around the P-trap connections for any signs of water leaks or drips. Address any leaks promptly by tightening connections or replacing worn washers.
- Avoid Harsh Chemicals: Do not use harsh chemical drain cleaners, as they can damage PVC pipes and fittings over time. Opt for enzymatic cleaners or mechanical methods (like a drain snake or manual cleaning) for clogs.
Troubleshooting
Here are some common issues you might encounter with your P-trap and their potential solutions:
| Problem | Possible Cause | Solution |
|---|---|---|
| Slow Drainage / Clog | Accumulation of hair, grease, soap scum, or foreign objects within the trap. | Remove the P-trap and manually clean out the blockage. Use a drain snake if the clog is further down the line. |
| Water Leakage | Loose slip nuts, damaged or improperly seated washers, cracked PVC. | Tighten slip nuts. Replace old or damaged washers. If the PVC is cracked, the P-trap needs to be replaced. |
| Sewer Odor | P-trap is dry (water seal evaporated), or a vent pipe issue. | Run water down the drain to refill the trap. If the problem persists, consult a plumber as it may indicate a vent pipe blockage or other plumbing system issue. |
Specifications
Detailed specifications for the Jones Stephens P37002 1 1/2 PVC P-Trap:
- Brand: Jones Stephens
- Model Number: P37002
- Material: PVC, Plastic
- Color: White
- Product Dimensions: 7"L x 7"W
- Item Weight: Approximately 0.16 ounces (4.54 g)
- UPC: 717510372021
- Manufacturer: Jones Stephens
Warranty and Support
Specific warranty information for the Jones Stephens P37002 P-Trap is not available in this manual. For details regarding product warranty, technical support, or replacement parts, please visit the official Jones Stephens website or contact their customer service directly. Always refer to the manufacturer's official resources for the most accurate and up-to-date information.
You can often find contact information or support portals on the manufacturer's official website: www.jonesstephens.com


