1. Introduction
This manual provides detailed instructions for the setup, operation, and maintenance of your Avaya B189 IP HD Conference Phone Station. The Avaya B189 is designed to deliver high-definition audio conferencing with its advanced OmniSound technology, ensuring clear communication for all participants. It features an intuitive five-inch color touch screen display for easy navigation and access to various functions. Please read this manual thoroughly to ensure proper use and to maximize the performance of your device.
2. Product Overview
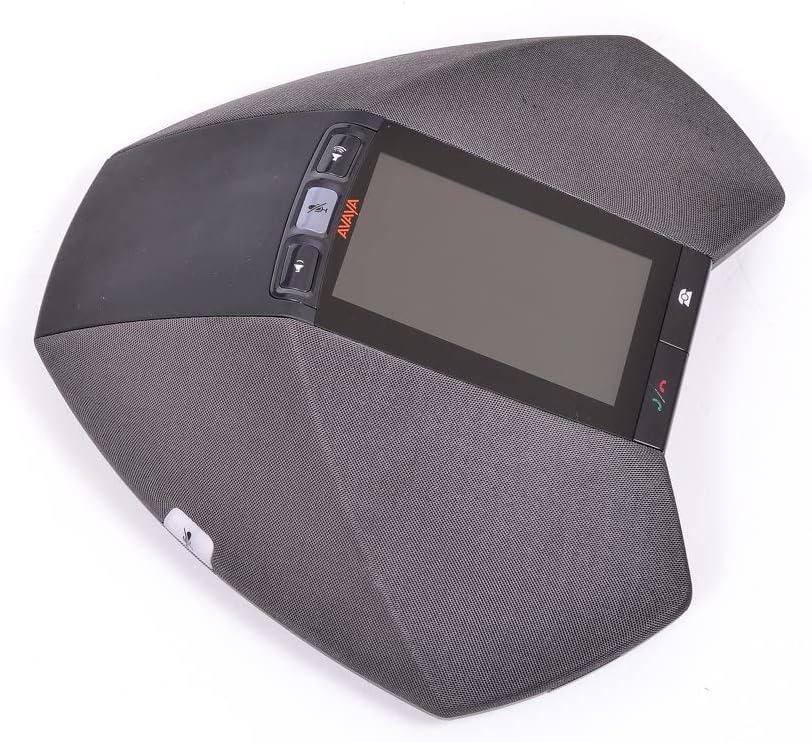
Image 2.1: Avaya B189 IP HD Conference Phone Station. This image displays the top-down view of the conference phone, highlighting its central five-inch color touch screen, the volume and mute control buttons on the left, and call management buttons on the right. The device's integrated speaker grilles are visible around the perimeter.
The Avaya B189 conference phone is engineered for executive boardrooms and large conference environments. Its sleek design integrates a 5-inch color touch screen display for user interaction. Key physical components include:
- Touch Screen Display: A 5-inch (13 cm) color display for menu navigation and call information.
- Control Buttons: Dedicated buttons for volume adjustment, microphone mute, and call handling (answer/end call).
- Integrated Microphones: Multiple microphones for 360-degree audio pickup.
- Integrated Speakers: High-quality speakers for clear audio output.
- Network Port: For connecting to your IP network.
- Power Input: For connecting the power adapter.
3. Setup
Follow these steps to set up your Avaya B189 conference phone:
- Placement: Position the conference phone in the center of your meeting table to ensure optimal microphone pickup and speaker distribution.
- Power Connection: Connect the power adapter to the power input port on the conference phone, then plug the adapter into a suitable electrical outlet. The device is powered via a corded electric source.
- Network Connection: Connect an Ethernet cable from your network switch or router to the network port on the conference phone. This device operates as an IP phone and requires a stable network connection.
- System Compatibility: Ensure your network infrastructure is compatible with Avaya Communication Manager. This device is NOT COMPATIBLE with Avaya IP Office systems.
- Initial Boot-up: Once powered and connected to the network, the phone will begin its boot-up sequence. Follow any on-screen prompts for initial configuration, which may include network settings or registration with your Avaya Communication Manager.
4. Operating Instructions
The Avaya B189 features a user-friendly interface primarily controlled via its 5-inch touch screen and dedicated physical buttons.
4.1. Basic Call Functions
- Making a Call: Use the touch screen to navigate to the dial pad or contact list. Enter the desired number and press the Call button (green phone icon).
- Answering a Call: When an incoming call rings, press the Answer button (green phone icon) on the touch screen or the physical button.
- Ending a Call: Press the End Call button (red phone icon) on the touch screen or the physical button.
- Muting the Microphone: Press the Mute button (microphone icon) to mute or unmute the microphones during a call. The button will typically illuminate when muted.
- Adjusting Volume: Use the Volume Up and Volume Down buttons to adjust the speaker volume during a call or for ringtones.
4.2. Conference Features
The Avaya B189 is designed for multi-party conferencing:
- Adding Participants: During an active call, use the touch screen to find options like 'Add Participant' or 'Conference'. Follow the on-screen prompts to dial another number and merge the calls.
- Managing Participants: The touch screen interface provides options to manage individual participants in a conference, such as muting or disconnecting them, depending on your system's configuration.
4.3. Touch Screen Navigation
The 5-inch color touch screen allows access to various menus and settings:
- Home Screen: Displays current status, time, and quick access icons.
- Menus: Tap on icons or menu options to access features like Call History, Contacts, Settings, and Voicemail.
- Settings: Customize audio profiles, display brightness, network settings, and other preferences through the 'Settings' menu.
5. Maintenance
Proper care and maintenance will extend the life of your Avaya B189 conference phone.
- Cleaning: Use a soft, dry, lint-free cloth to clean the exterior surfaces and the touch screen. For stubborn marks, slightly dampen the cloth with water. Avoid using harsh chemicals, abrasive cleaners, or solvents, as these can damage the device.
- Environment: Keep the device in a dry environment, away from direct sunlight, excessive heat, and moisture. Ensure proper ventilation around the unit.
- Cable Management: Ensure all cables are securely connected and not under strain. Avoid bending or crimping cables sharply.
6. Troubleshooting
This section addresses common issues you might encounter with your Avaya B189.
| Problem | Possible Cause | Solution |
|---|---|---|
| No Power | Power adapter not connected or faulty outlet. | Verify power adapter is securely plugged into the phone and a working electrical outlet. Try a different outlet. |
| No Dial Tone / Network Connection Error | Ethernet cable disconnected or network issue. | Check that the Ethernet cable is securely connected to both the phone and the network port. Verify network connectivity for other devices. Contact your IT administrator if the issue persists. |
| No Audio During Call | Volume too low or microphone muted. | Increase speaker volume using the volume buttons. Ensure the microphone is not muted (check the mute button indicator). |
| Touch Screen Unresponsive | Temporary software glitch. | Restart the device by unplugging and replugging the power adapter. If the issue persists, contact support. |
| Incompatible System | Attempting to use with Avaya IP Office. | The Avaya B189 is only compatible with Avaya Communication Manager. It will not function with Avaya IP Office. |
7. Specifications
Detailed technical specifications for the Avaya B189 IP HD Conference Phone Station:
- Model Number: 700503700
- Product Dimensions (L x W x H): 10 x 10 x 6 inches (25.4 x 25.4 x 15.24 cm)
- Item Weight: 4 pounds (1.81 kg)
- Visible Screen Diagonal: 5 inches (13 cm)
- Color: Black
- Material: Plastic
- Telephone Type: Corded
- Power Source: Corded Electric
- Dialer Type: Single Keypad (via touch screen)
- Answering System Type: Digital
- System Compatibility: Avaya Communication Manager (Not compatible with Avaya IP Office)
8. Warranty and Support
For warranty information, please refer to the documentation provided at the time of purchase or contact your vendor. Avaya provides support for its products through authorized service partners and its official support channels. For technical assistance or service inquiries, please visit the official Avaya support website or contact your system administrator.


