Introduction
This manual provides essential information for the safe and effective use of your Oypla Heavy Duty Metal Gardening Trolley. Please read these instructions carefully before assembly and operation to ensure proper functionality and longevity of the product. This trolley is designed for transporting various items around gardens, allotments, and other outdoor spaces.
Safety Instructions
- Always ensure all components are securely fastened before use.
- Do not exceed the maximum load capacity of 400 kg (880 lbs). Overloading can cause damage to the trolley and may lead to injury.
- Distribute the load evenly across the trolley bed to maintain stability.
- Be cautious when pulling the trolley on uneven or sloped terrain. Reduce speed and maintain a firm grip on the handle.
- Keep hands and feet clear of moving parts, especially during assembly and when operating.
- Store the trolley in a dry, sheltered area to prevent rust and prolong its lifespan.
- This product is not intended for transporting people.
Package Contents
Before beginning assembly, verify that all parts are present and undamaged. If any parts are missing or damaged, do not proceed with assembly and contact customer support.
- Main trolley frame (1)
- Side panels (4)
- Pneumatic wheels (4)
- Pulling handle (1)
- Axles and associated hardware (nuts, bolts, washers, pins)

Figure 1: Component Diagram. This image illustrates the main parts of the gardening trolley, including the foam handle, steel mesh, pneumatic tyres, steel frame, and heavy-duty wheels, along with overall dimensions and capacity.
Setup and Assembly
Some self-assembly is required. It is recommended to have two people for easier assembly. Tools required: two 13mm spanners/sockets, needle-nose pliers, and potentially a metal file or 10mm drill bit for minor adjustments if needed (as per user feedback, though not typically required).
- Attach Wheels: Securely attach the four pneumatic wheels to the axles using the provided hardware. Ensure all nuts and pins are tightened. It is advisable to check tire pressure and inflate if necessary before attaching.
- Assemble Main Frame: Connect the main frame components if they are not pre-assembled.
- Install Side Panels: Attach the four mesh side panels to the main frame. These panels are designed to drop down for easy access or be removed completely.
- Attach Pulling Handle: Secure the pulling handle to the front axle assembly of the trolley. Ensure it pivots freely.
- Final Check: Before first use, double-check all connections and fasteners to ensure they are tight and secure.

Figure 2: Assembled Trolley Structure. This image provides a view of the assembled trolley, highlighting its robust metal frame and mesh sides.
Operating Instructions
Your Oypla gardening trolley is designed for versatile use in various outdoor tasks.
- Loading: Place items evenly within the trolley bed. The heavy-gauge steel mesh sides help secure contents. The trolley has a maximum capacity of 400 kg (880 lbs).
- Maneuverability: Use the ergonomic pulling handle for easy steering. The four 10-inch pneumatic wheels provide smooth movement over various ground types, including grass, gravel, and uneven terrain.
- Versatility with Sides: The side panels can be dropped down for easier loading and unloading of bulky items. They can also be removed completely to convert the trolley into a flat-bed cart, ideal for transporting oversized objects like logs or long planks.
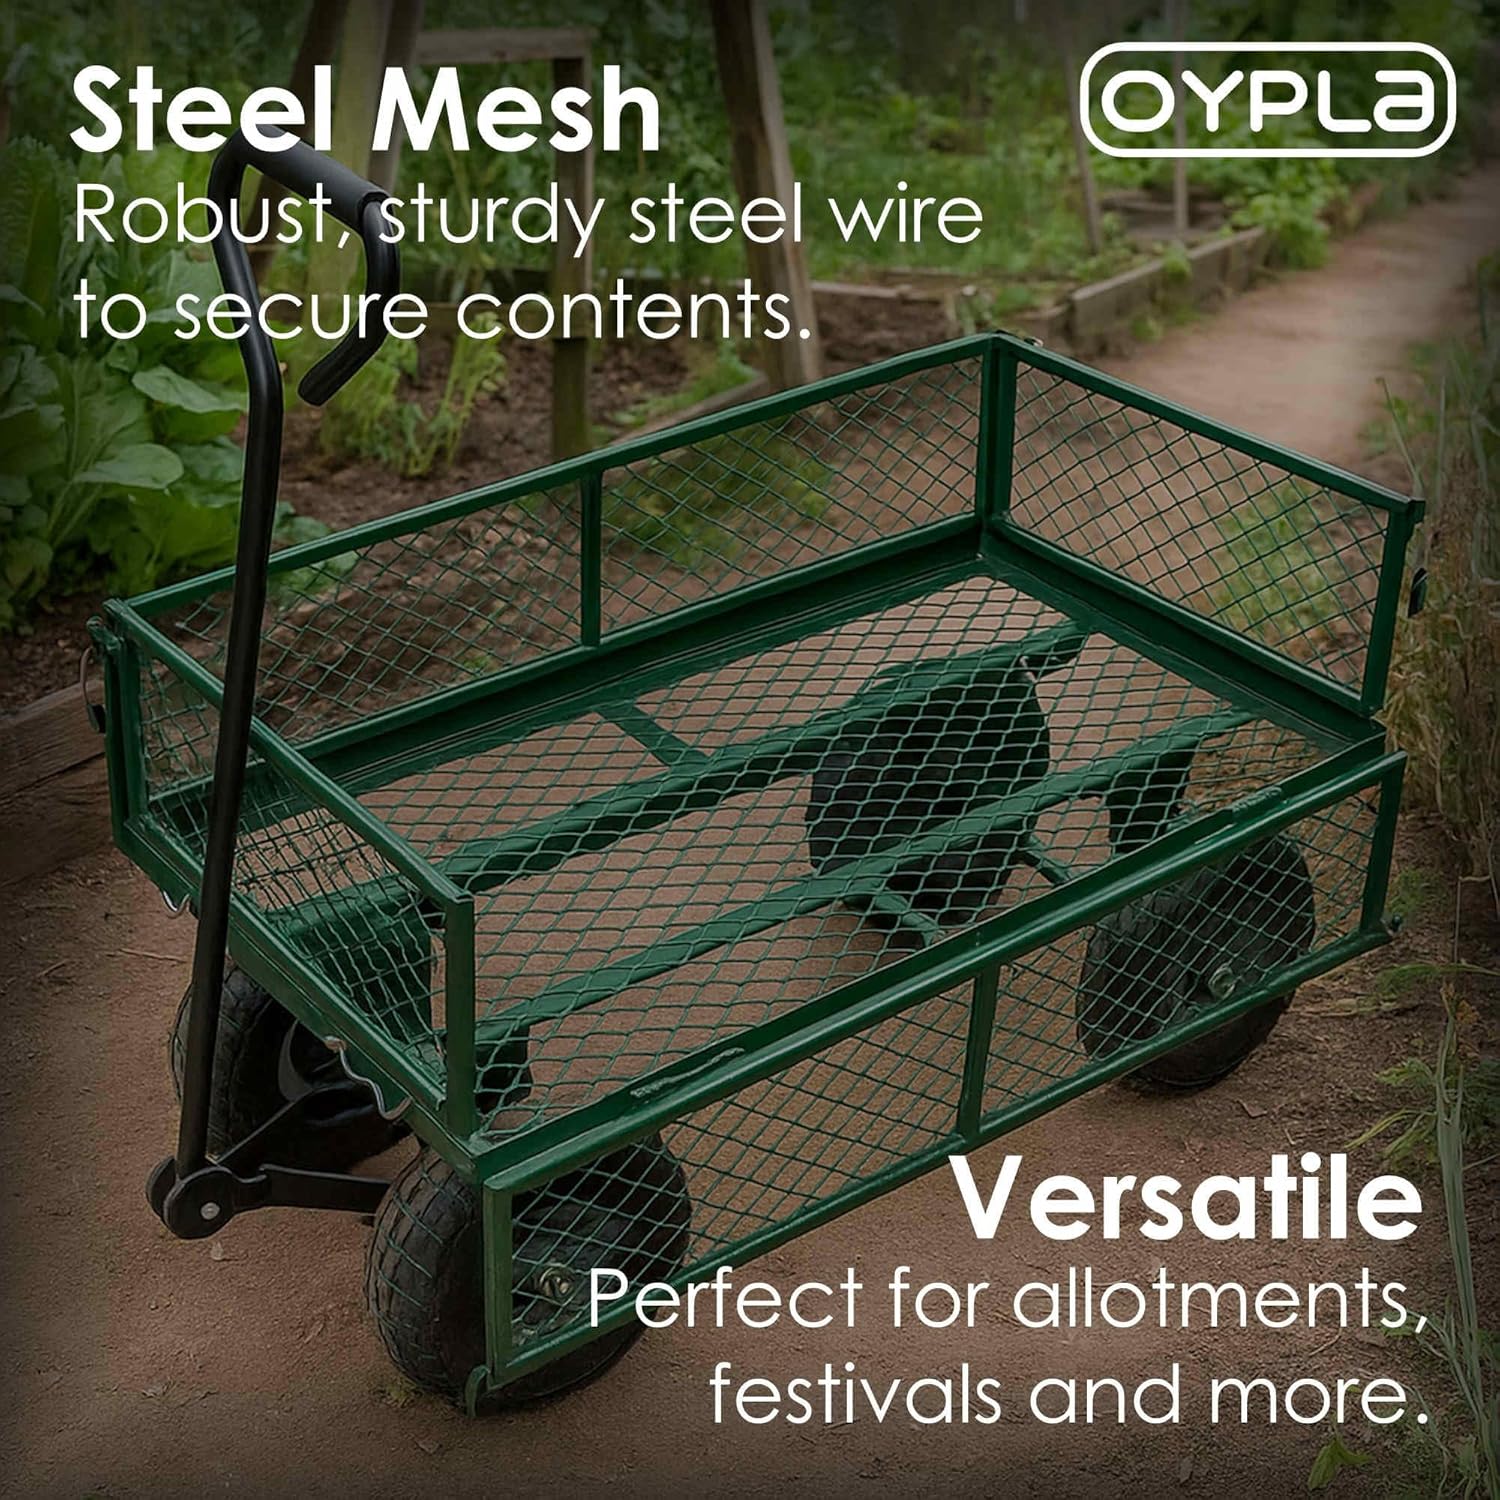
Figure 3: Trolley in Use with Load. This image shows the trolley effectively carrying a substantial load of garden waste, highlighting its capacity and ease of use.

Figure 4: Flat-Bed Configuration. This image demonstrates the trolley's versatility, showing it with all side panels removed for use as a flat-bed cart, suitable for oversized items.
Maintenance
- Cleaning: After each use, especially when transporting dirt or wet materials, clean the trolley with water and a mild detergent. Dry thoroughly to prevent rust.
- Tire Pressure: Periodically check the air pressure in the pneumatic tires. Maintain recommended pressure for optimal performance and stability.
- Lubrication: Apply a light lubricant to moving parts, such as wheel axles and handle pivot points, annually or as needed to ensure smooth operation.
- Fasteners: Regularly inspect all nuts, bolts, and pins for tightness. Tighten any loose fasteners to ensure structural integrity.
- Storage: Store the trolley in a dry, covered area when not in use to protect it from the elements.
Troubleshooting
| Problem | Possible Cause | Solution |
|---|---|---|
| Trolley is difficult to pull or steer. | Low tire pressure; uneven load distribution; seized wheel bearings. | Check and inflate tires to recommended pressure; redistribute load evenly; lubricate wheel axles. |
| Trolley feels unstable. | Overloaded; uneven load; loose fasteners. | Reduce load to within capacity; ensure load is centered; tighten all nuts and bolts. |
| Squeaking noises during operation. | Lack of lubrication on moving parts. | Apply lubricant to wheel axles and handle pivot points. |
Specifications
| Feature | Detail |
|---|---|
| Model Number | 3053OYP |
| Brand | Oypla |
| Product Dimensions (L x W x H) | 950 x 485 x 530 MM (37.4"D x 19.09"W x 20.87"H) |
| Maximum Capacity | 400 kg (880 lbs) |
| Item Weight | 15.41 kg (33.9 lbs) |
| Material | Heavy Gauge Steel Mesh, Alloy Steel Frame |
| Wheel Type | 10-inch Pneumatic Tyres (4 wheels) |
| Color | Green |
| Assembly Required | Yes |

Figure 5: Product Dimensions. This diagram provides the key measurements of the gardening trolley for reference.
Warranty and Support
For any questions, missing parts, or support inquiries regarding your Oypla Heavy Duty Metal Gardening Trolley, please contact the retailer or manufacturer directly. Please retain your proof of purchase for warranty claims, if applicable. Specific warranty terms may vary by region and retailer.
For more information, you may visit the Oypla brand page.


