
1. Introduction
This manual provides instructions for the setup, operation, and maintenance of your Uniden AS7412 Corded Phone. Please read this manual thoroughly before using your new phone.
The Uniden AS7412 is a corded telephone featuring a large LCD display and a speakerphone function, designed for clear communication and ease of use.
2. Product Overview
Key Features:
- FSK/DTMF Caller ID Display
- Large LCD Display with Clock and Call Timer
- Speakerphone Function
- Pre-Dial Function and Last Number Redial
- Anti-Theft Function
- Memory for 50 Incoming Calls and 15 Outgoing Calls
- 8 One-Touch Memory and 10 Two-Touch Memory Functions
- IDD Code and PABX Dial Out Code Setting
- Adjustable LCD Contrast
- Music on Hold
- Adjustable Flash Timing (90/95/100/120/180/300/600/1000mS)
Phone Components:
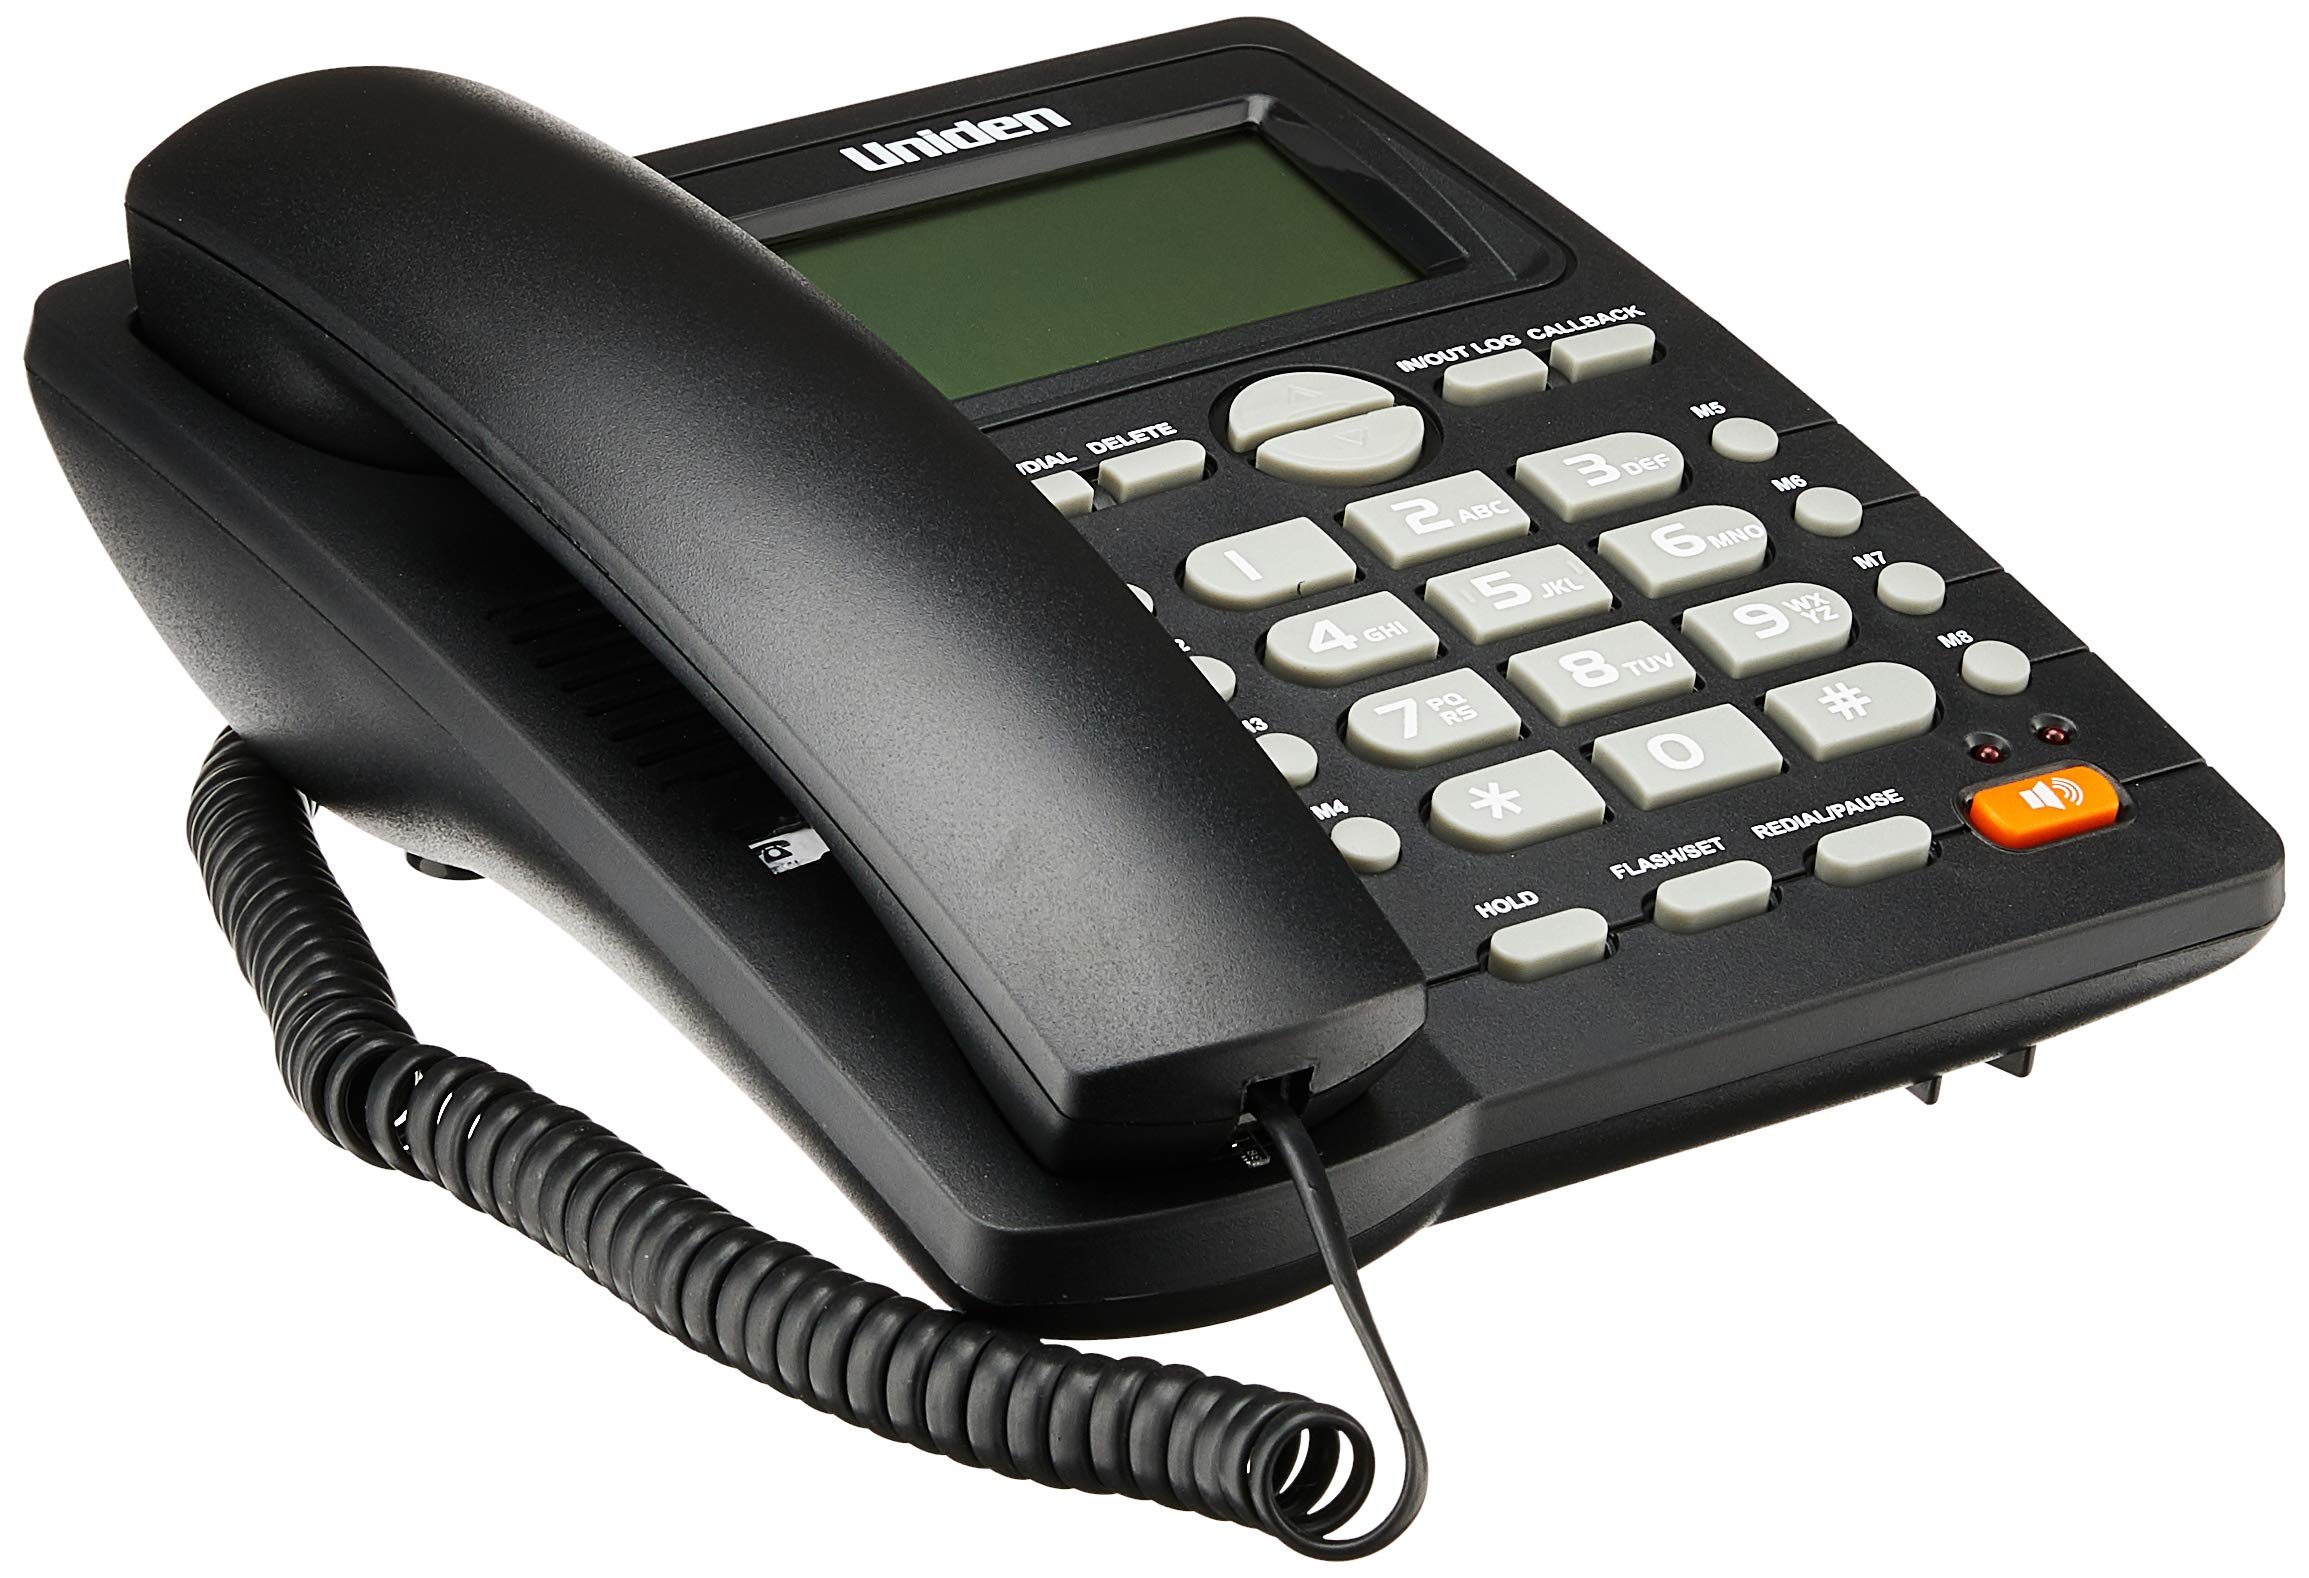
The phone features a standard handset, a numeric keypad, dedicated function buttons, and a large LCD display for caller information and settings. A prominent speakerphone button allows for hands-free communication.

On the rear of the unit, you will find the telephone line input port and a switch for adjusting the ringer volume.
3. Setup
- Connect the Handset: Plug one end of the coiled cord into the handset and the other end into the handset jack on the side of the phone base unit.
- Connect the Telephone Line: Plug one end of the telephone line cord into the "LINE" jack on the rear of the phone base unit (refer to Figure 2). Plug the other end into your telephone wall jack.
- Power Connection: The phone is powered by the telephone line. No external power adapter is required for basic operation.
- Initial Display: Upon connection, the LCD display should illuminate and show the current time or a default standby screen.
4. Operating Instructions
Making a Call:
- Using the Handset: Lift the handset, wait for a dial tone, then dial the desired number using the keypad.
- Using Speakerphone: Press the SPEAKERPHONE button, wait for a dial tone, then dial the desired number. To end the call, press the SPEAKERPHONE button again.
- Pre-Dialing: Dial the number first, then lift the handset or press the SPEAKERPHONE button to initiate the call.
Receiving a Call:
- When the phone rings, lift the handset or press the SPEAKERPHONE button to answer.
Redialing the Last Number:
- Lift the handset or press the SPEAKERPHONE button, then press the REDIAL/PAUSE button.
Caller ID Function:
- When a call comes in, the caller's number (and name, if available and subscribed to service) will be displayed on the LCD screen.
- Use the IN/OUT LOG buttons (up/down arrows) to scroll through the incoming call history.
- To call back a number from the call log, select the number and press the CALLBACK button.
Memory Dialing (One-Touch and Two-Touch):
- Storing Numbers:
- Press STORE/DIAL.
- Dial the phone number you wish to store.
- Press STORE/DIAL again.
- Press the desired memory button (M1-M8 for one-touch, or a numeric key for two-touch).
- Dialing from Memory:
- One-Touch: Lift the handset or press SPEAKERPHONE, then press the desired memory button (M1-M8).
- Two-Touch: Lift the handset or press SPEAKERPHONE, then press STORE/DIAL followed by the numeric key where the number is stored.
Adjusting LCD Contrast:
- Refer to the on-screen menu or specific button combination (often involving FLASH/SET or similar) to access display settings and adjust contrast for optimal readability.
5. Maintenance
- Cleaning: Wipe the phone with a soft, damp cloth. Do not use harsh chemicals or abrasive cleaners.
- Location: Place the phone on a stable surface, away from direct sunlight, heat sources, and moisture.
- Cords: Ensure all cords are securely connected and not tangled or pinched.
6. Troubleshooting
| Problem | Possible Cause | Solution |
|---|---|---|
| No dial tone | Telephone line cord is disconnected or faulty. | Check the telephone line connection at both the phone and the wall jack. Try a different line cord if available. |
| LCD display is blank or dim | Contrast setting is too low or phone line power issue. | Adjust the LCD contrast setting. Ensure the phone line is active. |
| Cannot make or receive calls | Incorrect line connection or service issue. | Verify all connections. Contact your telephone service provider if the issue persists. |
| Ringer does not sound | Ringer volume is set to OFF. | Adjust the ringer volume switch on the rear of the phone to LOW or HI (refer to Figure 2). |
7. Specifications
| Feature | Detail |
|---|---|
| Brand | Uniden |
| Model | AS7412 |
| Colour | Black |
| Telephone Type | Corded |
| Material | Plastic |
| Power Source | Corded Electric (Line Powered) |
| Dialler Type | Single Keypad |
| Dimensions (L x W x H) | 21.8 x 7 x 22 centimetres |
| Item Weight | 650 Grams |
| Multiline Operation | Single-Line Operation |
| Caller Identification | Yes (FSK/DTMF) |
| Manufacturer | UNIDEN |
8. Warranty and Support
For warranty information and technical support, please refer to the warranty card included with your product or visit the official Uniden website. Keep your purchase receipt as proof of purchase.
Note: Product specifications and features are subject to change without notice.


