
ViewTV AT-163
ViewTV AT-163 ATSC Digital TV Converter Box and Media Player
Model: AT-163
Brand: ViewTV
Introduction
The ViewTV AT-163 ATSC Digital TV Converter Box is designed to convert digital broadcasts to analog TV, allowing you to receive and enjoy local TV shows and news. It also functions as a media player with PVR (Personal Video Recorder) capabilities, offering HDMI, Coaxial, Composite, and USB input/output options. This manual provides detailed instructions for setting up, operating, and maintaining your AT-163 converter box.
Setup Instructions
Follow these steps to set up your ViewTV AT-163 converter box:
- Power Connection: Plug the ViewTV device into a wall outlet.

Image: The ViewTV AT-163 converter box and its remote control, illustrating the compact size of the unit.
- Antenna Connection: Plug your antenna (RF compatible only) into the ViewTV RF IN port on the back of the unit.

Image: The rear panel of the ViewTV AT-163 converter box, highlighting the various input and output ports including RF IN, HDMI, and AV connections.
- Video Output Connection (AV): Plug the provided AV cable into the matching ViewTV converter box AV OUT port.
- Video Output Connection (HDMI - for HD support): For HD support, use the provided HDMI Cable and plug it into the HDMI OUT port.
- TV Connection: Plug the other end of the AV/HDMI cable into your TV’s AV/HDMI IN port.
- Coaxial Connection (Optional): An RF/Coaxial cable is also compatible. If using this, please set your TV output to channel 3.
Important Notes:
- While this device has limited QAM/Cable capability, it is NOT officially supported due to incompatibility issues with some cable providers. Do NOT purchase this device solely for QAM/Cable use. It will work ONLY with DECRYPTED channels and may NOT work with all Cable providers.
- Old TVs with analog tuners will NOT allow you to watch one channel and record another with this device.
- To delete channels, go to Select Menu, Program, and enter password 000000.
- New HDTVs WILL allow you to watch one channel using the TV's digital tuner and record another, but you MUST enable "Loop Through" under MENU/Channel Search/Modulation.
- European DVB-T RF signal is NOT supported and will NOT work.
- Please REMOVE the clear plastic covering from the top of the ViewTV Box before use, as it can cause the box to overheat.
- ATS/Broadcast television is 100% guaranteed to work and is fully supported.
Operating Instructions
This section provides basic operating instructions for the ViewTV AT-163. For optimal performance, it is recommended to use an external self-powered USB 2.0 hard disk drive for recording functions.
General Tips:
- EXIT Button: The EXIT button takes you back one step and will be used frequently.
- Volume Controls: The volume controls on the remote are dependent on the TV's volume setting. If the TV volume is 0, the PVR remote will not change the sound. If the PVR remote is at full volume and the sound is too quiet, use the TV remote to increase the volume.
- Time Format: All times are based on a 24-hour clock (e.g., 8:00 PM is 20:00).
- Remote Control Use: Aim the remote at the PVR box and press buttons firmly. If a button does not seem to respond, wait a few seconds before pressing again. Avoid pressing buttons multiple times rapidly.
- Freezing Issues: If the PVR freezes on a screen for a few minutes, try pressing the power button on the front. If it still doesn't respond, switch off the power using a power strip, wait a minute, then turn it back on. (Do not plug the hard drive into the same power strip if it's not self-powered).
- Timed Recordings: Any timed recording takes precedence over a program you are watching live or from the DVR. The recording mode will begin whether the unit is on, in standby, watching a time-shifted live program, or watching a recorded event.
How to Record a Show in the Future (Timer Recording):
- Turn on your TV and set the input to PVR.
- Turn on the PVR.
- Press the TIMER button on the remote.
- Press 1 to add a new timed program.
- To EDIT an existing program, use the direction keys to highlight it and press 2.
- To DELETE an existing program, use the direction keys to highlight it and press 3.
- Use the arrow direction keys to select the item you wish to edit.
- When changing the date or time, use the arrow keys to navigate to the number you want to change, then use the number keypad to enter the new number. After pressing the first number, the underline automatically moves to the next one.
- Once all data is entered and correct, press the OK button to confirm, then press EXIT to return to the previous screen. If you are not going to use the PVR to watch TV, press the POWER button to put the unit into standby.
How to Record a Show Using the Program Guide (EPG):
This is useful for recording programs at specific times or if you want to record one show while watching another.
- Turn on your TV and set the input to PVR.
- Turn on the PVR.
- Press the EPG (Electronic Program Guide) button.
- Use the arrow keys to select the correct channel shown at the top of the screen.
- The guide will populate more items as they are received from the airwaves.
- Use the arrow keys to select the program you want to record.
- Press OK to confirm selection, then OK again to confirm recording. Press EXIT then POWER to put the unit into standby. Change the TV input back to TV if you want to watch a live broadcast while the PVR records another channel.
How to Pause Live Television (Time-Shift):
This feature allows you to pause live TV and skip commercials.
- Turn on your TV and set the input to PVR.
- Turn on the PVR.
- Set the desired channel using the channel keys.
- At any point you wish to pause the program, press the PAUSE key. A slight delay will occur as the PVR enters time-shift mode, and the picture will pause with a time bar shown below. To remove the time bar, press INFO.
- While in time-shift mode, you can fast-forward (FWD) or rewind (REV) from the point you first paused the TV up to live TV. Press PLAY to resume playing at the selected point.
- Each subsequent press of FWD or REV increases the speed (e.g., 2x, 4x, 8x), displayed on the top of the screen. Press PLAY to resume playing at any point.
- If you change the channel, the PVR will cancel the time-shifted recording in memory.
- Press the STOP key to cancel time-shift and stay on the current channel.
How to Watch a Recorded Program:
Recorded files are named with the channel, date, and time. You can preview and play them from the PVR list.
- Turn on your TV and set the input to PVR.
- Turn on the PVR.
- Press the PVR LIST button.
- Use the arrow keys to select a program and press OK to start playback.
- If this is not the correct show, use the arrow keys to select a different one and press OK.
- If the show on the mini-screen is the one you want, press the HOLD key to display it full screen.
- Use PAUSE, PLAY, fast-forward (FWD), or rewind (REV) to navigate through the program and skip commercials.
- To delete a program, return to the PVR LIST view, select the program you want to delete, and press EPG. Confirm selection with OK, and then confirm deletion by pressing OK again.
Key Features
- Converts Digital Broadcasts to Analog TV for older televisions.
- Equipped with HDMI output for high-definition viewing.
- Features auto-tuning for easy channel setup.
- Includes Electronic Programming Guide (EPG) for convenient program browsing.
- Recording PVR function allows for real-time and scheduled recording to a USB flash drive or hard drive.

Image: A hand inserting a USB drive into the front USB port of the ViewTV AT-163, demonstrating the real-time and scheduled recording capability.
- Supports Closed Captioning.
- Allows creation of a Favorite Channel List.
- Parental Control function for managing content access.
- Compact and sleek design fits perfectly anywhere.

Image: The ViewTV AT-163 converter box positioned neatly on a TV stand in a living room, showcasing its compact and sleek design.
- Supports both Digital and Analog televisions.
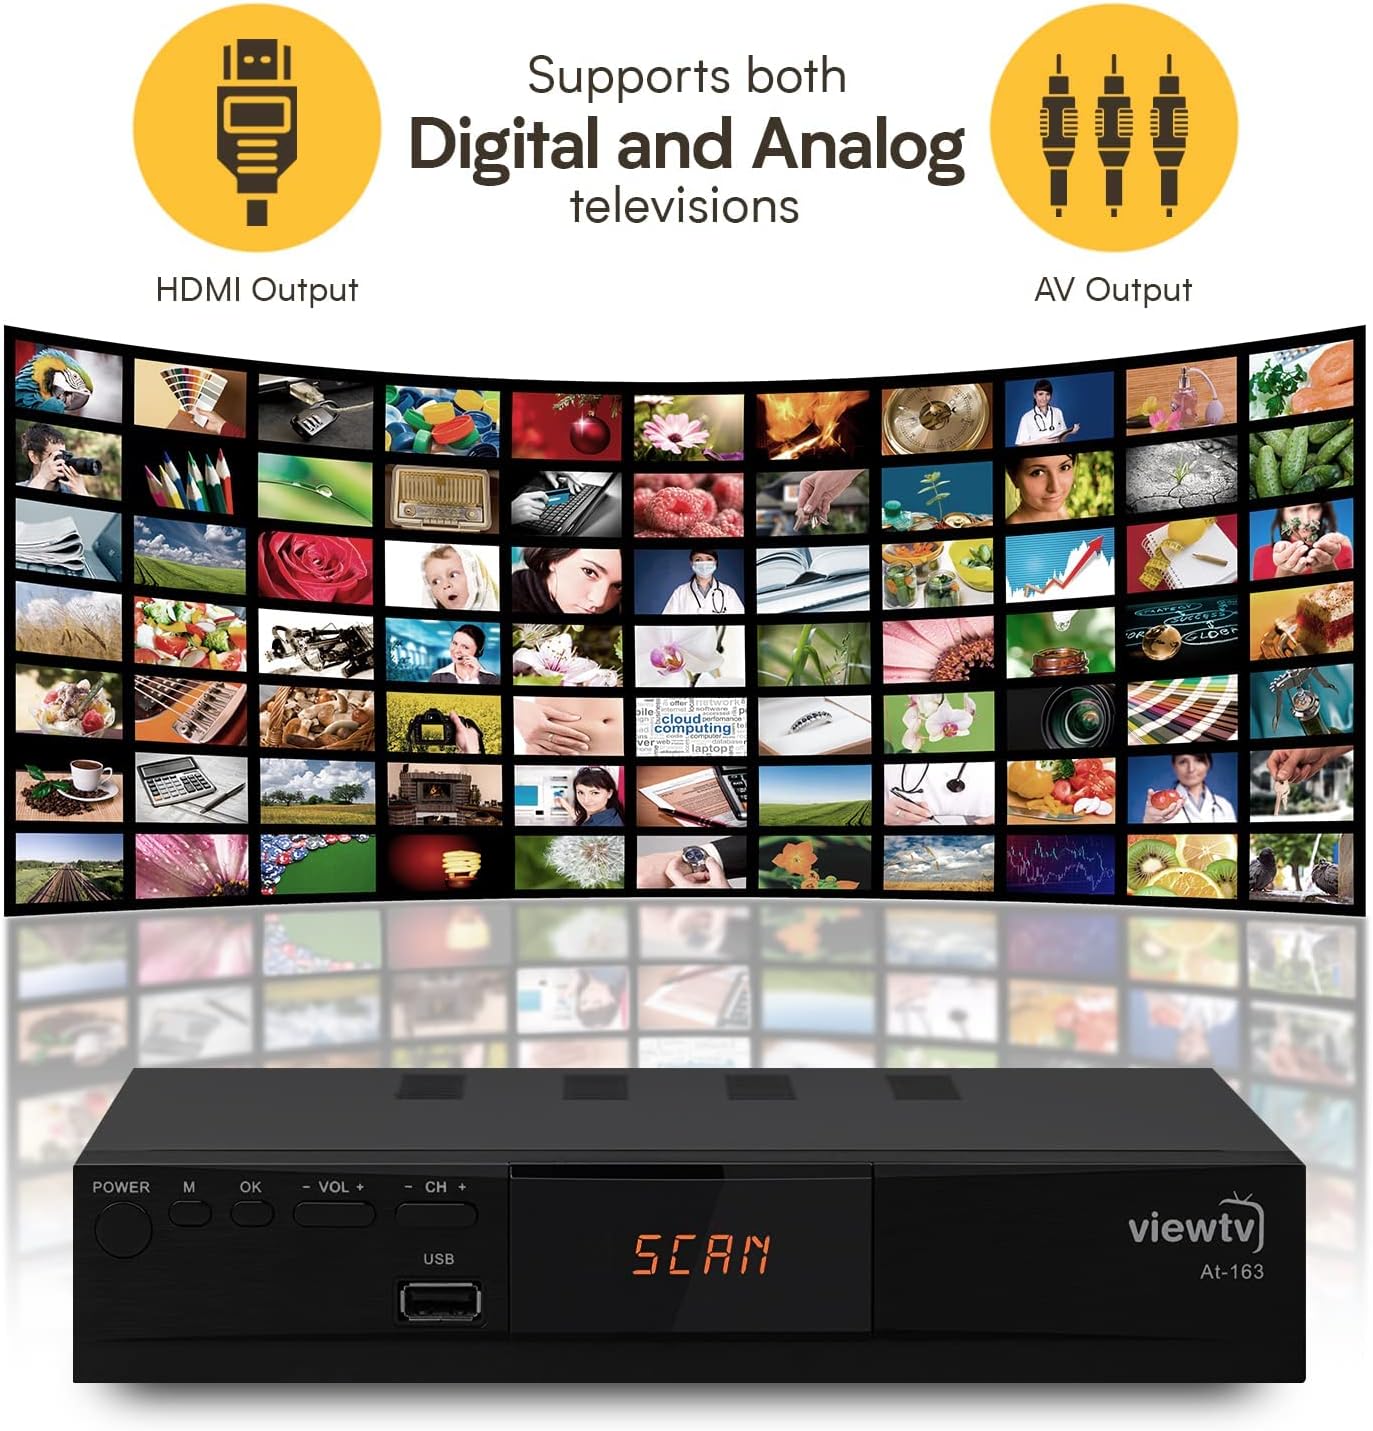
Image: The ViewTV AT-163 converter box in the foreground, with a background collage of various television screens, illustrating its compatibility with both digital and analog TVs.
Official Product Video
Video: An official product video showcasing the ViewTV ATSC Digital Converter Box for TV, highlighting its features and ease of use.
Specifications
| Brand | ViewTV |
| Model Number | AT-163 |
| Mounting Type | Coaxial, Surface Mount, Plug Mount |
| Number of Pins | 25 |
| Interface Type | USB, HDMI, Coaxial |
| Number of Channels | 16 |
| UPC | 848441023727 |
| Product Dimensions | 10.2 x 9.8 x 2.1 inches |
| Item Weight | 1.74 pounds |
| Date First Available | November 5, 2013 |
Troubleshooting
If you encounter issues with your ViewTV AT-163, please refer to the following common troubleshooting steps:
- No Signal/Poor Picture Quality:
- Ensure your antenna is properly connected to the RF IN port.
- Perform a channel scan from the menu.
- Adjust antenna position for better reception.
- Check all cable connections (HDMI, AV, Coaxial) to your TV.
- No Sound:
- Check the volume level on both the converter box and your TV.
- Ensure audio cables (if using AV) are correctly connected.
- Recording Issues:
- Ensure a compatible USB storage device (preferably a self-powered hard drive) is connected and has sufficient free space.
- Check that the USB device is formatted correctly (FAT32 or NTFS).
- Verify recording settings and timer schedules.
- Remote Control Not Responding:
- Replace the batteries in the remote control.
- Ensure there are no obstructions between the remote and the converter box's IR sensor.
- Overheating:
- Ensure the clear plastic covering has been removed from the top of the unit.
- Place the unit in a well-ventilated area, away from direct sunlight or heat sources.
If problems persist, please contact ViewTV customer support as provided on your warranty card.
Warranty and Support
For warranty information and technical support, please refer to the documentation included with your ViewTV AT-163 converter box, such as the warranty card or quick start guide. You can also visit the official ViewTV website for the latest support resources and contact information.
For customer support, please use the contact information provided on your warranty card.
Related documentsAT-163


Ask a question about this manual
Ask about setup, troubleshooting, compatibility, parts, safety, or missing instructions. Manuals+ will review the question and use this page’s manual context to help answer it.