
Puig 1517W
Puig Vision SEMIFAIRING Spare Panel (Model 1517W) Instruction Manual
Model: 1517W | Brand: Puig
1. Introduction
This document serves as the official instruction manual for the Puig Vision SEMIFAIRING Spare Panel, model 1517W. It provides essential information regarding the product's components, installation procedures, maintenance guidelines, and general usage recommendations. Please read this manual thoroughly before attempting installation or use to ensure proper fitment and longevity of the product.
2. Product Overview
The Puig Vision SEMIFAIRING Spare Panel is a replacement component designed to integrate seamlessly with your existing Puig Vision semi-fairing system. It is constructed from durable, clear material to provide optimal visibility and aerodynamic performance.
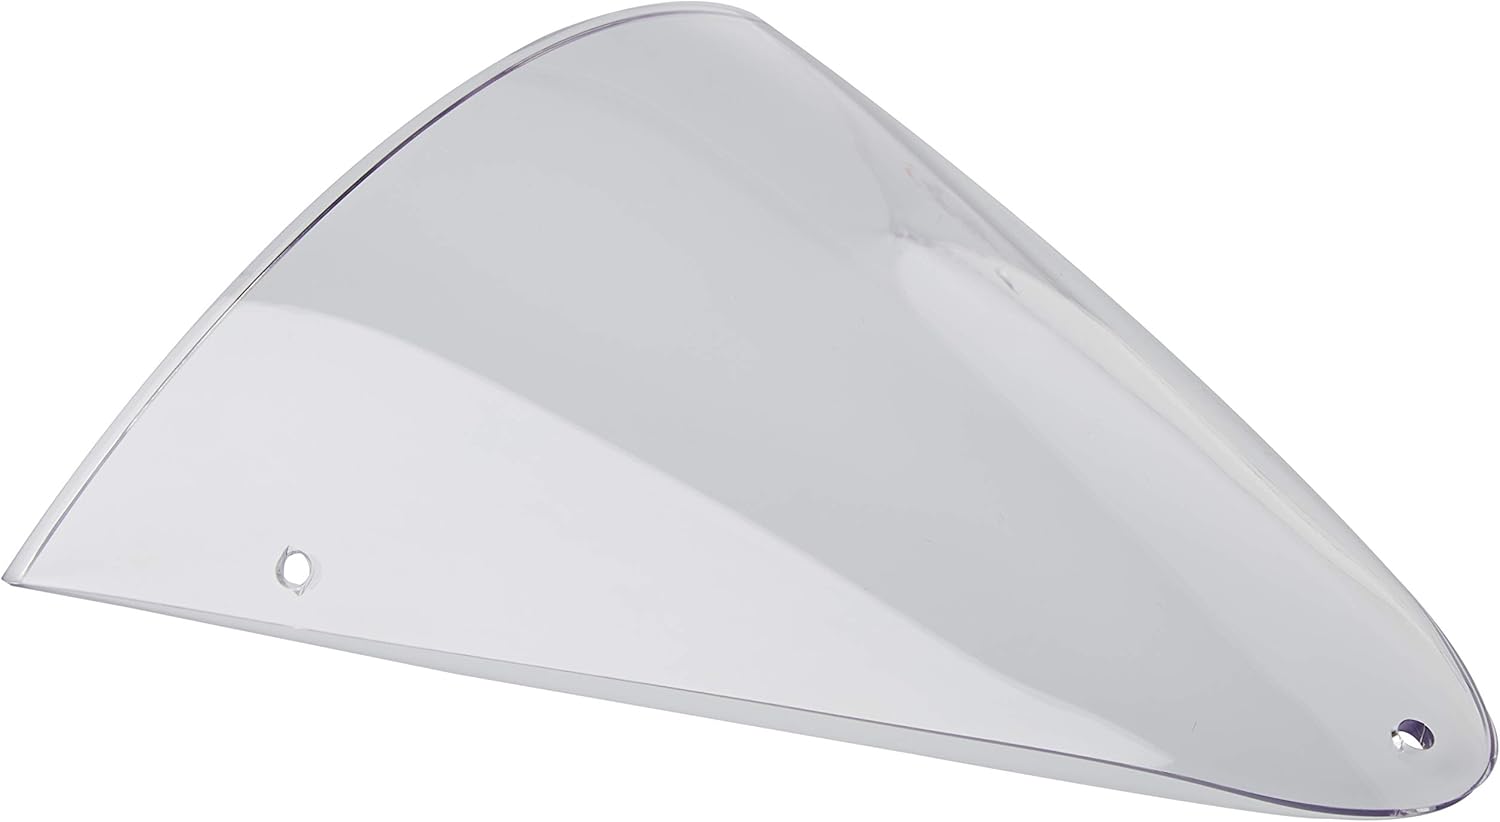
Figure 2.1: Front view of the Puig Vision SEMIFAIRING Spare Panel. This image displays the clear, aerodynamic shape of the replacement panel, highlighting its primary form and the pre-drilled mounting holes.
2.1. Components Included
The package includes the following items:
- 1x Puig Vision SEMIFAIRING Spare Panel (Clear)
- Mounting Hardware Kit (screws, rubber nuts, washers, caps)

Figure 2.2: Included mounting hardware. This image shows the various components of the mounting kit, including screws, rubber nuts, washers, and decorative caps, all necessary for securing the fairing panel.
3. Setup and Installation
Before beginning installation, ensure you have all components listed in Section 2.1 and appropriate tools (e.g., screwdriver, hex keys). It is recommended to perform installation in a clean, well-lit area.
- Prepare the Mounting Area: If replacing an existing panel, carefully remove the old panel and its hardware. Clean the mounting surfaces on your motorcycle's semi-fairing to ensure a secure and flush fit.
- Position the Spare Panel: Align the new Puig Vision SEMIFAIRING Spare Panel with the mounting points on your motorcycle's semi-fairing. Ensure the pre-drilled holes on the panel match the corresponding holes on the fairing structure.
- Insert Rubber Nuts: Gently insert the rubber nuts into the mounting holes on the motorcycle's fairing structure. These nuts provide vibration dampening and a secure fit for the screws.
- Secure with Screws: Place the panel over the rubber nuts and insert the provided screws through the panel's holes and into the rubber nuts. Hand-tighten all screws initially to ensure proper alignment.
- Final Tightening: Once all screws are in place and the panel is correctly aligned, progressively tighten each screw. Do not overtighten, as this can damage the panel or the rubber nuts. Ensure a snug and secure fit.
- Install Caps (Optional): If decorative caps are included, press them firmly over the screw heads for a finished appearance.
- Verify Installation: After installation, gently check the panel for any looseness or improper fitment. Ensure it is securely attached and does not obstruct any controls or lighting.

Figure 3.1: Angled view of the panel. This image provides a perspective of the panel's curvature and the placement of the Puig logo, which can assist in correct orientation during installation.

Figure 3.2: Rear view of the panel. This image shows the reverse side of the panel, which can be helpful for understanding how the mounting points align with the fairing's internal structure.
4. Usage Considerations
The Puig Vision SEMIFAIRING Spare Panel is designed to enhance the aesthetics and aerodynamics of your motorcycle. Ensure the panel is always clean and free from obstructions to maintain optimal visibility. Regularly inspect mounting hardware for tightness, especially after long rides or exposure to vibrations.
5. Maintenance
Proper maintenance will extend the life and clarity of your fairing panel.
- Cleaning: Use a soft cloth and mild soap with water to clean the panel. Avoid abrasive cleaners, solvents, or harsh chemicals, as these can scratch or damage the clear material. Rinse thoroughly with clean water and dry with a soft, lint-free cloth.
- Inspection: Periodically inspect the panel for cracks, scratches, or signs of wear. Check all mounting hardware for corrosion or looseness and tighten as necessary.
6. Troubleshooting
- Panel is Loose:
Check all mounting screws. Ensure they are tightened securely but not overtightened. Inspect rubber nuts for damage or wear; replace if necessary.
- Reduced Visibility:
Clean the panel thoroughly using the recommended cleaning procedure. If scratches are present, consider professional polishing or replacement if visibility is significantly impaired.
- Vibration Noise:
Ensure all mounting points are secure. The rubber nuts are designed to reduce vibration; verify they are correctly seated and not damaged.
7. Specifications
| Attribute | Detail |
|---|---|
| Brand | Puig |
| Model Number | 1517W |
| Color | Clear |
| Material | Transparent/Clear |
| Item Weight | 4.2 ounces |
| Package Dimensions | 11.26 x 8.7 x 2.8 inches |
| Number of Pieces | 1 (panel) |
| Installation Type | Mechanical Fasteners (Screws, Rubber Nuts) Note: While 'Self-Adhesive' is listed in some general specifications, this product includes mechanical fasteners for secure installation. |
| Auto Part Position | Front |
8. Support
For technical assistance, replacement parts, or further inquiries regarding your Puig Vision SEMIFAIRING Spare Panel, please contact Puig customer support through their official website or authorized distributors. When contacting support, please provide your product model number (1517W) and a detailed description of your issue.
Ask a question about this manual
Ask about setup, troubleshooting, compatibility, parts, safety, or missing instructions. Manuals+ will review the question and use this page’s manual context to help answer it.