
1. Introduction
This manual provides detailed instructions for the safe and effective use of your Meike MK950C TTL Speedlite Camera Flash. Please read this manual thoroughly before using the product to ensure proper operation and to prevent damage to the unit or your camera. The Meike MK950C is designed to be compatible with various EOS cameras, offering advanced flash photography capabilities.

Image 1.1: Front view of the Meike MK950C TTL Speedlite Camera Flash. This image displays the overall design of the flash unit, including the flash head and main body.
2. Safety Precautions
- Do not disassemble or attempt to repair the flash unit yourself. Refer to qualified service personnel.
- Keep the flash unit dry. Do not expose it to rain, moisture, or high humidity.
- Avoid direct eye exposure to the flash light, especially at close range, as it can cause temporary vision impairment.
- Use only specified batteries. Incorrect battery types or improper installation can lead to leakage, overheating, or explosion.
- Keep out of reach of children.
- Do not operate the flash in the presence of flammable gases or liquids.
3. Package Contents
Please check that all items are present in your package:
- Meike MK950C TTL Speedlite Camera Flash
- Protective Bag
- Mini Stand
- User Manual (this document)
4. Product Overview and Parts Identification
Familiarize yourself with the various parts of the Meike MK950C flash unit:
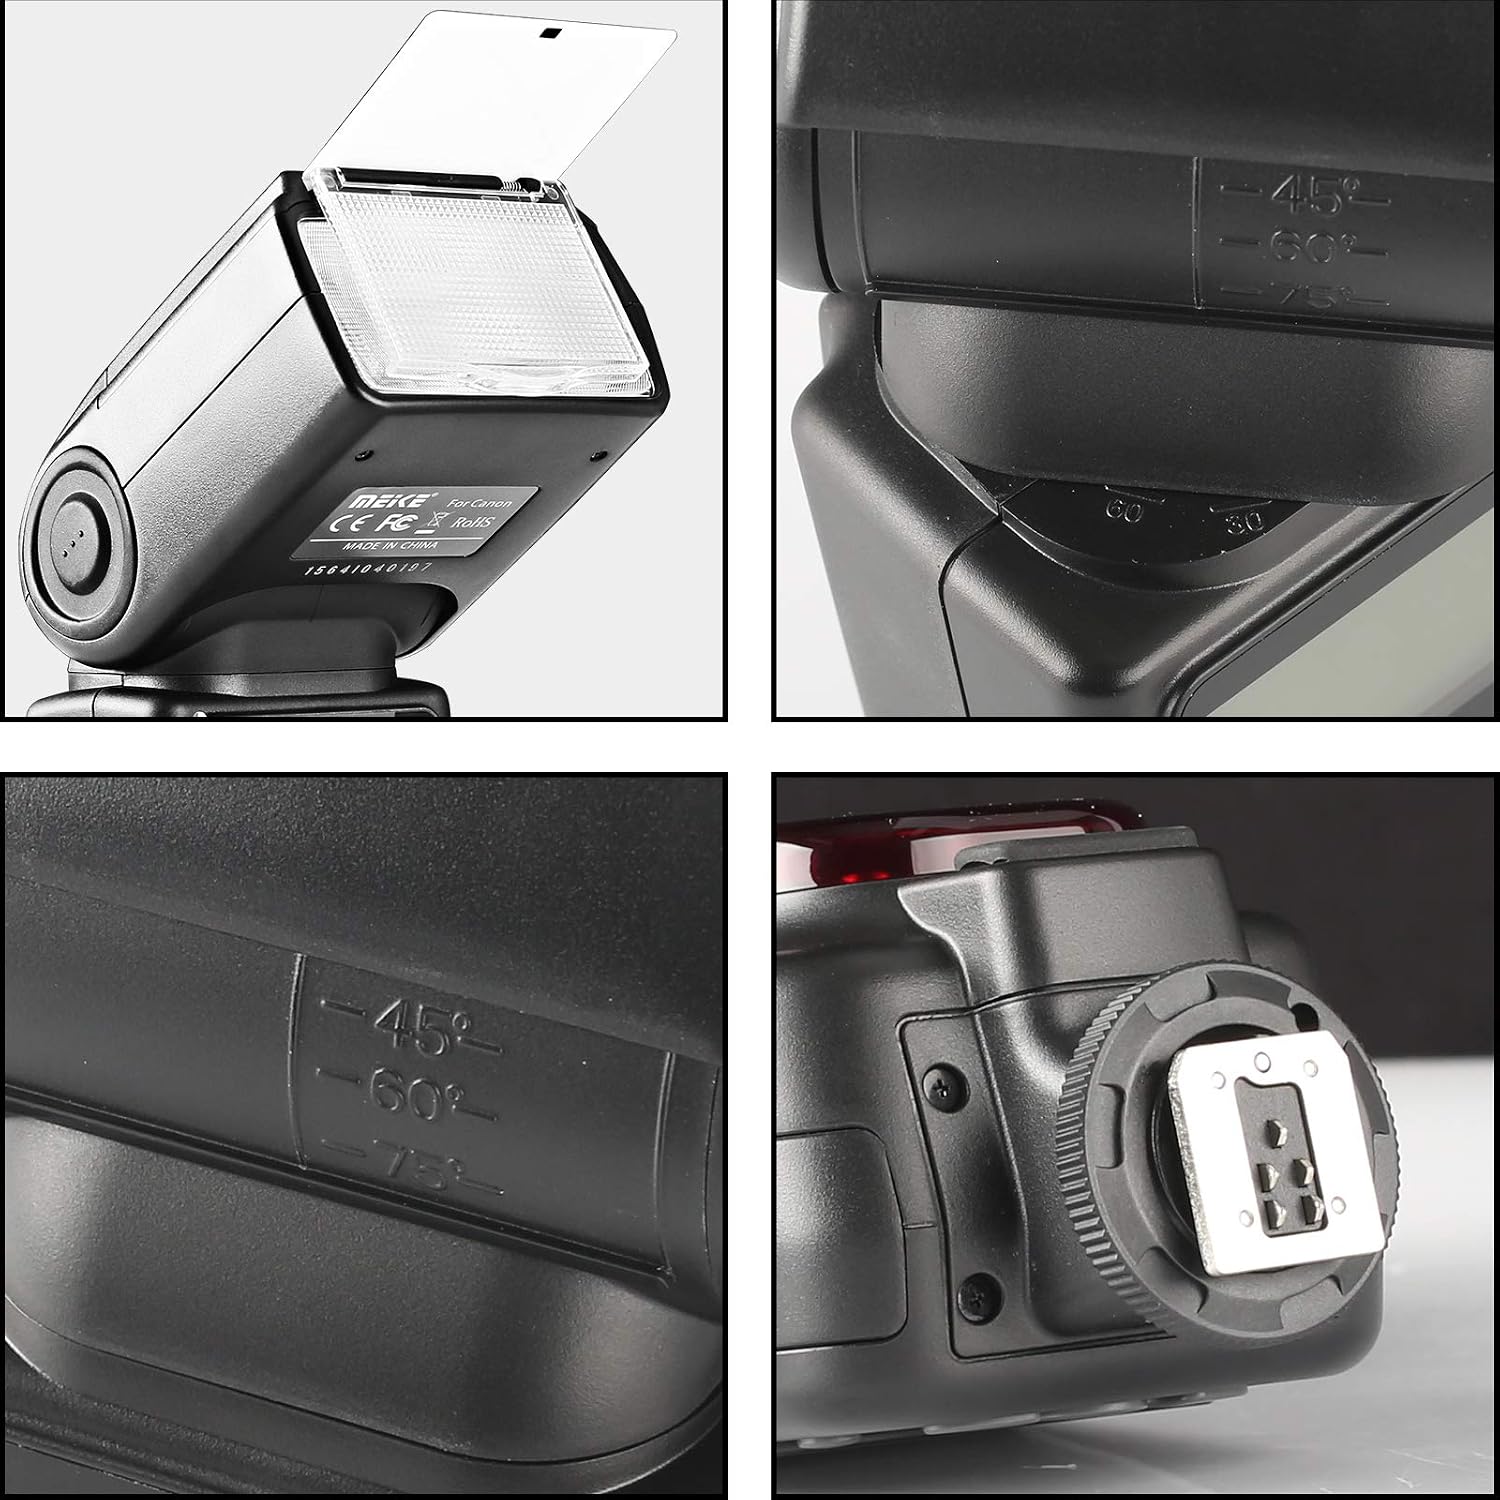
Image 4.1: Labeled diagram of the Meike MK950C flash unit. This diagram identifies key components such as the LCD display, control buttons, flash head, battery cover, PC terminal, external power socket, and hot shoe.
- LCD Display: Shows current settings and status.
- Test Button (PILOT): Fires a test flash and indicates charging status.
- Mode Button: Cycles through flash modes (TTL, Manual, Multi).
- Charging Indicator: Lights up when the flash is ready to fire.
- Adjustment Buttons (<left>, <right>): Used to navigate menus and adjust settings.
- SET Button: Confirms selections.
- Power ON/OFF Button: Turns the flash unit on or off.
- Zoom Button: Adjusts the flash zoom head position.
- Wide-angle Diffuser: Pulls out to spread light for wider coverage.
- Reflector Panel: Pulls out to create catchlights in eyes.
- Flash Head: The light-emitting part of the unit.
- Battery Cover: Access for battery installation.
- PC Terminal (for input): Connects to cameras or triggers via a PC sync cable.
- External Power Socket (connect SD-8A socket): For connecting an external power pack to reduce recycle time.
- Hot Shoe: Mounts the flash onto the camera's hot shoe.
5. Setup
5.1 Battery Installation
- Open the battery cover located on the side of the flash unit.
- Insert four AA-size batteries (alkaline or Ni-MH rechargeable) according to the polarity indicators inside the battery compartment.
- Close the battery cover securely.
5.2 Mounting to Camera Hot Shoe
- Ensure both the flash and camera are turned off.
- Slide the flash unit's hot shoe into the camera's hot shoe mount until it clicks into place.
- Tighten the locking ring on the flash unit to secure it firmly to the camera.
5.3 Connecting External Power Pack
For faster recycle times and extended shooting, an external power pack (e.g., SD-8A) can be connected.
- Locate the external power socket on the side of the flash unit.
- Connect the appropriate cable from your external power pack to this socket.

Image 5.1: Side view of the Meike MK950C, showing the PC terminal and external power socket. These ports allow for wired synchronization and connection to external power sources.
5.4 Connecting PC Synchronous Port
The standard PC synchronous port allows for wired flash synchronization with cameras or studio triggers that support this connection.
- Locate the PC terminal on the side of the flash unit.
- Connect a PC sync cable from your camera or trigger to this port.
6. Operating Instructions
6.1 Power On/Off
Press and hold the Power ON/OFF button to turn the flash unit on or off. The LCD display will illuminate upon power-on.

Image 6.1: Close-up of the Meike MK950C control panel and LCD display. This image highlights the buttons for PILOT, MODE, ZOOM, ON/OFF, and the adjustment buttons, along with the SET button.
6.2 Mode Selection
Press the Mode button to cycle through the available flash modes:
- TTL (Through-The-Lens): Automatic flash exposure based on camera metering.
- M (Manual): Allows manual adjustment of flash output power.
- Multi (Stroboflash): Fires a series of rapid flashes during a single exposure for creative effects.

Image 6.2: Overview of Meike MK950C key features, including GN58, TTL/i-TTL, Stroboflash, Exposure Compensation, and Manual Setting. This graphic illustrates the primary operational capabilities of the flash unit.
6.3 Zoom Adjustment
Press the Zoom button to adjust the flash head's zoom position. This allows the flash to match the focal length of your lens for optimal light coverage. The zoom range is typically displayed on the LCD.
6.4 Exposure Compensation
In TTL mode, you can adjust flash exposure compensation using the adjustment buttons to fine-tune the flash output for desired brightness.
6.5 High-Speed Continuous Shooting
The MK950C supports high-speed continuous shooting at 8 frames per second (FPS) when the flash output level is set to 1/8 or below. This feature is useful for capturing fast-moving subjects.
6.6 Power Saving Mode
The flash unit features an improved power saving mode. In this mode, the flash will automatically shut down sooner when idle to conserve battery life. For non-saving mode, the automatic shutdown time is extended.
6.7 Super Speed Charging Recycle
The flash unit boasts a fast charging recycle time. It takes approximately 3 seconds to recycle after a full power output. Even without new batteries, the recycle speed is typically 4-5 seconds. Connecting an external power pack can further accelerate the charging speed.
6.8 Flash Head Rotation
The flash head can be rotated vertically and horizontally to bounce light off ceilings or walls, creating softer and more natural illumination.
- Vertical Rotation Angle: 0–90 degrees
- Horizontal Rotation Angle: 90–180 degrees

Image 6.3: Diagram illustrating the vertical and horizontal rotation capabilities of the Meike MK950C flash head. This flexibility allows for bounce flash techniques.
6.9 Using the Diffuser Plate and Reflector Panel
The built-in wide-angle diffuser and reflector panel can be pulled out from the flash head.
- Wide-angle Diffuser: Pull out the diffuser to spread the flash light evenly, especially useful for wide-angle lenses or to soften harsh light. It helps to eliminate dark corners in wide shots.
- Reflector Panel: Pull out the reflector panel to create a catchlight in the subject's eyes when using bounce flash.

Image 6.4: Illustration of the diffuser plate extended from the Meike MK950C flash head. The diffuser helps to spread light evenly and prevent dark corners in images.
7. Maintenance
- Clean the flash unit regularly with a soft, dry cloth. Do not use solvents or abrasive cleaners.
- Ensure the hot shoe contacts are clean and free of debris for reliable communication with the camera.
- Remove batteries if the flash unit will not be used for an extended period to prevent leakage.
- Store the flash in a cool, dry place, away from direct sunlight and extreme temperatures.
8. Troubleshooting
| Problem | Possible Cause | Solution |
|---|---|---|
| Flash does not fire |
|
|
| Flash output is too weak/strong |
|
|
| Long recycle time |
|
|
| Flash head does not rotate smoothly |
|
|
9. Specifications
| Feature | Specification |
|---|---|
| Model | MK-950C |
| Guide Number | Not explicitly stated in specifications, but image 6.2 indicates GN58. |
| Compatible Mountings | Canon EOS (as per product title), Hot Shoe Mount |
| Flash Modes | TTL, Manual, Multi (Stroboflash) |
| Wireless Communication Technology | Optical Pulse (Slave mode) |
| Vertical Rotation Angle | 0-90 degrees |
| Horizontal Rotation Angle | 90-180 degrees |
| Power Source | 4 x AA batteries |
| Recycle Time | Approx. 3 seconds (full power output) |
| Item Weight | 1.04 pounds |
| Package Dimensions | 8.35 x 3.66 x 2.72 inches |
| Manufacturer | HK Meike |
10. Warranty and Support
For warranty information and technical support, please refer to the documentation provided with your purchase or contact the manufacturer directly. Keep your proof of purchase for any warranty claims.
Manufacturer: MEKE
For further assistance, visit the official Meike website or contact their customer service department.