
1. Introduction
This manual provides essential information for the safe and effective operation, maintenance, and troubleshooting of your Skil 1558AA Electric Planer. Please read these instructions carefully before using the tool and keep them for future reference.
The Skil 1558AA is a precise and easy-to-handle electric planer designed for planing surfaces and chamfering edges on wood. Its 600 W motor provides sufficient power for various planing tasks, and it features an easy and precise depth adjustment mechanism.
2. Safety Instructions
Always observe the following general safety warnings for power tools to reduce the risk of electric shock, fire, and serious injury.
- Work Area Safety: Keep the work area clean and well-lit. Cluttered or dark areas invite accidents. Do not operate power tools in explosive atmospheres, such as in the presence of flammable liquids, gases, or dust.
- Electrical Safety: Power tool plugs must match the outlet. Never modify the plug in any way. Avoid body contact with earthed or grounded surfaces. Do not expose power tools to rain or wet conditions.
- Personal Safety: Always wear eye protection, hearing protection, and a dust mask when operating the planer. Dress properly; avoid loose clothing or jewelry. Secure long hair.
- Tool Use and Care: Do not force the power tool. Use the correct power tool for your application. Disconnect the plug from the power source before making any adjustments, changing accessories, or storing power tools.
- Maintenance: Maintain power tools. Check for misalignment or binding of moving parts, breakage of parts, and any other condition that may affect the power tool's operation.
3. Product Components
Familiarize yourself with the main parts of your Skil 1558AA Electric Planer.

- Depth Adjustment Knob: Used to set the desired planing depth.
- Front Handle: Provides control and stability during operation.
- Rear Handle with Trigger: Main grip with power switch.
- Planing Base: The flat surface that glides over the workpiece.
- Dust Extraction Port: For connecting a dust bag or vacuum cleaner.
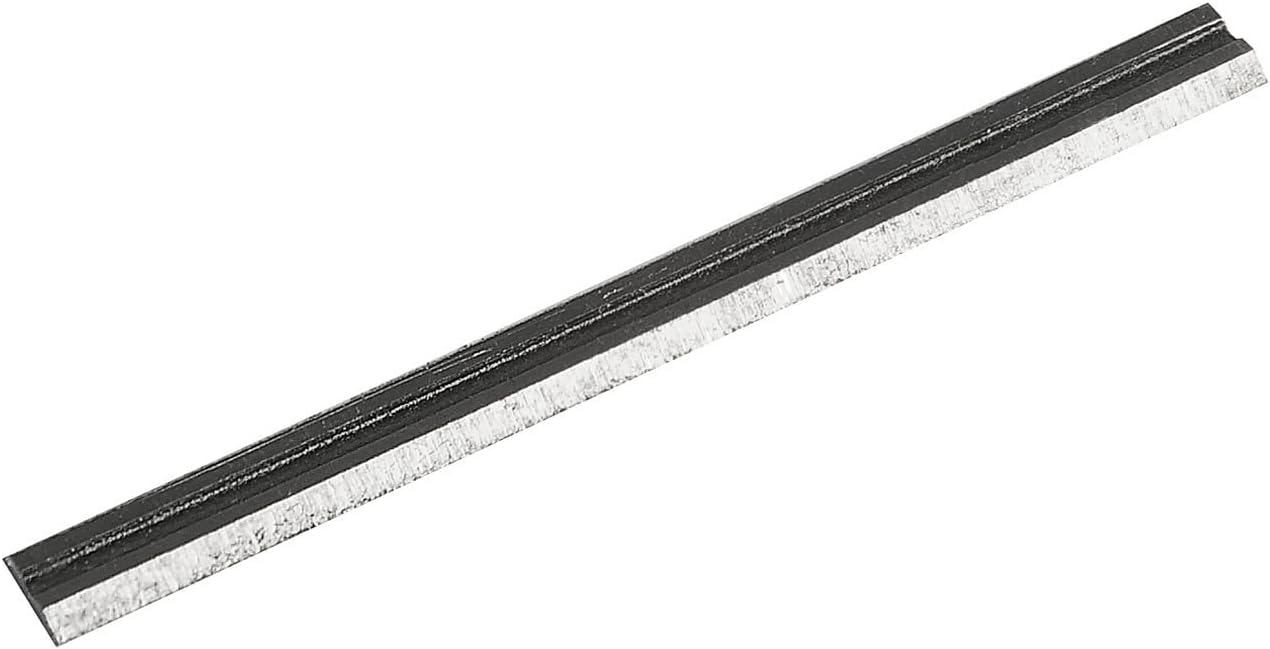
- Reversible Blades: Two-sided blades for extended use.


4. Setup
4.1. Blade Installation and Adjustment
Ensure the planer is unplugged before performing any adjustments or maintenance.
- Using the hexagonal key, loosen the screws securing the planer blades.
- Carefully remove the old or dull blade. Handle blades with extreme caution as they are very sharp.
- Insert a new or flipped reversible blade, ensuring it is correctly seated and aligned.
- Tighten the screws firmly to secure the blade. Repeat for the second blade.
4.2. Connecting Dust Extraction
For a cleaner work environment, connect a dust bag or a vacuum cleaner to the dust extraction port.

4.3. Adjusting Planing Depth
The planing depth can be adjusted between 0-2 mm using the front depth adjustment knob.

- Rotate the depth adjustment knob at the front of the tool to the desired planing depth.
- Start with a shallow depth for initial passes and increase gradually if needed.
5. Operating Instructions
5.1. General Planing Technique
Always ensure the workpiece is securely clamped before planing.

- Hold the planer firmly with both hands.
- Place the front of the planer's base flat on the workpiece, ensuring the blades are not touching the surface.
- Start the motor by pressing the trigger switch. Allow the motor to reach full speed before engaging the blades with the wood.
- Apply even pressure and move the planer smoothly across the workpiece. Maintain a consistent speed for a uniform finish.
- At the end of the pass, lift the planer off the workpiece only after the blades have cleared the edge and the motor has stopped.

5.2. Chamfering Edges
The planer can also be used to create chamfered edges. Use the V-groove in the front shoe for this purpose.
- Align the V-groove with the edge to be chamfered.
- Start the planer and guide it along the edge, maintaining consistent pressure and angle.
6. Maintenance
Regular maintenance ensures the longevity and optimal performance of your planer. Always unplug the tool before any maintenance.
6.1. Cleaning
- After each use, clean the tool with a soft brush or cloth to remove dust and wood chips.
- Ensure the ventilation openings are clear of debris to prevent overheating.
- Do not use water or chemical cleaners.
6.2. Blade Replacement
When both sides of the reversible blades are dull, they must be replaced. Refer to Section 4.1 for detailed instructions on blade installation.
6.3. Storage
Store the planer in a dry, secure place out of reach of children. Protect it from dust and moisture.
7. Troubleshooting
This section addresses common issues you might encounter with your electric planer.
| Problem | Possible Cause | Solution |
|---|---|---|
| Planer does not start. | No power supply; faulty switch; motor issue. | Check power connection. Ensure switch is fully engaged. If problem persists, consult a qualified technician. |
| Poor planing result (uneven surface, tear-out). | Dull or damaged blades; incorrect planing depth; inconsistent feed rate. | Replace or flip blades. Adjust planing depth. Maintain a steady, even feed rate. |
| Excessive vibration or noise. | Loose blades; damaged motor bearings; foreign object in blade area. | Check and tighten blade screws. Inspect for foreign objects (unplug first!). If noise persists, seek professional service. |
| Dust extraction ineffective. | Clogged dust port/hose; full dust bag. | Clear any blockages in the port or hose. Empty the dust bag. |
8. Specifications
| Feature | Detail |
|---|---|
| Brand | Skil |
| Model Number | F0151558AA |
| Power Source | Electric |
| Power (W) | 600 W |
| Planing Width | 82 mm |
| Planing Depth | 0-2 mm |
| Max Rotation Speed | 17000 RPM |
| Product Weight | 2.5 Kilograms |
| Material (Housing) | Aluminum |
| Base Material | Aluminum |
| Color | Black |
| Included Components | 2 Reversible Blades, Hexagonal Key for blade changes, Key compartment, Dust extraction adapter |
9. Warranty and Support
For warranty information, technical support, or service inquiries, please refer to the warranty card included with your product or visit the official Skil website. Keep your purchase receipt as proof of purchase for warranty claims.
Official Skil Website: www.skil.com
