
Introduction
The Audiopipe XV3XP Variable 3-Way Crossover is designed to optimize your car audio system by separating audio signals into distinct frequency ranges for subwoofers, mid-range speakers, and tweeters. This allows each speaker to reproduce only the frequencies it is designed for, resulting in clearer sound, improved dynamics, and reduced distortion. Proper installation and adjustment are crucial for optimal performance.
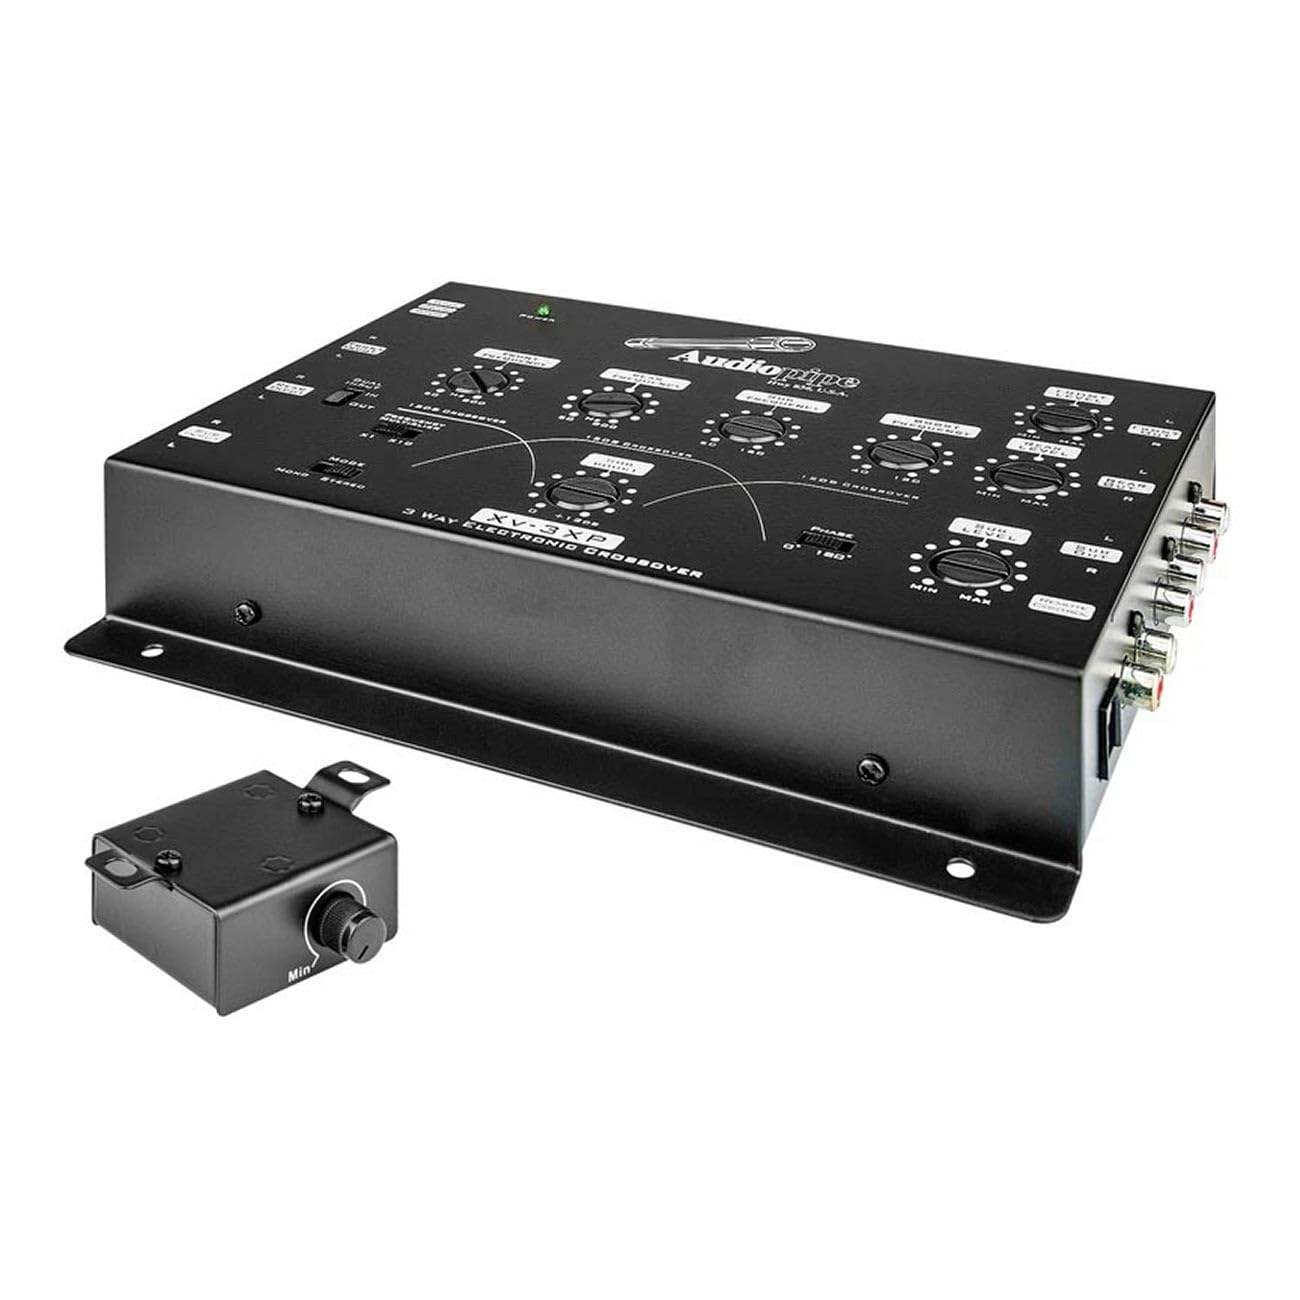
Image: Overall view of the Audiopipe XV3XP Variable 3-Way Crossover unit and its remote bass control knob.
Safety Information
- Always disconnect the vehicle's battery before performing any electrical work.
- Ensure all wiring is properly insulated to prevent short circuits.
- Mount the crossover securely to prevent it from becoming a projectile in case of sudden stops or accidents.
- Avoid installing the unit in locations exposed to excessive heat, moisture, or direct sunlight.
- Consult a professional car audio installer if you are unsure about any installation steps.
Package Contents
Verify that all items are present before beginning installation:
- Audiopipe XV3XP Variable 3-Way Crossover Unit
- Remote Bass Control Knob
- Mounting Hardware (screws)
- Power/Ground/Remote Connector
Setup and Installation
Careful installation is essential for optimal performance and safety.
1. Mounting
Choose a dry, well-ventilated location away from heat sources and direct sunlight. Secure the crossover unit using the provided mounting hardware. Ensure there is enough space for wiring connections and adjustments.
2. Wiring Connections
Refer to the diagram below for proper wiring. All connections should be secure and properly insulated.

Image: Rear panel of the Audiopipe XV3XP, illustrating RCA input/output jacks and the power terminal block.
- Power (+12V): Connect to a fused constant +12V power source from the vehicle's battery.
- Ground (GND): Connect to a clean, solid chassis ground point.
- Remote (REM): Connect to the remote turn-on output of your head unit or other signal source.
- Input (RCA): Connect the RCA outputs from your head unit or signal processor to the crossover's input jacks.
- Output (RCA): Connect the crossover's outputs (LOW, MID, HIGH) to the corresponding amplifier inputs.
3. Remote Bass Control Knob
Connect the remote bass control knob to the designated port on the crossover unit. Mount the knob in an accessible location for easy adjustment.

Image: The remote bass control knob for the Audiopipe XV3XP, showing its adjustment dial.
Operating Instructions
The Audiopipe XV3XP features various controls to fine-tune your audio system. Familiarize yourself with each control for optimal sound.

Image: Top view of the Audiopipe XV3XP, highlighting the various control knobs for gain, frequency, and phase, along with mode switches.
Control Functions:
- Input Gain: Adjusts the input sensitivity to match the output level of your head unit. Start with minimum gain and slowly increase until desired volume is achieved without distortion.
- Crossover Frequency (LOW, MID, HIGH): These knobs set the cutoff points for each frequency band. Adjust them to match the frequency response capabilities of your speakers and subwoofers.
- Phase Switch (0°/180°): Allows you to adjust the phase of the output signal. Experiment with both settings to find the one that provides the most coherent sound, especially for subwoofers.
- Mode Switch (MONO/STEREO): Selects between mono or stereo operation for the input signal.
- Remote Bass Knob: Provides convenient control over the subwoofer level from the driver's seat.
Initial Adjustment Steps:
- Set all gain controls to minimum.
- Set all crossover frequency controls to their recommended starting points (refer to your speaker/subwoofer manuals).
- Play a familiar piece of music at a moderate volume.
- Slowly increase the gain for each channel (LOW, MID, HIGH) until the sound is clear and balanced. Avoid distortion.
- Adjust crossover frequencies incrementally, listening for smooth transitions between speakers and optimal sound staging.
- Experiment with the phase switch for the subwoofer channel to achieve the best bass response.
Maintenance
The Audiopipe XV3XP is designed for reliable operation with minimal maintenance. Keep the unit clean and free from dust and debris. Use a soft, dry cloth for cleaning. Do not use harsh chemicals or abrasive cleaners. Ensure all connections remain secure over time.
Troubleshooting
| Problem | Possible Cause | Solution |
|---|---|---|
| No audio output | No power; Incorrect wiring; Blown fuse; Head unit not on. | Check power, ground, and remote connections. Verify fuse. Ensure head unit is on and sending signal. |
| Distorted sound | Gain set too high; Incorrect crossover settings; Damaged speakers/amplifiers. | Reduce gain levels. Re-adjust crossover frequencies. Check other components in the audio chain. |
| Hissing or buzzing noise | Ground loop; Poor RCA connections; Interference. | Ensure a solid ground connection. Check RCA cables for damage or loose connections. Reroute power and signal cables to avoid interference. |
| No bass from subwoofer | LOW output not connected; Crossover frequency too high/low; Phase issue. | Verify LOW output connection to subwoofer amplifier. Adjust LOW crossover frequency. Experiment with phase switch. |
Specifications
| Feature | Detail |
|---|---|
| Brand | Audiopipe |
| Model Number | CXR7 (also known as XV3XP) |
| Mounting Type | Tabletop Mount |
| Item Weight | 2.06 Pounds |
| Number of Items | 1 |
| Controller Type | Mechanical knob |
| Power Requirement | 12V (vehicle battery) |
| Crossover Type | Variable 3-Way Electronic Crossover |
Warranty Information
This Audiopipe XV3XP Variable 3-Way Crossover comes with a 30-Day Manufacturer Warranty. Please retain your proof of purchase for any warranty claims. The warranty covers defects in materials and workmanship under normal use. It does not cover damage caused by improper installation, abuse, accidents, or unauthorized modifications.
Support
For technical assistance, troubleshooting beyond this manual, or warranty inquiries, please contact Audiopipe customer support. Visit the official Audiopipe website or refer to the contact information provided with your purchase for the most up-to-date support options.
You can also visit the Audiopipe Store on Amazon for more product information and resources.