
1. Introduction
This manual provides instructions for the installation, operation, and maintenance of the Black Box ACR1002A-T ServSwitch Agility Dual KVM Extender. This device is designed to extend Keyboard, Video, and Mouse (KVM) signals over a network, enabling remote access to computers with perfect digital video transmission.
2. Product Overview
2.1 Key Features
- Flexible topology for KVM extension, supporting various network configurations.
- Delivers perfect digital video with no loss, ensuring high-quality display.
- Utilizes no-loss compression to minimize bandwidth usage while maximizing user experience.
- Supports dual-head or dual-link video configurations.
- Designed for high availability, scalability, and flexibility in KVM extension solutions.
2.2 Components
The Black Box ACR1002A-T ServSwitch Agility Dual KVM Extender typically includes:
- ACR1002A-T KVM Extender Unit (Local or Remote, depending on configuration)
- Power Supply Unit
- Necessary cables (e.g., DVI, USB, Audio, Ethernet - sold separately or included based on specific package)
2.3 Product View
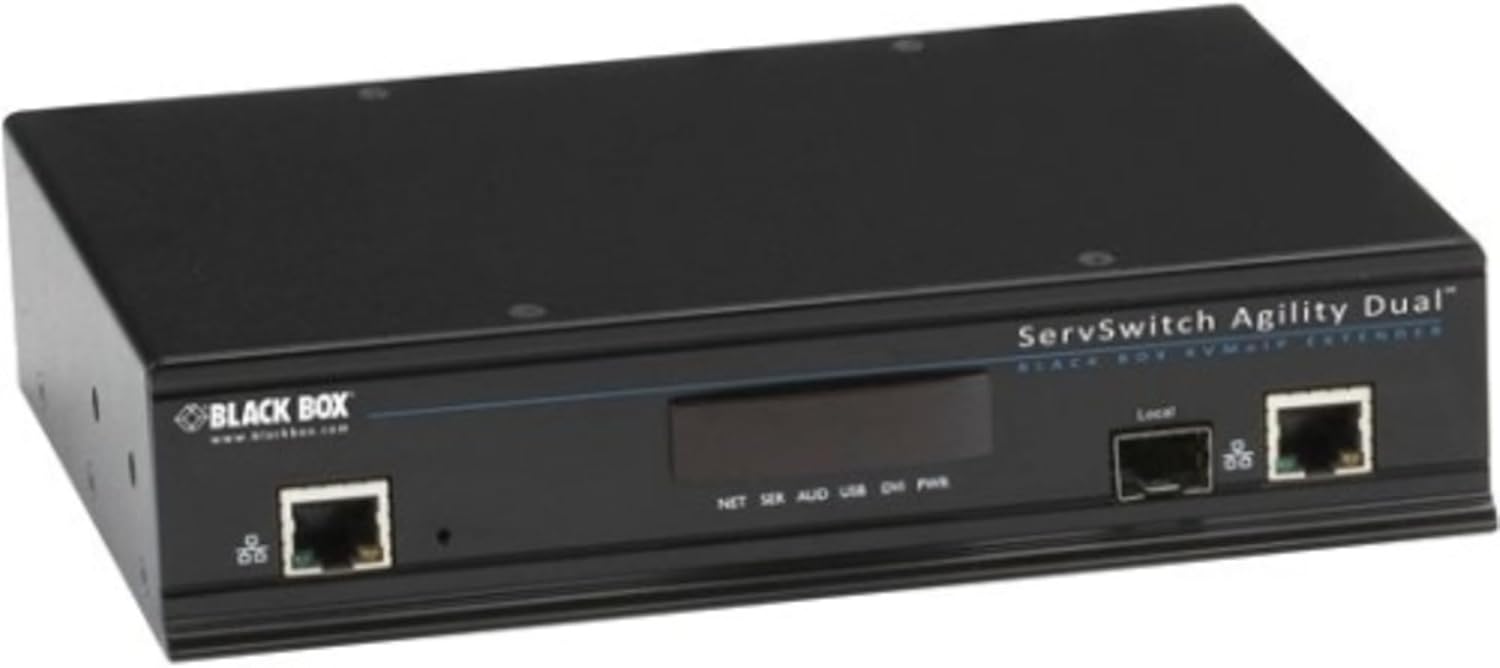
Figure 1: Front view of the Black Box ACR1002A-T ServSwitch Agility Dual KVM Extender. The unit is black and features two RJ45 network ports, one labeled 'Local', and a central display area with indicators for NET, SER, AUD, USB, DVI, and PWR. The 'BLACK BOX' logo is visible on the left side.
3. Setup Instructions
Follow these steps to set up your KVM extender:
- Connect the Local Unit: Connect your computer's DVI (or other video output), USB (for keyboard/mouse), and audio cables to the corresponding ports on the local KVM extender unit.
- Connect the Remote Unit: Connect your monitor(s), USB keyboard/mouse, and audio devices to the corresponding ports on the remote KVM extender unit.
- Establish Network Connection: Connect both the local and remote KVM extender units to your network using standard Ethernet cables. Ensure the network infrastructure supports the required bandwidth for KVM extension.
- Power On: Connect the power supply to both the local and remote units and plug them into a power outlet. The power indicator (PWR) on the unit should illuminate.
- Verify Connection: Once powered on, observe the network (NET) and other status indicators on the unit to confirm a successful connection and signal transmission.
For dual-head or dual-link video configurations, ensure all necessary video cables are connected to both the computer and the remote display(s).
4. Operating Instructions
Once the KVM extender units are properly connected and powered on, the system will automatically establish the KVM extension link. You can then operate the remote computer from your extended workstation as if you were directly connected to it.
- Video Quality: The system is designed to deliver perfect digital video without loss, utilizing no-loss compression for optimal visual experience.
- USB Devices: Connected USB keyboards and mice should function immediately. Additional USB devices may require specific driver installations on the remote computer.
- Audio: Audio signals are extended, allowing for remote audio input and output.
5. Maintenance
To ensure optimal performance and longevity of your Black Box ACR1002A-T KVM Extender, consider the following maintenance guidelines:
- Cleaning: Keep the unit clean and free from dust. Use a soft, dry cloth for cleaning. Avoid liquid cleaners.
- Ventilation: Ensure adequate airflow around the unit to prevent overheating. Do not block ventilation openings.
- Firmware Updates: Periodically check the Black Box website for any available firmware updates for your model. Firmware updates can improve performance, add features, or resolve issues.
- Cable Management: Ensure all cables are securely connected and not under undue stress.
6. Troubleshooting
If you encounter issues with your KVM extender, refer to the following common troubleshooting steps:
- No Power:
- Verify the power adapter is securely connected to the unit and a working power outlet.
- Check the power indicator (PWR) on the unit.
- No Video Signal:
- Ensure all DVI/video cables are correctly connected between the computer, local unit, remote unit, and monitor.
- Check the network connection between the local and remote units.
- Power cycle both the KVM extender units and the connected computer/monitor.
- Keyboard/Mouse Not Responding:
- Confirm USB cables are properly connected.
- Try connecting the keyboard/mouse directly to the computer to verify functionality.
- Restart the computer and the KVM extender units.
- Network Connectivity Issues:
- Check Ethernet cable connections.
- Verify network switch/router status.
- Ensure network settings (IP addresses, etc.) are correctly configured if applicable.
If problems persist, consult the Black Box support website or contact technical support.
7. Technical Specifications
| Model Number | ACR1002A-T |
| Brand | Black Box |
| Material | Metal |
| Color | Black |
| Dimensions (L x W x H) | 18.5 x 9 x 2.5 inches (46.99 x 22.86 x 6.35 cm) |
| Item Weight | 5.08 pounds (2.3 kg) |
| Operation Mode | ON-OFF |
| Connectivity Protocol | Wi-Fi (Note: KVM extension typically uses Ethernet for primary link) |
| USB 2.0 Ports | 1 |
| USB 3.0 Ports | 1 |
| International Protection Rating | IP00 |
| UPC | 822088067979 |
8. Warranty and Support
For detailed warranty information, please refer to the official Black Box website or the warranty card included with your product. For technical support, product registration, or further assistance, please visit the Black Box support portal or contact their customer service department.
Black Box Website: www.blackbox.com


