1. Introduction and Overview
This manual provides comprehensive instructions for the installation, operation, and maintenance of the Jandy 7790 Temperature Sensor. This sensor is designed for accurate temperature monitoring in water, air, or solar applications within pool and spa automation systems. Proper installation and maintenance are crucial for optimal performance and longevity.

Figure 1: Jandy 7790 Temperature Sensor with coiled cable, showing the sensor probe and two-wire connection.
Video 1: Overview of the 520272 Air/Water/Solar Temperature Sensor, highlighting its features and applications.
2. Safety Information
Always prioritize safety during installation and maintenance. Failure to follow these guidelines may result in personal injury, equipment damage, or voiding the warranty.
- Disconnect Power: Before performing any installation or maintenance, ensure all power to the pool/spa control system and associated equipment is completely disconnected at the main circuit breaker.
- Qualified Personnel: Installation and servicing should only be performed by qualified and experienced professionals familiar with pool/spa electrical systems and plumbing.
- Water Safety: Ensure no water leaks occur after installation. Check all connections for tightness.
- Component Compatibility: Use only genuine Jandy replacement parts or approved equivalents to ensure proper function and safety.
3. Package Contents
Verify that all components are present and undamaged upon opening the package:
- Jandy 7790 Temperature Sensor with integrated cable.
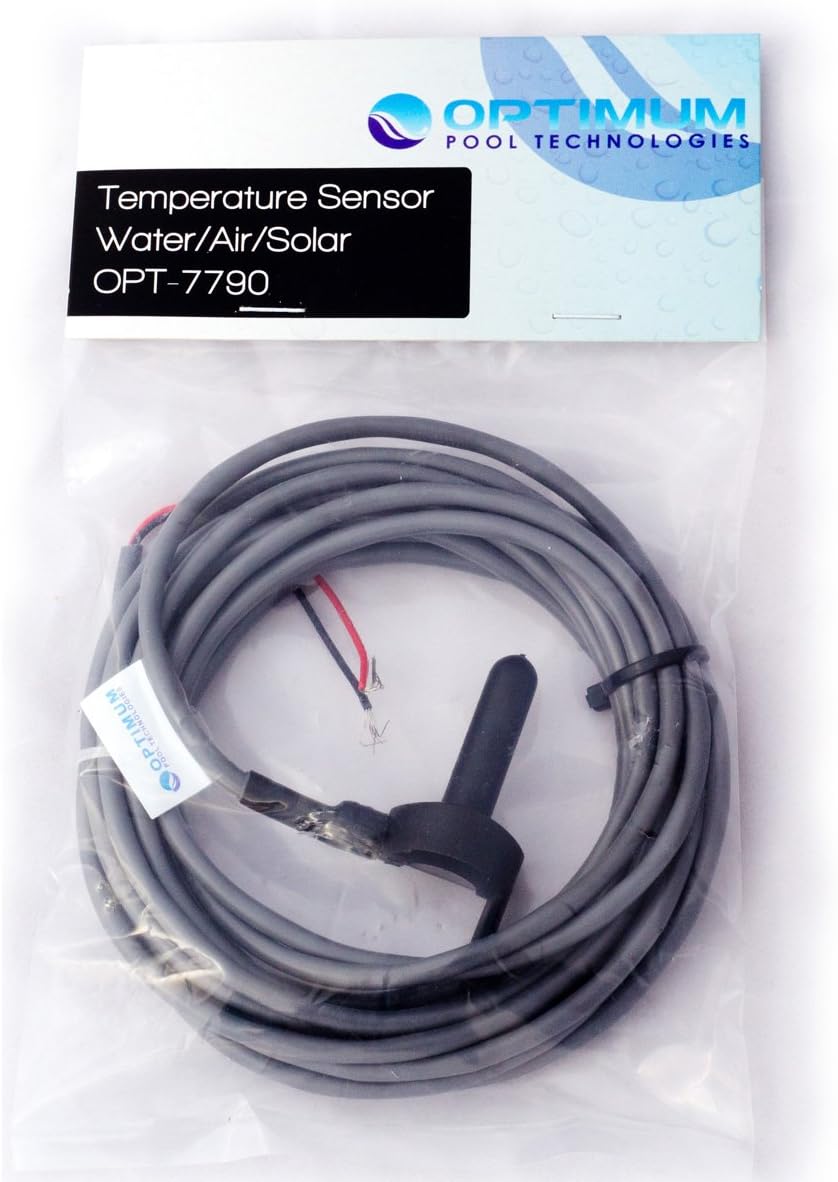
Figure 2: Jandy 7790 Temperature Sensor shown in its retail packaging, displaying the sensor and coiled cable.
4. Setup and Installation
This section outlines the general procedure for replacing the Jandy 7790 Temperature Sensor. Specific steps may vary based on your existing pool/spa control system configuration. Refer to your system's main manual for detailed wiring diagrams.
4.1. Preparation
- Turn Off Power: Locate the main circuit breaker for your pool/spa equipment and turn off all power. Verify that the system is completely de-energized.
- Identify Sensor Location: The temperature sensor is typically installed in a dedicated port on the plumbing near the heater, or in an air/solar collector.
4.2. Sensor Replacement
- Remove Old Sensor: Carefully loosen any retaining nuts or clamps securing the old sensor. Gently pull the sensor out of its housing. Be prepared for a small amount of water to escape if replacing a water sensor.
- Disconnect Wiring: Open the control panel of your pool/spa system. Locate the terminals where the old sensor's wires are connected (typically labeled 'WATER', 'AIR', or 'SOLAR' SENSOR). Note the wire connections (e.g., red to one terminal, white to another) and disconnect them.
- Prepare New Sensor: Apply a small amount of O-ring lubricant (silicone-based) to the O-ring of the new Jandy 7790 sensor. This aids in installation and ensures a proper seal.
- Install New Sensor: Insert the new sensor into the designated port. Secure it with the retaining nut or clamp, ensuring a snug fit without overtightening.
- Route Wiring: Carefully route the new sensor's cable into the control panel, following existing wiring paths to maintain a neat and secure installation.
- Connect Wiring: Connect the new sensor's wires to the appropriate terminals in the control panel, matching the connections of the old sensor. Ensure wires are securely fastened.
- Close Control Panel: Securely close the control panel cover.
4.3. Post-Installation
- Restore Power: Turn on the main circuit breaker to restore power to the pool/spa system.
- Verify Operation: Check the control panel display for accurate temperature readings. Monitor the system for any error codes or unusual behavior.
Video 2: Detailed guide on how to replace a 520272 Air/Water/Solar Temperature Sensor, demonstrating the steps involved in disconnecting the old sensor and installing the new one.
5. Operating Instructions
The Jandy 7790 Temperature Sensor operates in conjunction with your existing pool/spa automation system. It provides temperature data to the control unit, which then manages heating, cooling, or solar functions based on programmed settings.
- The sensor itself does not have user-adjustable settings.
- All temperature set points, modes (e.g., pool heat, spa heat, solar priority), and scheduling are managed through your pool/spa control panel.
- Refer to your specific pool/spa automation system's user manual for detailed operating instructions and programming guides.
6. Maintenance
Regular maintenance helps ensure the accuracy and longevity of your temperature sensor.
- Visual Inspection: Periodically inspect the sensor and its cable for any signs of physical damage, corrosion, or wear.
- Cleanliness: Ensure the sensor probe is free from debris, scale buildup, or algae, especially if installed in water. Gently clean with a soft brush if necessary.
- O-Ring Condition: If the sensor is removed for any reason, inspect the O-ring for cracks or deterioration. Replace if damaged and apply fresh O-ring lubricant upon reinstallation.
- Cable Integrity: Check the cable for cuts, abrasions, or exposed wiring. Repair or replace if damage is found.
7. Troubleshooting
If you experience issues with temperature readings or system operation, consider the following troubleshooting steps:
- Incorrect Temperature Reading:
- Verify the sensor is properly seated and sealed.
- Check for debris or scale buildup on the sensor probe.
- Ensure wiring connections at the control panel are secure.
- Consult your pool/spa control system manual for sensor calibration procedures, if available.
- No Temperature Reading / Error Code:
- Confirm power is supplied to the control system.
- Inspect the sensor cable for any breaks or disconnections.
- Check the wiring connections at the control panel for proper seating and tightness.
- If the issue persists, the sensor may be faulty and require replacement.
- System Not Responding to Temperature:
- Ensure the pool/spa control system is set to the correct operating mode (e.g., heating enabled).
- Verify that the temperature set point is above the current temperature for heating to activate.
- Consult your pool/spa control system manual for programming and operational details.
If troubleshooting steps do not resolve the issue, contact a qualified pool/spa technician for further assistance.
8. Specifications
| Feature | Specification |
|---|---|
| Brand | Jandy |
| Model Number | 7790 |
| Specific Uses | Water, Air, Solar Temperature Sensing |
| Mounting Type | Flange Mount |
| Item Dimensions (L x W x H) | 4 x 2 x 2 inches |
| Item Weight | 3.99 ounces |
| UPC | 610074776178 |

Figure 3: Close-up view of the Jandy 7790 Temperature Sensor probe, illustrating its design for accurate temperature detection.
Video 3: Explanation of overmolding technology in temperature sensors, detailing how it provides protection against physical damage, moisture, and contaminants, enhancing durability in harsh environments.
9. Warranty and Support
For warranty information, technical support, or to purchase replacement parts, please contact Jandy customer service or your authorized Jandy dealer. Keep your purchase receipt as proof of purchase.


