
1. Introduction
This instruction manual provides important information for the proper installation, operation, and maintenance of the True 831994 Defrost Timer Dtsx-B-120. This component is a genuine OEM replacement part designed for use in True commercial refrigeration units. Please read this manual thoroughly before attempting any installation or service to ensure safe and correct usage.
2. Safety Information
- Disconnect Power: Always disconnect the main power supply to the refrigeration unit before installing, servicing, or performing any maintenance on the defrost timer. Failure to do so can result in serious injury or electrical shock.
- Qualified Personnel: Installation and service of this component should only be performed by a qualified refrigeration technician or electrician.
- Genuine Parts: Use only genuine True OEM replacement parts to ensure safety, reliability, and performance.
- Electrical Hazards: Be aware of live electrical components. Do not touch exposed wires or terminals when power is connected.
- Environmental Conditions: Ensure the installation environment is dry and free from excessive moisture or corrosive substances.
3. Product Overview
The True 831994 Defrost Timer Dtsx-B-120 is an essential component in commercial refrigeration systems, responsible for initiating and terminating automatic defrost cycles. This helps prevent ice buildup on evaporator coils, ensuring efficient operation of the refrigeration unit.

Figure 1: True 831994 Defrost Timer, angled view showing the circuit board, relays, and the time-setting dial. This image provides a clear view of the component's internal structure and mounting points.
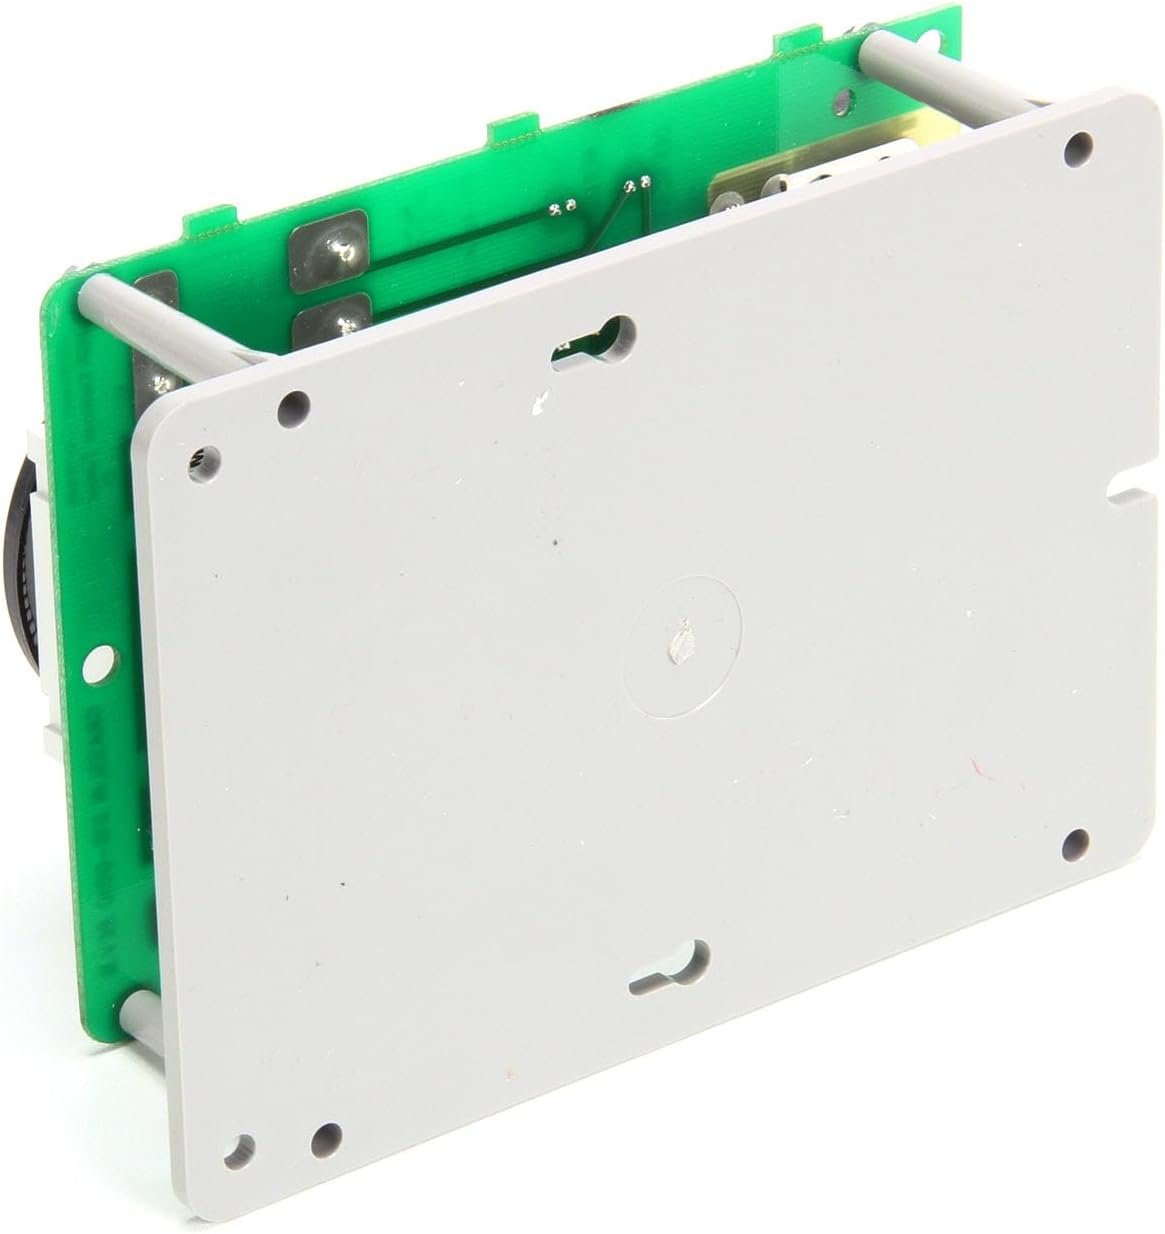
Figure 2: True 831994 Defrost Timer, front view. This perspective highlights the electrical terminals for wiring connections and the visible time-setting dial, crucial for understanding its interface.

Figure 3: True 831994 Defrost Timer, side view. This image displays the circuit board and the heat sink components, providing insight into the electronic design and thermal management of the timer.
4. Setup and Installation
Important: Installation should only be performed by a qualified technician.
- Power Disconnection: Ensure the refrigeration unit's main power supply is completely disconnected and locked out before beginning installation.
- Locate Existing Timer: Identify the location of the old defrost timer within the refrigeration unit's control panel.
- Remove Old Timer: Carefully disconnect all wiring from the old timer, noting the position and color of each wire. It is recommended to label each wire before removal. Remove the old timer from its mounting.
- Mount New Timer: Secure the True 831994 Defrost Timer in the same location using the existing mounting points. Refer to Figure 1 for visual guidance on mounting holes.
- Wiring: Connect the wires to the new timer's terminals according to the labels made during removal, or refer to the wiring diagram provided with your specific refrigeration unit. Ensure all connections are secure and properly insulated. The terminals are typically labeled (e.g., F, 3, 1, 2, 4, N, X) as seen in Figure 2.
- Verify Connections: Double-check all wiring connections for correctness and security.
- Restore Power: Once installation is complete and verified, restore power to the refrigeration unit.
5. Operating Instructions
The True 831994 Defrost Timer operates automatically once installed and configured. Its primary function is to manage the defrost cycles of the refrigeration unit.
- Automatic Operation: The timer is designed to run continuously, cycling between refrigeration and defrost modes at predetermined intervals.
- Setting Time/Defrost Intervals: The timer features a visible dial (refer to Figure 2) that allows for setting the current time and adjusting defrost intervals. Consult your refrigeration unit's specific service manual for detailed instructions on how to set the time and customize defrost cycles for optimal performance. Typically, the dial can be rotated to align the current time with a marker, and pins or segments on the dial control the defrost duration and frequency.
- Monitoring: Observe the refrigeration unit's performance after installation to ensure proper defrost cycles are occurring and ice buildup is prevented.
6. Maintenance
Regular maintenance helps ensure the longevity and proper function of the defrost timer.
- Periodic Inspection: Periodically inspect the timer and its wiring for any signs of wear, corrosion, or damage. Look for loose connections or discolored wires, which may indicate overheating.
- Cleaning: With power disconnected, gently clean any dust or debris from the timer's exterior using a soft, dry cloth. Do not use liquid cleaners or solvents.
- Replacement: If the timer shows signs of malfunction, erratic behavior, or physical damage, it should be replaced promptly by a qualified technician.
7. Troubleshooting
If your refrigeration unit is experiencing issues related to defrosting, the timer may be a contributing factor. Always ensure power is disconnected before inspecting components.
| Symptom | Possible Cause | Action |
|---|---|---|
| No defrost cycles occurring | Timer motor failure, incorrect wiring, power supply issue | Check power to the timer. Verify wiring connections. If power is present and wiring is correct, the timer may need replacement. |
| Defrost cycle too long/short or erratic | Incorrect timer settings, faulty timer mechanism | Review and adjust timer settings according to the unit's specifications. If the issue persists, the timer may be faulty. |
| Excessive ice buildup on evaporator | Defrost timer not initiating cycles, defrost heater failure, defrost termination switch failure | Confirm the timer is cycling into defrost mode. Check other defrost system components (heater, thermostat). |
| Refrigeration unit runs continuously without defrost | Timer stuck in refrigeration mode | Inspect the timer's internal mechanism. If it's not advancing, replacement is likely required. |
If troubleshooting steps do not resolve the issue, it is recommended to contact a qualified refrigeration technician for further diagnosis and repair.
8. Specifications
- Brand: True
- Model Number: 831994
- Part Number: 831994
- Type: Defrost Timer
- Voltage: Dtsx-B-120 (typically 120V, consult unit specifications)
- Dimensions: Approximately 5 x 8 x 9 inches (Product Dimensions)
- Item Weight: Approximately 12.8 ounces
- Included Components: Replacement Part
9. Warranty Information
As a genuine OEM replacement part, the True 831994 Defrost Timer is typically covered by the manufacturer's standard warranty for replacement parts. Specific warranty terms and duration may vary. Please retain your proof of purchase. For detailed warranty information, contact your authorized True parts distributor or the seller from whom the part was purchased.
10. Support
For technical assistance, installation questions, or service inquiries regarding the True 831994 Defrost Timer, please contact:
- An authorized True Refrigeration service technician.
- The distributor or seller from whom you purchased the part.
- True Refrigeration customer support (refer to official True Refrigeration website for contact details).