
Introduction
Thank you for choosing the Quantum QZA4600.4 4-Channel QZA Amplifier. This manual provides essential information for the proper installation, operation, and maintenance of your amplifier. Please read this manual thoroughly before attempting installation or operation to ensure optimal performance and safety.
The Quantum QZA4600.4 is designed to deliver high-quality audio performance for your vehicle's sound system. Proper installation and understanding of its features will maximize your listening experience.
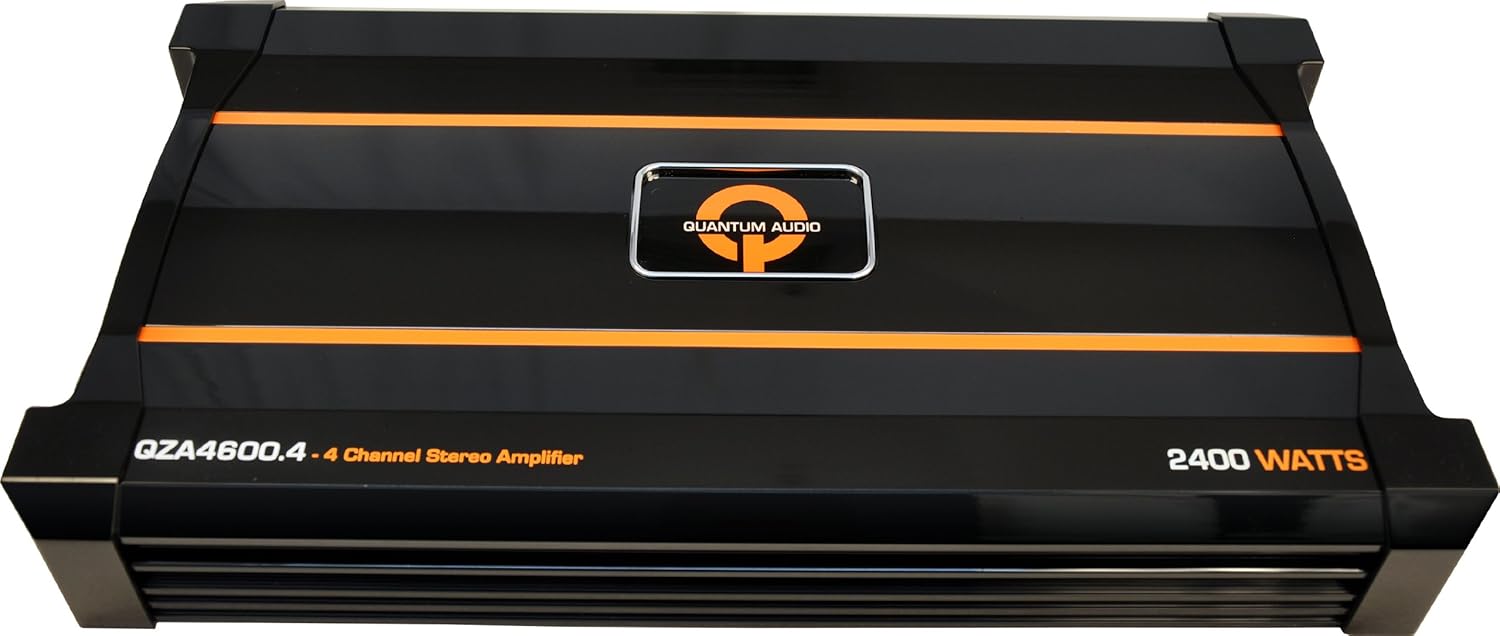
Figure 1: Front view of the Quantum QZA4600.4 4-Channel QZA Amplifier, showcasing its black casing with orange accents and the Quantum Audio logo.
Safety Information
To prevent injury or damage to the amplifier, please observe the following safety precautions:
- Professional Installation Recommended: Installation of car audio components requires experience with electrical wiring and automotive procedures. If you are unsure, consult a qualified professional.
- Disconnect Battery: Always disconnect the vehicle's negative battery terminal before starting any electrical work to prevent short circuits.
- Proper Wiring: Ensure all wiring is correctly connected and insulated to prevent short circuits and electrical hazards. Use appropriate gauge wires for power and ground connections.
- Mounting: Mount the amplifier securely in a dry, well-ventilated location away from direct sunlight, heat sources, and moisture. Ensure adequate airflow around the amplifier for cooling.
- Fuse Protection: Always use an external fuse on the main power cable, located within 18 inches (45 cm) of the battery. The fuse rating should match the amplifier's requirements.
- Avoid Overloading: Do not connect speaker loads below the amplifier's minimum impedance rating. Refer to the specifications section.
Key Features
The Quantum QZA4600.4 amplifier incorporates several design elements for enhanced performance and reliability:
- QSINK Heat Management System: Designed for efficient heat dissipation, ensuring stable operation and longevity.
- 2 OHM Stereo Stable on 2 and 4 Channel Models: Provides flexibility in speaker configuration and power delivery.
- MOSFET Power Supply: Utilizes a Metal-Oxide-Semiconductor Field-Effect Transistor power supply for efficient and stable power conversion.
- Variable Input Level Control: Allows precise matching of the amplifier's input sensitivity to the output of your head unit.
- Thermal/Overload/Short Circuit Protection: Integrated protection circuits safeguard the amplifier from potential damage due to excessive heat, current overload, or short circuits.
Installation and Setup
Proper installation is critical for the performance and safety of your amplifier. It is highly recommended that installation be performed by a qualified car audio professional.
Mounting Location
Choose a mounting location that is:
- Dry and free from moisture.
- Well-ventilated to allow for proper cooling.
- Secure, preventing movement during vehicle operation.
- Accessible for wiring and adjustments.
- Away from fuel lines, brake lines, and electrical harnesses.
Wiring Connections
All wiring should be routed carefully to avoid pinching, chafing, or interference with vehicle components. Use high-quality connectors and ensure all connections are secure.
- Power (B+): Connect a heavy-gauge power cable directly from the positive terminal of the vehicle's battery to the amplifier's B+ terminal. Install an inline fuse holder within 18 inches (45 cm) of the battery.
- Ground (GND): Connect a heavy-gauge ground cable from the amplifier's GND terminal to a clean, unpainted metal surface of the vehicle chassis. Ensure a solid, low-resistance connection.
- Remote (REM): Connect a remote turn-on wire from your head unit's remote output to the amplifier's REM terminal. This wire signals the amplifier to turn on and off with the head unit.
- RCA Input: Connect RCA cables from your head unit's pre-amp outputs to the amplifier's RCA input jacks.
- Speaker Output: Connect speaker wires from the amplifier's speaker output terminals to your speakers. Observe correct polarity (+ to + and - to -). Refer to the amplifier's specifications for minimum impedance ratings.
Note: Specific wiring diagrams for various configurations (e.g., 2-channel, 4-channel, bridged) are typically provided in the full product manual or can be found through professional car audio resources. Always ensure your speaker impedance matches the amplifier's capabilities.
Operating Instructions
Once the amplifier is correctly installed and wired, follow these steps for initial operation:
- Initial Power-Up: After all connections are made and checked, reconnect the vehicle's negative battery terminal. Turn on your head unit. The amplifier should power on, indicated by an illuminated power LED.
- Set Gain Control: Start with the amplifier's gain control set to minimum. Play a familiar piece of music at a moderate volume level on your head unit (around 75% of maximum). Slowly increase the amplifier's gain control until you hear distortion, then back it off slightly until the sound is clear.
- Adjust Crossover (if applicable): If your amplifier has built-in crossover filters (e.g., Low Pass Filter, High Pass Filter), adjust them according to your speaker type and desired sound. For full-range speakers, a high-pass filter might be used to protect them from low bass. For subwoofers, a low-pass filter is essential.
- Bass Boost (if applicable): Use the bass boost feature sparingly. Excessive bass boost can lead to distortion and potential damage to speakers or the amplifier.
Note: Fine-tuning the amplifier's settings often requires careful listening and adjustment to achieve the best sound quality for your specific vehicle and speaker setup.
Maintenance
The Quantum QZA4600.4 amplifier is designed for reliable operation with minimal maintenance. However, periodic checks can help ensure its longevity:
- Cleaning: Keep the amplifier clean and free of dust and debris. Use a soft, dry cloth to wipe down the exterior. Do not use liquid cleaners or solvents.
- Ventilation: Ensure that the amplifier's cooling fins are not obstructed. Good airflow is essential for heat dissipation.
- Connection Checks: Periodically inspect all power, ground, remote, and speaker connections to ensure they are secure and free from corrosion. Loose connections can cause performance issues or damage.
- Fuse Inspection: If the amplifier fails to power on, check the inline fuse on the power cable. Replace it only with a fuse of the same type and rating.
Troubleshooting
If you experience issues with your amplifier, refer to the following common problems and solutions before seeking professional service:
| Problem | Possible Cause | Solution |
|---|---|---|
| Amplifier does not power on (no LED). |
|
|
| No sound output. |
|
|
| Distorted sound. |
|
|
| Amplifier overheats (protection mode). |
|
|
If the problem persists after attempting these solutions, contact Quantum customer support or a qualified service technician.
Specifications
The following specifications are for the Quantum QZA4600.4 4-Channel QZA Amplifier:
| Model Number | QZA4600.4 |
| Product Dimensions | 50.8 x 30.48 x 10.16 cm |
| Item Weight | 5.67 kg |
| Channels | 4-Channel |
| Stable Impedance | 2 Ohm Stereo (on 2 and 4 channel models) |
| Power Supply Type | MOSFET |
| Protection Features | Thermal, Overload, Short Circuit |
Note: All specifications are subject to change without notice. For the most current information, please refer to the official Quantum product page.
Warranty and Support
Quantum products are designed and manufactured to the highest quality standards. For information regarding warranty coverage, terms, and conditions, please refer to the warranty card included with your product or visit the official Quantum Audio website.
For technical support, troubleshooting assistance beyond what is provided in this manual, or service inquiries, please contact Quantum customer support through their official website or authorized service centers. Please have your model number (QZA4600.4) and purchase information ready when contacting support.
Online Resources:
- Official Quantum Audio Website: www.quantumaudio.net (Note: This is a placeholder URL as no official support link was provided in the product data. Please verify the correct URL.)