
1. Introduction
This manual provides detailed instructions for the safe and effective use of your Retevis H-777 Walkie Talkies. These portable FRS two-way radios are designed for reliable long-range communication, featuring a compact design, rechargeable battery, and an integrated LED flashlight, making them ideal for various outdoor and family activities.

Image: Three Retevis H-777 walkie talkies in their charging bases, illustrating the product's compact design and charging setup.
2. Safety Information
Your Retevis H-777 walkie talkies are FRS radios and meet FCC Rule Part 95 standards (FCC ID: 2AAR8H777). Adherence to these regulations ensures safe operation. Always use the device responsibly and avoid disassembling the unit or battery. Do not expose the device to extreme temperatures or direct sunlight for prolonged periods. Keep out of reach of small children.
3. Package Contents
Upon opening your package, please verify that all the following items are included:
- 3 x Retevis H-777 2-way radios
- 3 x Li-ion battery packs
- 3 x Chargers (charging bases)
- 3 x Belt clips
- 3 x English User's manuals

Image: A visual representation of all items included in the Retevis H-777 package.
4. Product Features
- Compact and Lightweight: Portable dimensions (4.02x2.20x1.34 inches) and 0.26lb weight with a short antenna, ideal for easy carrying.
- Rechargeable Battery: Equipped with a 1000mAh lithium-ion battery, offering long-lasting battery life (up to 60 hours standby).
- Emergency Alert: Features an emergency alert function for signaling help in critical situations.
- Integrated LED Flashlight: Provides illumination for nighttime use, assisting with map viewing or equipment adjustment.
- Optimized Sound Quality: Upgraded speaker opening and 0-9 squelch ensure clear voice communication even in noisy environments.
- FRS Compliant: H777 4.0 is an FRS radio, meeting FCC Rule Part 95 standards, allowing direct communication with RT22 and RT68 walkie-talkies.
- VOX Hands-free: Allows communication without pressing the PTT button, useful when hands are occupied.
- One-key Pairing: Simplifies the process of connecting radios for immediate use.

Image: The compact size of the Retevis H-777 walkie talkie, easily fitting into a pocket.
5. Setup
5.1 Battery Installation
- Ensure the radio is powered off.
- Locate the battery compartment on the back of the radio.
- Align the Li-ion battery pack with the compartment, ensuring the metal contacts on the battery align with those on the radio.
- Gently push the battery into place until it clicks securely.

Image: The back of the Retevis H-777 radio and its removable Li-ion battery, showing how they connect.
5.2 Charging the Battery
Before first use, fully charge the battery. The H-777 supports two charging methods: direct Type-C charging and desktop charger base charging.
- Using the Desktop Charger: Place the radio with the installed battery into the charging base. Ensure the radio is seated correctly. The indicator light on the charger will show charging status (typically red for charging, green for fully charged).
- Using Type-C Direct Charging: Connect a Type-C USB cable to the charging port on the side of the radio and to a compatible USB power source.

Image: Illustration of the two charging methods: direct Type-C connection and using the desktop charging base.
5.3 Attaching the Belt Clip
Secure the belt clip to the designated slot on the back of the radio. This allows for convenient carrying on a belt or strap.
6. Operating Instructions
6.1 Power On/Off and Volume Adjustment
Rotate the top-left knob clockwise to power on the radio. Continue rotating to increase the volume. Rotate counter-clockwise to decrease volume and power off.
6.2 Channel Selection
Rotate the top-right knob to select one of the 16 available channels. Ensure all radios you wish to communicate with are set to the same channel.
6.3 Push-to-Talk (PTT) Operation
To transmit, press and hold the large Push-to-Talk (PTT) button located on the side of the radio. Speak clearly into the microphone. Release the PTT button to listen for a response.
6.4 VOX Hands-free Function
The VOX (Voice Operated Exchange) function allows you to transmit without pressing the PTT button. When VOX is enabled, the radio will automatically transmit when it detects your voice. Refer to the detailed user manual for instructions on enabling and adjusting VOX sensitivity.
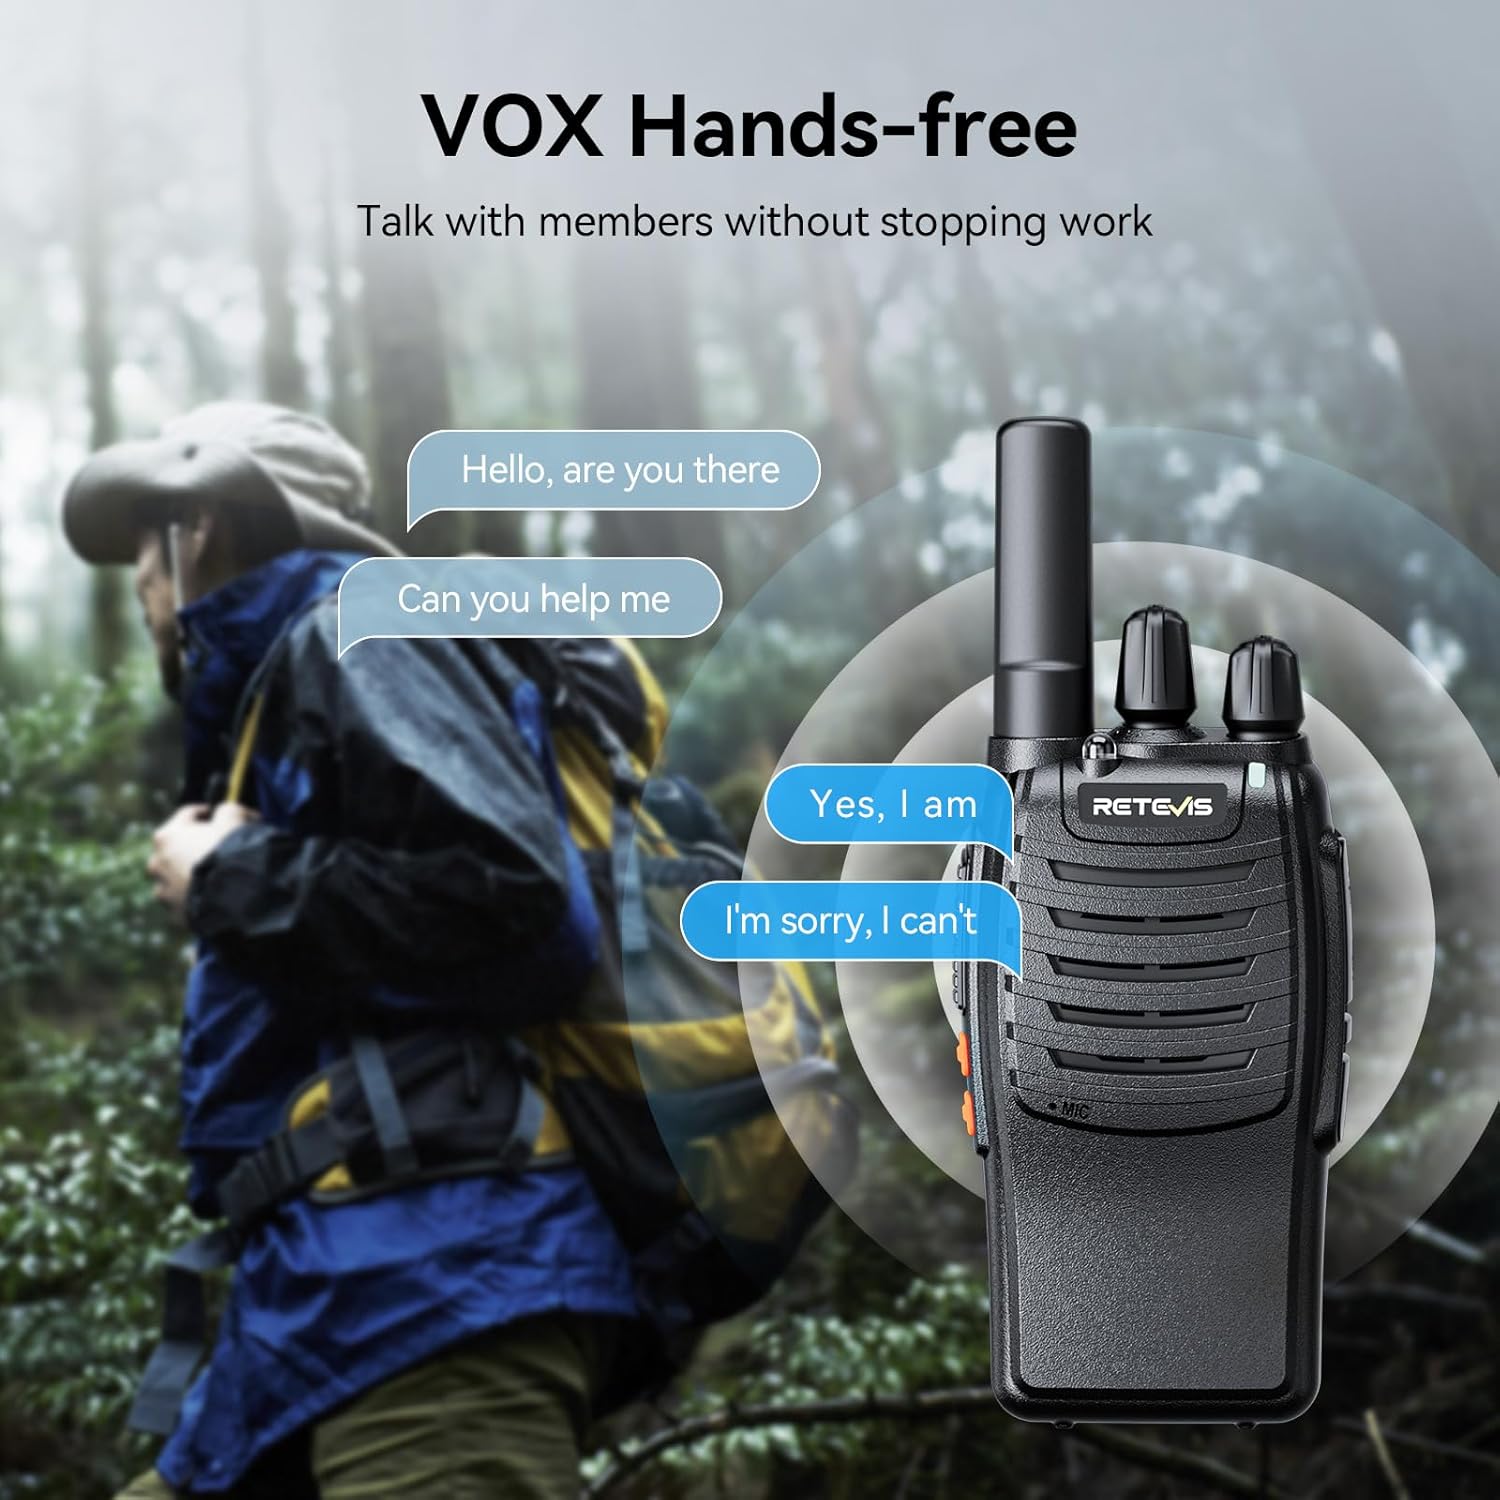
Image: The VOX hands-free feature in action, allowing communication without interrupting activities.
6.5 LED Flashlight
To activate the built-in LED flashlight, press the dedicated flashlight button (refer to your radio's diagram for exact location). Press again to turn it off. This feature is useful for navigating in low-light conditions.

Image: The integrated LED flashlight providing illumination for nighttime convenience.
6.6 Emergency Alert
In an emergency, press the dedicated emergency alert button (refer to your radio's diagram). This will activate an alarm signal to alert other radios on the same channel. The H-777 supports both remote and local alarm modes.

Image: The emergency alarm feature, designed to increase user safety.
6.7 Compatibility and Pairing
The H-777 radios are compatible with other FRS radios, including Retevis RT22 and RT68 models. For quick setup, utilize the one-key pairing feature to synchronize multiple H-777 units or compatible radios.

Image: Strong compatibility of the H-777 with previous versions and other FRS radios.

Image: The one-key pairing feature for simplified radio synchronization.
7. Maintenance
- Cleaning: Use a soft, damp cloth to clean the radio's exterior. Do not use harsh chemicals or abrasive cleaners.
- Battery Care: To prolong battery life, avoid overcharging and fully discharging the battery regularly. Store the battery in a cool, dry place when not in use for extended periods.
- Storage: Store the walkie talkies in a dry, dust-free environment away from direct sunlight and extreme temperatures.
8. Troubleshooting
| Problem | Possible Cause | Solution |
|---|---|---|
| No power | Battery not installed correctly or discharged. | Ensure battery is securely installed. Charge the battery fully. |
| No sound or low volume | Volume too low; incorrect channel; radio out of range. | Increase volume. Verify both radios are on the same channel. Move closer to the other radio. |
| Static or unclear communication | Interference; out of range; low battery. | Change channels. Move to an open area. Recharge battery. |
| Battery low voice reminder is too loud | Default setting. | This is a fixed alert. Ensure the radio's volume is adjusted appropriately for your environment to minimize disruption. |
| Charging issues (finicky charger) | Improper seating in charger; faulty charger. | Ensure the radio is firmly seated in the charging base. Try using the Type-C direct charging method. Contact customer support if issues persist. |
| Limited range | Obstructions (buildings, terrain); environmental factors. | Move to an area with fewer obstructions. Range can vary significantly based on environment. |
9. Specifications
| Feature | Specification |
|---|---|
| Model Number | H-777 |
| Product Dimensions | 2.36 x 1.3 x 4.53 inches (1.3"D x 2.36"W x 4.53"H) |
| Item Weight | 5.3 ounces |
| Battery Type | 1 Lithium Ion battery (included) |
| Battery Capacity | 1000mAh |
| Voltage | 3.7 Volts |
| Number of Channels | 16 |
| Frequency Range | FRS |
| Water Resistance Level | Water Resistant |
| Color | Black |
| Manufacturer | Hongkong Retevis.CO.LTd |

Image: Battery specifications highlighting the 1000mAh capacity and estimated usage times.
10. Warranty and Support
Retevis provides a 3-year warranty for the radio body and a 1-year warranty for accessories. Additionally, a 30-day no-reason return policy is offered. For any inquiries, technical assistance, or warranty claims, please contact Retevis customer support. Detailed contact information can be found on the official Retevis website or through your purchase platform.
11. Official Product Videos
No official product videos with relevant creator type and specific file information were provided in the product data to embed in this manual.


