
1. Introduction
This manual provides essential information for the safe installation, operation, and maintenance of your Globo Kirsten 41672 LED Ceiling Light. Please read these instructions carefully before proceeding with installation or use, and retain them for future reference.
The Globo Kirsten 41672 is a modern LED ceiling light designed for various indoor spaces such as offices, living rooms, and dining areas. It features an integrated LED light source and a sleek, white design.
2. Safety Instructions
Warning: Always disconnect the main power supply before performing any installation, maintenance, or cleaning procedures to prevent electric shock.
- Installation should be carried out by a qualified electrician or a competent person in accordance with local electrical codes.
- Ensure the mounting surface can support the weight of the fixture.
- Do not modify the product in any way. Unauthorized modifications may void the warranty and pose safety risks.
- This product is rated IP20, meaning it is suitable for indoor use only and is not protected against water. Do not install in bathrooms or other areas where it may be exposed to moisture.
- Ensure all electrical connections are secure and properly insulated.
- Keep packaging materials out of reach of children.
3. Package Contents
Verify that all components are present and undamaged before beginning installation.
- 1 x Globo Kirsten 41672 LED Ceiling Light with integrated LED bulb
- Mounting hardware (screws, wall plugs)
- Instruction Manual
4. Setup and Installation
Follow these steps for proper installation of your ceiling light:
- Prepare for Installation: Turn off the electricity at the main circuit breaker or fuse box to the area where the light will be installed.
- Mark Mounting Points: Position the mounting bracket (usually part of the light's base) against the ceiling at the desired location. Use a pencil to mark the drilling points.
- Drill Holes: Drill holes at the marked points. Insert appropriate wall plugs if necessary.
- Secure Mounting Bracket: Attach the mounting bracket to the ceiling using the provided screws. Ensure it is firmly secured.
- Electrical Connections: Connect the electrical wires from the ceiling to the light fixture's terminals. Typically, this involves connecting:
- Live (L) wire (often brown or black) to the Live terminal.
- Neutral (N) wire (often blue) to the Neutral terminal.
- Ground/Earth (PE) wire (often green/yellow) to the Ground terminal.
- Attach Fixture: Carefully attach the main body of the ceiling light to the mounting bracket, securing it with the provided screws or locking mechanism.
- Restore Power: Once the light is securely installed and all connections are checked, restore power at the main circuit breaker.
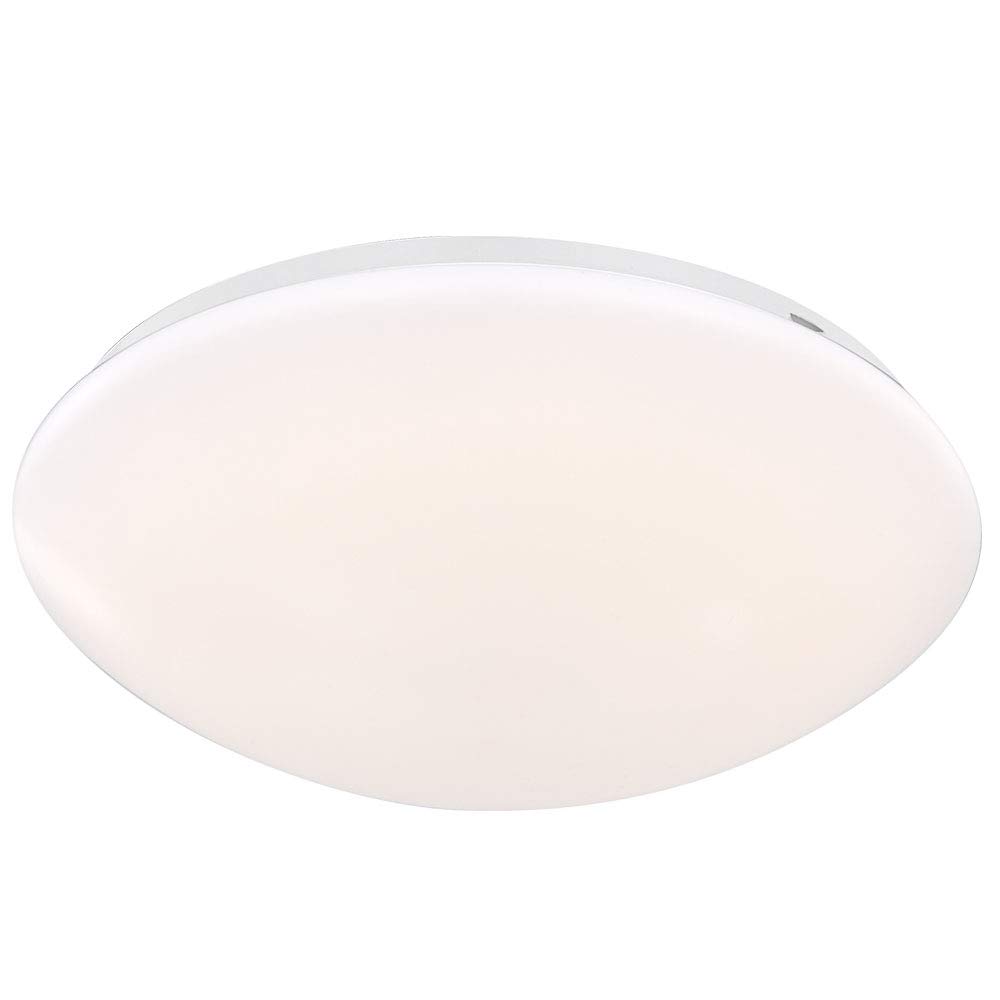
Image 1: The Globo Kirsten 41672 LED Ceiling Light, showcasing its minimalist design suitable for various indoor settings.
5. Operating Instructions
The Globo Kirsten 41672 LED Ceiling Light is designed for simple operation via a standard wall switch.
- Turning On/Off: Use your existing wall switch to turn the light fixture on or off.
- Integrated LED: This fixture uses an integrated LED light source which is not user-replaceable. The LED is designed for a long operational lifespan.
6. Maintenance
Regular cleaning will help maintain the appearance and performance of your ceiling light.
- Cleaning: Ensure the power is off before cleaning. Use a soft, dry, or slightly damp cloth to wipe the surface of the light. Do not use abrasive cleaners, solvents, or harsh chemicals, as these can damage the finish or acrylic diffuser.
- No User Serviceable Parts: The integrated LED and internal components are not designed for user servicing. Do not attempt to open or repair the fixture.

Image 2: A detailed view of the light's acrylic diffuser, highlighting its smooth, easy-to-clean surface.
7. Troubleshooting
If you encounter issues with your ceiling light, refer to the following common problems and solutions:
| Problem | Possible Cause | Solution |
|---|---|---|
| Light does not turn on. | No power supply. Loose electrical connection. Faulty wall switch. | Check the circuit breaker or fuse. Ensure all wires are securely connected (with power off). Test the wall switch with another device or consult an electrician. |
| Light flickers. | Unstable power supply. Loose connection. | Ensure stable power supply to the circuit. Check electrical connections (with power off). |
| Light is dim. | Not applicable for this product as it has a fixed brightness LED. | Ensure the product is not connected to a dimmer switch not compatible with non-dimmable LEDs. |
If the problem persists after attempting these solutions, please contact customer support or a qualified electrician.
8. Specifications
| Feature | Detail |
|---|---|
| Model Number | 41672 |
| Brand | GLOBO |
| Dimensions (L x W x H) | 36.5 x 36.5 x 11 cm |
| Weight | 628 g |
| Power Consumption | 12 W |
| Luminous Flux | 820 lm |
| Color Temperature | 3000 K (Warm White) |
| Material | Metal (structure), Acrylic (shade) |
| Color | White |
| IP Rating | IP20 |
| Light Source | Integrated LED (non-replaceable) |
| Voltage | 40 Volts (internal LED voltage, not mains) |
| Installation Type | Flush Mount (Ceiling) |
9. Warranty and Support
Information regarding specific warranty terms for the Globo Kirsten 41672 LED Ceiling Light is not available in the provided product details. Please refer to the retailer or manufacturer's website for warranty information.
For technical support or inquiries, please contact your point of purchase or the manufacturer directly. Ensure you have your model number (41672) and proof of purchase available when seeking support.


