
A-Tech AT8G2D3D1600ND8N135V
A-Tech 16GB (2x8GB) DDR3/DDR3L 1600MHz Desktop RAM Memory Modules User Manual
Model: AT8G2D3D1600ND8N135V
Introduction
This manual provides essential information for the installation, operation, and maintenance of your A-Tech 16GB (2x8GB) DDR3/DDR3L 1600MHz PC3L-12800 Non-ECC UDIMM Desktop RAM Memory Modules. These modules are designed to enhance your system's performance by expanding its memory capacity, allowing for smoother multitasking and improved data processing.
Key features of your A-Tech memory modules include:
- 16 GB RAM Kit (2 x 8GB Modules)
- DDR3/DDR3L DIMM 240-Pin
- Speeds up to 1600 MHz, PC3L-12800/PC3L-12800U
- NON-ECC Unbuffered (UDIMM)
- 2Rx8 (Dual Rank)
- JEDEC DDR3L standard 1.35V (Dual voltage, can operate at 1.35V or 1.5V)
Compatibility
These A-Tech memory modules are specifically designed for compatibility with select Desktop PCs and Workstations. They are NOT COMPATIBLE with laptop computers, which typically require SODIMM (Small Outline Dual In-line Memory Module) RAM.
Always refer to your system's manufacturer manual to confirm the supported RAM specifications, including type (DDR3, DDR3L), speed, capacity per slot, and form factor (DIMM vs. SODIMM). Mixing different types of RAM (e.g., DDR3 and DDR4) or incompatible ECC types within the same system is not supported and can lead to system instability or failure to boot.

Figure 1: A-Tech RAM is designed for desktop computers, gaming rigs, and workstations.
Setup and Installation
Before beginning installation, ensure your computer is powered off and unplugged from the wall outlet. It is crucial to discharge any static electricity from your body by touching a grounded metal object, such as the computer's unpainted metal chassis, before handling memory modules. Static electricity can damage sensitive electronic components.
- Prepare Your System: Power down your computer completely and disconnect all cables, including the power cord.
- Open the Computer Case: Carefully open your computer's side panel to access the motherboard and RAM slots.
- Locate RAM Slots: Identify the DIMM slots on your motherboard. Consult your motherboard's manual for the correct slot configuration for dual-channel memory, if applicable.
- Remove Existing Modules (if upgrading): If replacing existing RAM, gently push down the small clips on both ends of the RAM slot to release the module. Carefully pull the module straight out.
- Install New Modules: Align the notch on the A-Tech memory module with the key in the DIMM slot. Apply even pressure to both ends of the module until it clicks into place and the clips automatically secure it. Do not force the module.
- Close Case and Reconnect: Once all modules are securely installed, close the computer case and reconnect all cables.
- Power On: Turn on your computer. The system should automatically detect the new memory.

Figure 2: A single A-Tech DDR3L DIMM module, ready for installation.
Operating Principles
Random Access Memory (RAM) serves as your computer's short-term data storage. When you open applications, browse the web, or work on documents, your computer temporarily stores data in RAM for quick access. The more RAM your system has, the more applications it can run simultaneously and the larger the datasets it can handle without slowing down.
Upgrading your RAM with A-Tech modules directly improves your system's ability to multitask, reduces loading times for applications, and enhances overall responsiveness, especially during resource-intensive activities like video editing, gaming, or running multiple virtual machines.
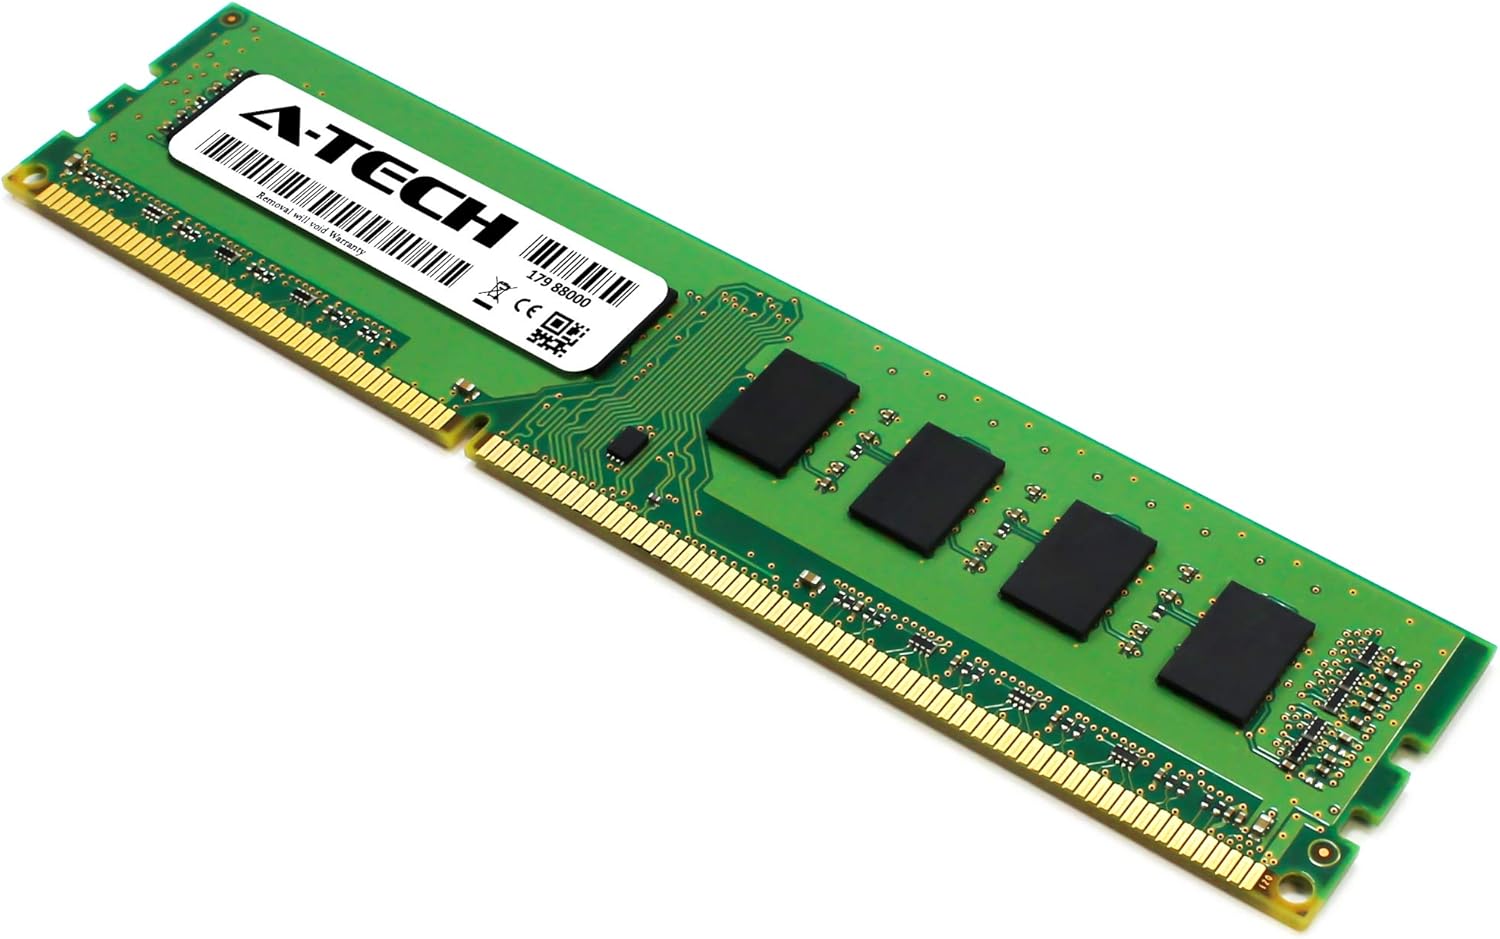
Figure 3: Expand your system's memory (RAM) capacity allowing you to take on more at once.
Maintenance
A-Tech RAM modules are designed for long-term reliability and typically require minimal maintenance. To ensure optimal performance and longevity:
- Keep System Clean: Regularly clean the interior of your computer case to prevent dust buildup, which can impede airflow and lead to overheating of components, including RAM. Use compressed air for this purpose.
- Handle with Care: When handling RAM modules, always hold them by the edges to avoid touching the gold contacts or the integrated circuits.
- Avoid Physical Damage: Ensure modules are securely seated in their slots to prevent accidental dislodgement or damage.
Troubleshooting
If you encounter issues after installing your A-Tech RAM, consider the following troubleshooting steps:
- System Not Booting or No Display:
- Ensure the RAM modules are fully seated in their slots. Gently push down on both ends until the clips lock.
- Verify that the modules are installed in the correct slots according to your motherboard's manual (e.g., for dual-channel operation).
- Try installing only one module at a time to identify if a specific module is faulty.
- Clear the CMOS (Complementary Metal-Oxide-Semiconductor) settings on your motherboard. Refer to your motherboard manual for instructions on how to do this (usually by removing the CMOS battery or using a jumper).
- Incorrect RAM Capacity Detected:
- Check your system's BIOS/UEFI settings to ensure the new RAM is recognized.
- Verify that your operating system is a 64-bit version, as 32-bit operating systems can only utilize up to approximately 4GB of RAM.
- Ensure your motherboard supports the total capacity of RAM you have installed.
- System Instability or Blue Screens (BSOD):
- Run a memory diagnostic tool (e.g., Windows Memory Diagnostic or MemTest86) to check for errors in the RAM modules.
- Ensure your motherboard's BIOS/UEFI is updated to the latest version, as this can improve RAM compatibility and stability.
- Verify that the RAM voltage and timings are correctly set in the BIOS/UEFI, if your motherboard allows manual adjustment.
Specifications
| Feature | Specification |
|---|---|
| RAM Capacity | 16 GB (2 x 8GB Modules) |
| Memory Type | DDR3/DDR3L SDRAM |
| Memory Speed | 1600 MHz (PC3L-12800/PC3-12800) |
| Pin Count | 240-Pin |
| Error Correction | Non-ECC Unbuffered (UDIMM) |
| Rank | 2Rx8 (Dual Rank) |
| Voltage | 1.35V (Dual voltage, can operate at 1.35V or 1.5V) |
| Item Model Number | AT8G2D3D1600ND8N135V |
| Product Dimensions (LxWxH) | 5.25 x 1.18 x 0.15 inches (133.35 x 30 x 3.81 mm) |
| Item Weight | 0.634 ounces |
| Country of Origin | USA |

Figure 4: Physical dimensions of the A-Tech DDR3L DIMM module.
Warranty and Support
All A-Tech memory modules undergo stringent quality control testing to ensure dependable and reliable performance. Your A-Tech memory modules are backed by A-Tech's Limited Lifetime Warranty.
For technical assistance or warranty claims, please contact the A-Tech Tech Support Team. You can find more information and contact details on the official A-Tech website: atechmemory.com.

Figure 5: A-Tech modules come with a limited lifetime warranty.
Related documentsAT8G2D3D1600ND8N135V


Ask a question about this manual
Ask about setup, troubleshooting, compatibility, parts, safety, or missing instructions. Manuals+ will review the question and use this page’s manual context to help answer it.