Introduction
This manual provides essential information for the installation, operation, and maintenance of your A-Tech 4GB DDR3 1333MHz PC3-10600 DIMM Desktop Memory Module. Please read these instructions carefully before proceeding with installation to ensure proper function and to prevent damage to your system or the memory module.
The A-Tech 4GB DDR3 1333MHz PC3-10600 DIMM is designed to enhance the performance of compatible desktop computers and workstations by providing reliable, high-speed memory.
Product Overview

Top view of the A-Tech 4GB DDR3 1333MHz PC3-10600 DIMM memory module. This module features the A-Tech branding and product identification label (AT13409169).
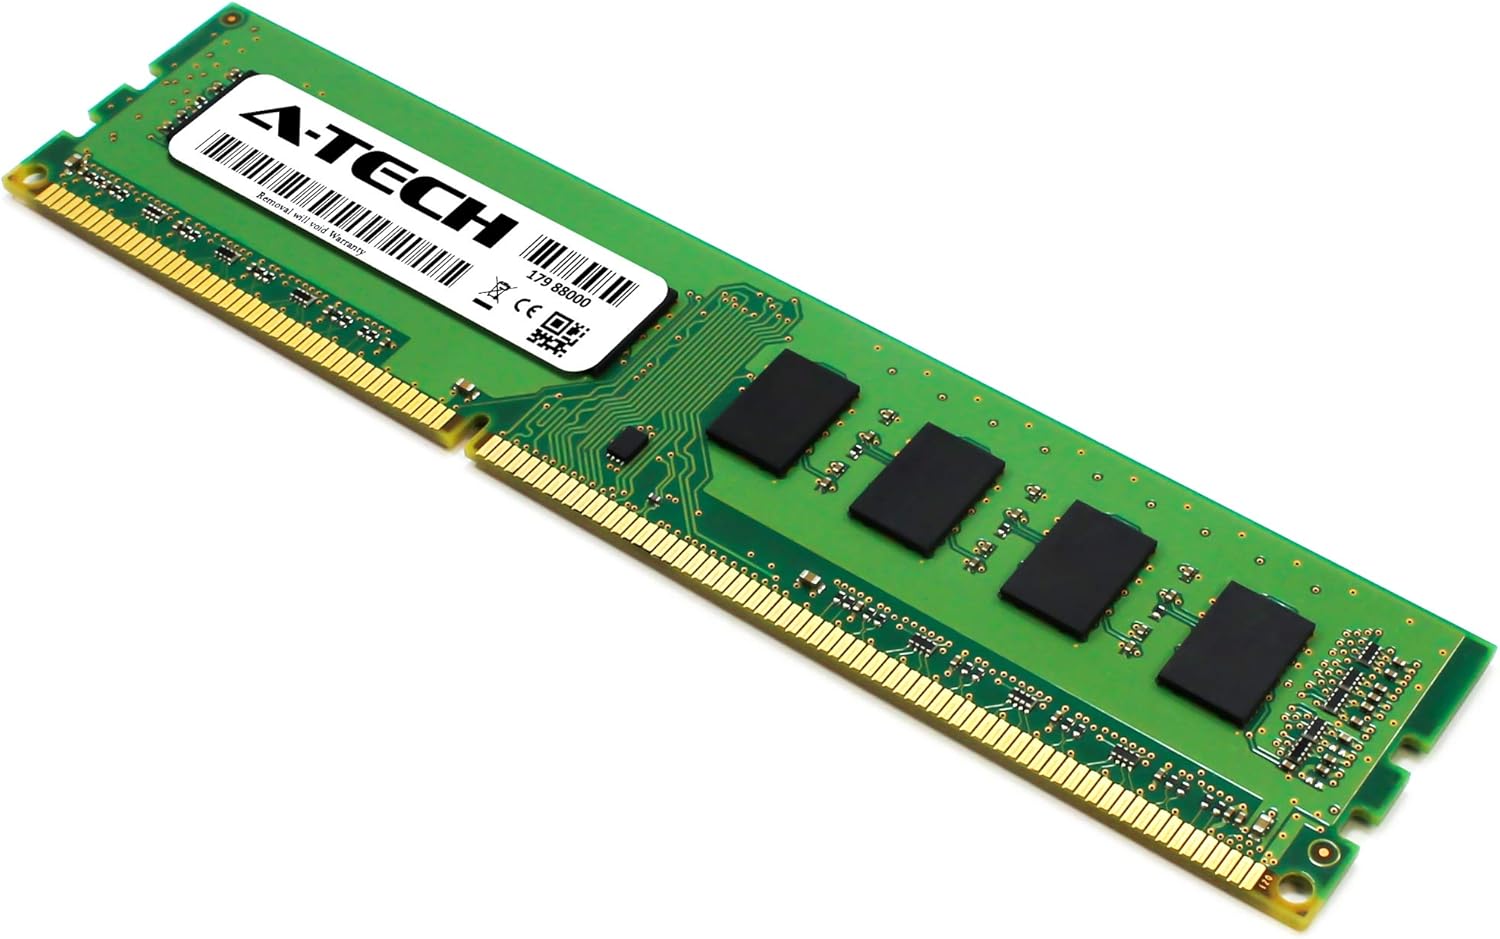
Angled view of the A-Tech 4GB DDR3 1333MHz PC3-10600 DIMM, showcasing its form factor and gold-plated contacts.

Dimensional drawing of the A-Tech 4GB DDR3 DIMM module, showing a length of 133.35mm (5.25in) and height of 30mm (1.18in). For more information, visit atechmemory.com.
Setup and Installation
Installing RAM requires careful handling. Always ensure your computer is powered off and unplugged before opening the case. It is recommended to wear an anti-static wrist strap to prevent electrostatic discharge (ESD) damage to components.
Preparation:
- Compatibility Check: Verify that your motherboard supports DDR3 DIMM memory and the specified speed (1333MHz) and voltage (1.35V or 1.5V). Refer to your computer or motherboard manual for exact specifications.
- Power Off: Shut down your computer completely and unplug it from the power outlet.
- Open Case: Open your computer case to access the motherboard and RAM slots.
- ESD Protection: Ground yourself by touching an unpainted metal surface on the computer chassis or by wearing an anti-static wrist strap.
Installation Steps:
- Locate RAM Slots: Identify the DIMM slots on your motherboard. These are typically long slots with clips on either end.
- Open Clips: Gently push the clips on both ends of the RAM slot outwards to open them.
- Align Module: Hold the A-Tech memory module by its edges, avoiding touching the gold contacts. Align the notch on the memory module with the key in the DIMM slot. The module will only fit one way.
- Insert Module: Place the module into the slot and press down firmly and evenly on both ends until the clips snap into place, securing the module. You should hear a click.
- Verify Installation: Ensure the module is seated correctly and the clips are fully engaged. There should be no gap between the module and the slot.
- Close Case: Once all modules are installed, close your computer case.
- Power On: Plug in your computer and power it on. The system should automatically detect the new memory.
Operating Instructions
Once installed, the A-Tech DDR3 DIMM memory module operates automatically. Modern operating systems and BIOS/UEFI firmware will detect and utilize the installed RAM without further user intervention. The memory works in conjunction with your CPU to store and retrieve data quickly, improving overall system responsiveness and multitasking capabilities.
No specific user operation is required for the memory module itself after successful installation.
Maintenance
Memory modules are generally maintenance-free. However, to ensure optimal performance and longevity of your A-Tech RAM and computer system, consider the following:
- Dust Removal: Periodically clean the interior of your computer case to prevent dust buildup, which can impede airflow and lead to overheating. Use compressed air to gently remove dust from components, including RAM modules and slots.
- Proper Handling: When handling memory modules, always hold them by the edges. Avoid touching the gold contacts or the integrated circuits (chips) to prevent damage from static electricity or oils from your skin.
- Environmental Conditions: Operate your computer in a clean, dry environment with adequate ventilation to maintain stable temperatures.
Troubleshooting
If you encounter issues after installing your A-Tech memory module, refer to the following common troubleshooting steps:
- System Not Booting / No Display:
- Ensure the memory module is fully seated in its slot and the clips are locked.
- Try reseating the module.
- If multiple modules are installed, try booting with only one module at a time to identify a potentially faulty module or slot.
- Verify compatibility with your motherboard's specifications.
- Incorrect RAM Amount Detected:
- Check your system's BIOS/UEFI settings to confirm the detected RAM amount.
- Ensure the operating system is 64-bit to fully utilize more than 4GB of RAM.
- Reseat the memory modules.
- System Instability / Blue Screens (BSOD):
- Run a memory diagnostic tool (e.g., Windows Memory Diagnostic, MemTest86) to check for errors.
- Ensure your system's BIOS/UEFI is up to date.
- Check for proper cooling within your computer case.
If issues persist, contact A-Tech Technical Support for further assistance.
Specifications
| Feature | Description |
|---|---|
| Module Capacity | 4 GB (1 x 4 GB Module) |
| Memory Type | DDR3 DIMM |
| Speed | 1333 MHz (PC3-10600 / PC3-10600U) |
| Pin Count | 240-Pin |
| Error Correction | Non-ECC Unbuffered (UDIMM) |
| Rank Configuration | 1Rx8 or 2Rx8 (Single Rank x8 or Dual Rank x8) |
| Voltage | 1.35V or 1.5V |
| CAS Latency | CL9 |
| Compatible Devices | Desktop, Workstation |
| Data Transfer Rate | 10600 Megabytes Per Second |
Warranty Information
A-Tech provides a Lifetime Warranty for all orders. This warranty covers defects in materials and workmanship under normal use. For warranty claims or detailed terms and conditions, please refer to the official A-Tech website or contact customer support.
Support
For any technical assistance, questions, or support regarding your A-Tech memory module, please contact A-Tech's complimentary United States based Tech Support. Support is available before, during, and after your purchase.
Visit the official A-Tech website for contact information and additional resources: atechmemory.com