1. Introduction
This manual provides essential instructions for the safe and effective use of the RIDGID 37835 1-Inch NPT Right-Handed Alloy Pipe Dies. Please read this manual thoroughly before operating the product to ensure proper function and to prevent injury or damage.
2. Product Overview
The RIDGID 37835 pipe dies are designed for creating 1-inch National Pipe Taper (NPT) threads on pipes. These right-handed alloy dies are compatible with various RIDGID manual threaders, including ratchet threaders and 3-way pipe threaders (e.g., 00-R, 11-R, 12-R, 111-R, 30-A, and 31-A threaders). The set includes four individual dies, each precisely manufactured for consistent threading performance.
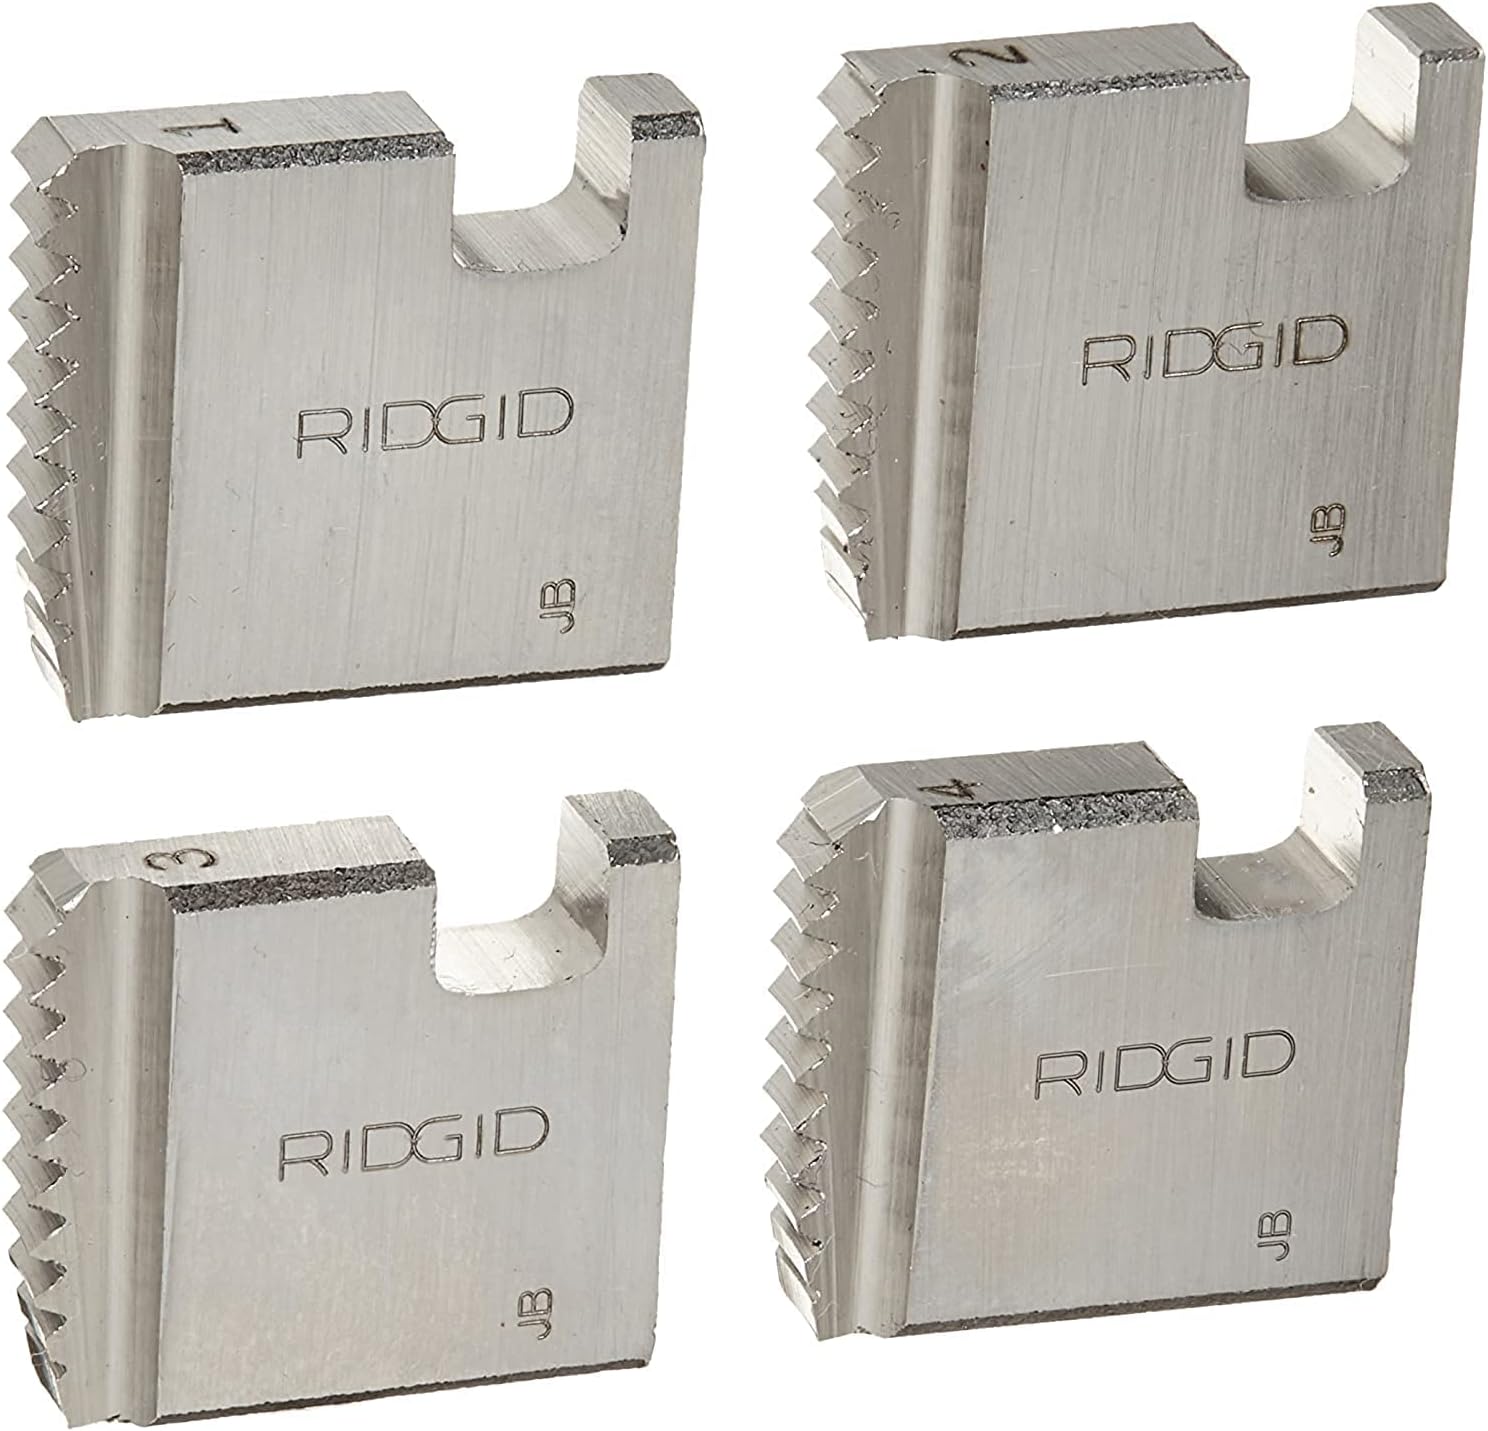
Figure 1: Set of four RIDGID 37835 1-inch NPT right-handed alloy pipe dies.

Figure 2: RIDGID 37835 pipe dies in their retail packaging, showing the product label.
3. Setup and Installation
Proper installation of the dies into your threader head is crucial for safe and effective operation. Refer to the instructions provided on the product packaging and your threader's manual for specific guidance.

Figure 3: Back of product packaging showing installation instructions for chasers in drop head threaders.
Installation Steps for Drop Head Threaders:
- Prepare the Die Head: Place the die head in the position shown in the diagram (refer to Figure 3, top left).
- Remove Components: Remove the screw (Figure 3, top right), cover, and old chasers if present.
- Insert New Chasers: Insert the new chasers (dies) as shown, sliding them into the die head slots. Ensure the numbers on the chasers align with those on the die head.
- Replace Cover and Screw: Replace the cover and screw. Tighten the screws firmly.
- Verify Engagement: Slide the die head or an already threaded nipple or pipe until the chasers begin to thread. This action forces the chasers outward against lugs on the cover, ensuring proper seating. The chasers are set for accurate threading by bringing the 'B' of the chasers against the 'K' of the cover. This is the 'key' to inserting the chasers properly.

Figure 4: Illustrative image of a pipe die being inserted into a threader head.
4. Operating Instructions
Once the dies are correctly installed in your RIDGID threader, follow these general steps for threading pipes. Always consult your specific threader's manual for detailed operating procedures.
General Threading Procedure:
- Secure the Pipe: Firmly secure the pipe in a pipe vise to prevent rotation during threading.
- Apply Cutting Oil: Apply a generous amount of high-quality cutting oil to the end of the pipe where the thread will be cut. This reduces friction, dissipates heat, and extends die life.
- Start Threading: Place the threader head onto the pipe. Apply firm, steady pressure and begin rotating the threader handle in a clockwise direction (for right-handed dies).
- Continue Oiling: Continuously apply cutting oil throughout the threading process.
- Complete Thread: Continue rotating until the desired thread length is achieved. The dies will typically stop cutting when the thread is complete, or you will reach a predetermined stop on your threader.
- Reverse and Remove: Once the thread is cut, reverse the rotation of the threader to back the dies off the newly cut thread.
- Clean: Clean any metal shavings and excess oil from the pipe and the dies.
Important Safety Note: Always wear appropriate personal protective equipment (PPE), including safety glasses and gloves, when operating threading tools. Ensure the work area is clear and stable.
5. Maintenance
Proper maintenance extends the life of your RIDGID pipe dies and ensures consistent performance.
- Cleaning: After each use, clean the dies thoroughly to remove metal chips, dirt, and old cutting oil. A stiff brush and a suitable cleaning solvent can be used.
- Lubrication: Store dies in a lightly oiled condition to prevent rust.
- Inspection: Regularly inspect the cutting edges of the dies for wear, chips, or damage. Worn or damaged dies should be replaced to ensure quality threads and prevent damage to your threader.
- Storage: Store dies in a dry environment, preferably in their original packaging or a dedicated die case, to protect them from moisture and physical damage.
6. Troubleshooting
This section addresses common issues encountered during pipe threading with the RIDGID 37835 dies.
| Problem | Possible Cause | Solution |
|---|---|---|
| Rough or incomplete threads |
|
|
| Difficulty starting thread |
|
|
| Excessive effort required to thread |
|
|
7. Specifications
Key technical specifications for the RIDGID 37835 Pipe Dies:
- Model Number: 37835
- Nominal Pipe Size: 1-Inch
- Thread Type: NPT (National Pipe Taper)
- Handedness: Right-Handed
- Material: Alloy
- Compatibility: Designed for RIDGID Ratchet Threaders or 3-Way Pipe Threaders (e.g., 00-R, 11-R, 12-R, 111-R, 30-A, 31-A)
- Item Weight: Approximately 4.3 ounces (per set)
- Product Dimensions: Approximately 5.25 x 3.55 x 0.8 inches (packaging)
- Manufacturer: Ridgid Tool Company
8. Warranty Information
RIDGID products are known for their quality and durability. The RIDGID 37835 Pipe Dies are covered by a manufacturer's warranty. For specific details regarding the warranty terms and conditions, please refer to the official RIDGID website or contact customer support. Generally, RIDGID offers a Full Lifetime Warranty against material defects and workmanship.

Figure 5: RIDGID Full Lifetime Warranty against material defects and workmanship.
9. Customer Support
For further assistance, technical questions, or to locate authorized service centers, please contact RIDGID customer support or visit their official website:
- RIDGID Official Website: www.ridgid.com
- Refer to the product packaging or the RIDGID website for specific contact information for your region.