
Introduction
This manual provides detailed instructions for the installation, operation, and maintenance of your Riobel 1010C Hand Shower Rail. Please read this manual thoroughly before installation and retain it for future reference. Proper installation and care will ensure optimal performance and longevity of your product.
Safety Information
- Always turn off the main water supply before beginning any installation or maintenance.
- If you are unsure about any part of the installation process, consult a qualified plumber.
- Wear appropriate safety gear, such as safety glasses, during installation.
- Ensure all connections are secure to prevent leaks.
- Do not use abrasive cleaners or harsh chemicals on the chrome finish, as this may damage the product.
Package Contents
Verify that all components are present before beginning installation:
- Hand Shower Rail (Ø19 mm / ¾")
- Hand Shower (10, 4-jet with pause function)
- Flexible Hose (150 cm / 59", double interlock, swivel, 2 check valves)
- Mounting Hardware
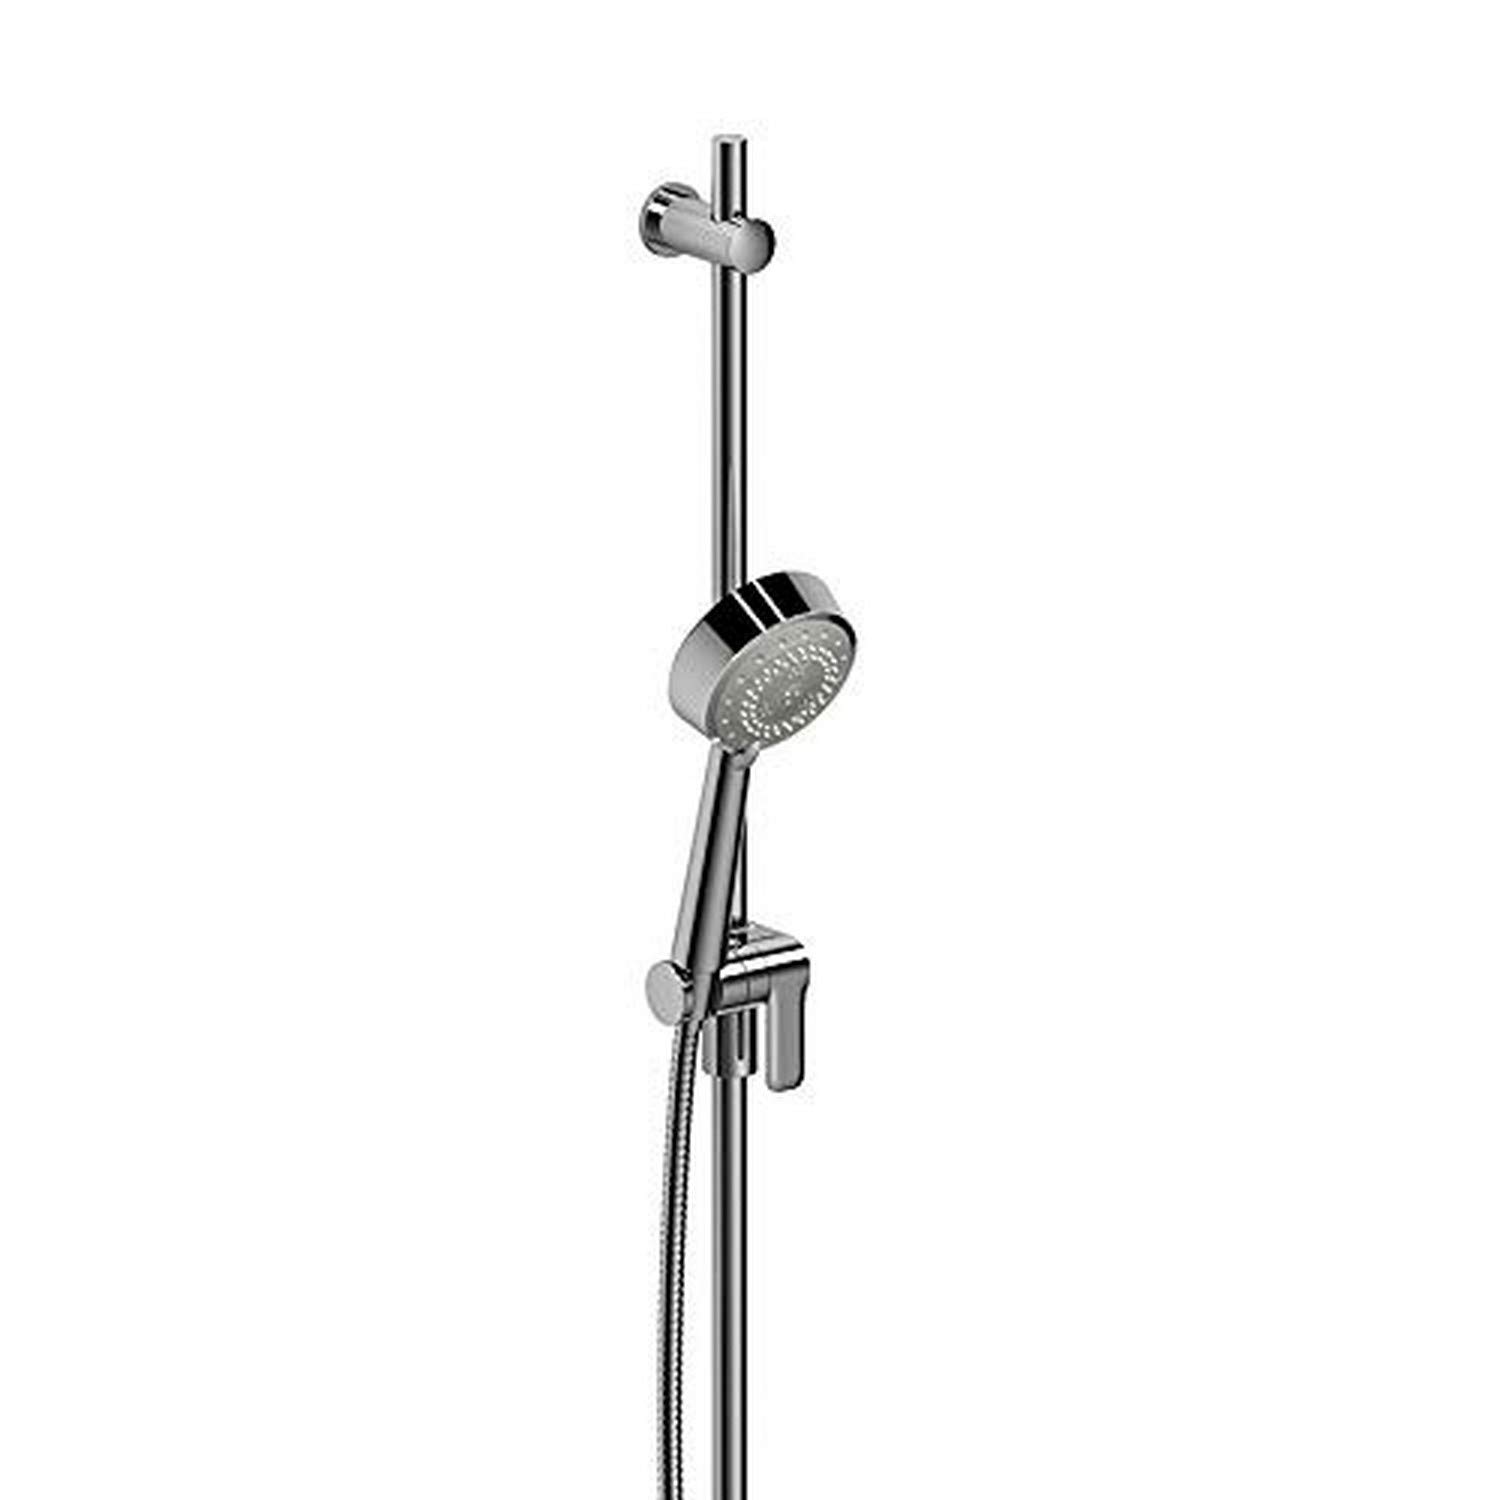
Image: The Riobel 1010C Hand Shower Rail, showing the main components including the rail, hand shower, and flexible hose.
Setup and Installation
Tools Required:
- Drill
- Drill bits (appropriate for wall material)
- Pencil
- Measuring Tape
- Level
- Screwdriver
- Adjustable Wrench
- Sealant Tape (Teflon tape)
Installation Steps:
- Prepare the Installation Area: Turn off the main water supply. Clear the area where the hand shower rail will be installed.
- Mark Mounting Points: Hold the hand shower rail against the wall at the desired height and position. Use a level to ensure it is straight. Mark the drilling points for the mounting brackets with a pencil.
- Drill Holes: Using an appropriate drill bit for your wall material, drill holes at the marked points. Insert wall anchors if necessary.
- Attach Mounting Brackets: Secure the mounting brackets to the wall using the provided screws.
- Install Shower Rail: Slide the hand shower rail onto the secured mounting brackets. Ensure it is firmly seated.
- Connect Flexible Hose: Apply sealant tape to the threads of the hand shower and the water outlet. Connect one end of the 150 cm (59") flexible hose to the hand shower and the other end to your water supply outlet. Hand-tighten, then use an adjustable wrench for a final snug fit, being careful not to overtighten.
- Attach Hand Shower to Rail: Place the hand shower into the easy-glide cursor on the rail.
- Test for Leaks: Turn on the main water supply and check all connections for leaks. Tighten any leaking connections as needed.
Operating Instructions
Using the Hand Shower:
- Water Flow: Turn on your shower's water supply to activate the hand shower.
- Adjusting Spray Patterns: The hand shower features 4-jet spray patterns. Rotate the shower head's faceplate to cycle through the different spray options.
- Pause Function: The hand shower includes a pause function. Press the designated button on the hand shower to temporarily stop the water flow, conserving water without adjusting temperature settings. Press again to resume flow.
- Adjusting Hand Shower Height: The easy-glide left cursor allows for smooth vertical adjustment of the hand shower along the rail. Simply press the lever on the cursor and slide the hand shower to your desired height. Release the lever to lock it in place.
Maintenance and Care
Regular cleaning and maintenance will help preserve the finish and functionality of your Riobel 1010C Hand Shower Rail.
- Cleaning the Finish: Clean the chrome finish with a soft, damp cloth and mild soap. Rinse thoroughly with clean water and dry with a soft cloth to prevent water spots.
- Avoid Harsh Cleaners: Do not use abrasive cleaners, scouring pads, ammonia-based cleaners, or any harsh chemicals, as these can damage the chrome finish.
- Scale-Free Nozzles: The hand shower features scale-free nozzles. To remove mineral deposits, gently rub the rubber nozzles with your finger or a soft brush.
- Hose Inspection: Periodically inspect the flexible hose for any signs of wear, kinks, or damage. Replace if necessary.
Troubleshooting
| Problem | Possible Cause | Solution |
|---|---|---|
| Low Water Pressure | Clogged nozzles or restricted water flow. | Clean scale-free nozzles by rubbing them. Check for kinks in the flexible hose. Ensure water supply valves are fully open. |
| Leaks at Connections | Loose connections or insufficient sealant tape. | Turn off water supply. Tighten connections. If leaks persist, reapply sealant tape to threads. |
| Hand Shower Not Staying in Position | Easy-glide cursor not properly engaged. | Ensure the lever on the easy-glide cursor is released after adjusting the height to lock it in place. |
Specifications
| Feature | Detail |
|---|---|
| Model Number | 1010C |
| Brand | Riobel |
| Color | Chrome |
| Material | Metal (Handle Material: Brass) |
| Finish Type | Polished |
| Mounting Type | Wall Mount |
| Hand Shower Features | 10, 4-jet with pause function, Scale-free nozzles |
| Hose Length | 150 cm (59") double interlock flexible hose with swivel and 2 check valves |
| Slide Bar Diameter | Ø19 mm (¾") |
| Cursor Feature | Easy-Glide left cursor |
| Item Weight | 3 Pounds |
| UPC | 883186000183 |
Warranty and Support
Riobel products are manufactured to high-quality standards and are backed by a manufacturer's warranty. For specific warranty details, please refer to the warranty card included with your product or visit the official Riobel website.
For technical support, replacement parts, or any inquiries regarding your Riobel 1010C Hand Shower Rail, please contact Riobel customer service:
- Manufacturer: Riobel
- Contact Information: Saint-Jérôme, QC J7Z 7A3, CA
- Please note: Specific phone numbers or email addresses are not provided in this manual. Refer to the official Riobel website for the most current contact details.