
ION ISC09
ION Film 2 SD Plus Instruction Manual
Model: ISC09
Brand: ION
Introduction
The ION Film 2 SD Plus is a high-resolution scanner designed to digitize 35mm slides and negatives directly onto an SD card. This device allows you to preserve and enjoy your old photographic memories using modern digital technology. It features a 14-megapixel sensor for clear images, automatic focus, exposure, and color balance for ease of use, and standalone operation without requiring a computer.
Key Features:
- Ultra-high-resolution 14 megapixel scanner for detailed image capture.
- Transfers slides and negatives directly onto an SD card (included).
- Standalone operation, eliminating the need for a computer during scanning.
- USB port for optional connection to a computer (cable included) for file transfer and software use.
- Works with iPad via Apple iPad Camera Connection Kit (sold separately).
- Large color LCD screen for real-time preview and easy positioning.
- Automatic exposure and color balance controls for optimal image quality.
- Image editing software included for Mac and PC.
Box Contents
Please verify that all items listed below are included in your package:
- ION Film 2 SD Plus Scanner
- (2) Slide and Negative Holders
- SD Card
- USB Cable
- Video Cable
- Power Supply
- Software CD
- Quickstart Guide
- Safety & Warranty Manual
Setup
Power Connection
Connect the included power supply to the DC 5V port on the back of the Film 2 SD Plus and plug it into a wall outlet. The unit will power on automatically.

Image: Rear view of the ION Film 2 SD Plus, highlighting the power input and SD card slot.
Insert SD Card
Insert the included SD card into the SD card slot on the top of the unit. Ensure it clicks into place. This card will store your scanned images.
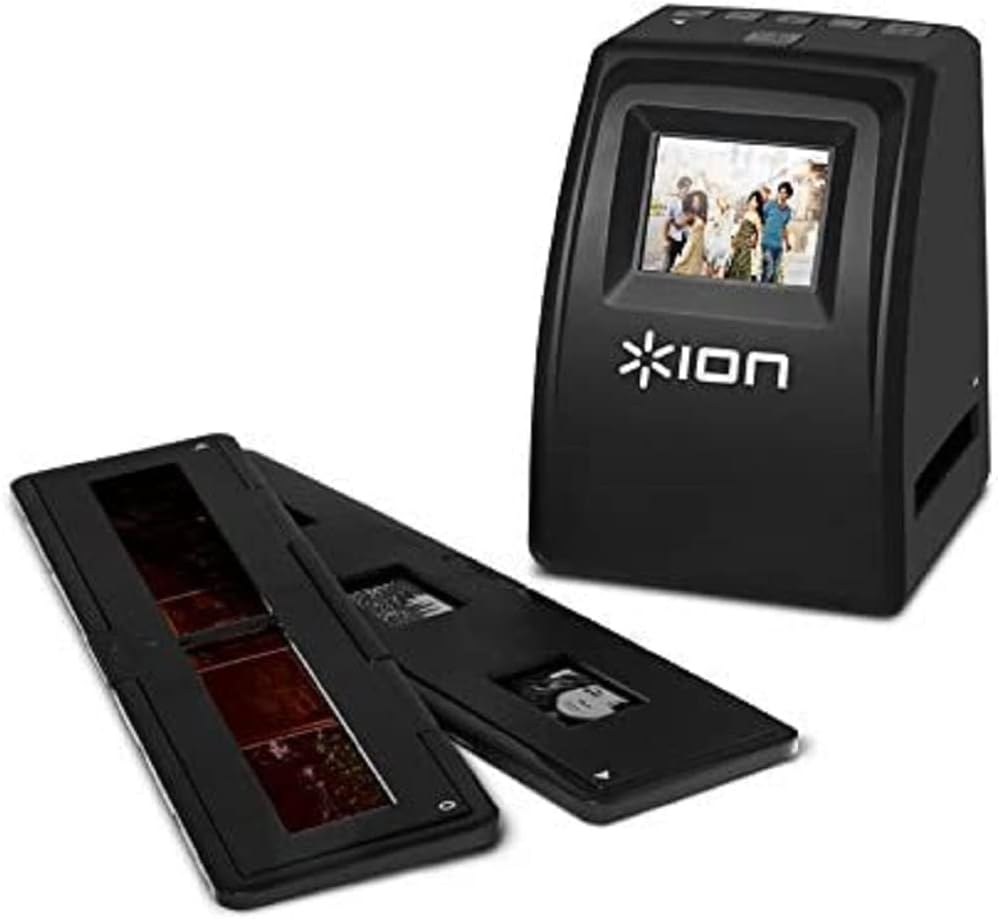
Image: A hand inserting an SD card into the top slot of the ION Film 2 SD Plus scanner.
Video: Demonstrates the process of inserting the SD card and preparing the scanner for use.
Prepare Slide or Negative Holder
Select the appropriate holder for your media (35mm slides or film negatives). Open the holder, carefully place your slide or negative into the designated slots, and close the holder securely.

Image: Front view of the ION Film 2 SD Plus with a slide holder partially inserted into the scanning slot.
Operating Instructions
Insert Media Holder
Gently slide the prepared media holder into the slot on the side of the Film 2 SD Plus until the first image is centered on the LCD screen.

Image: A close-up of the ION Film 2 SD Plus's LCD screen, showing a preview of a scanned image.
Adjust Settings (Optional)
Use the buttons on top of the scanner to navigate the menu and adjust settings such as exposure compensation or color balance if needed. The large color LCD screen provides a real-time preview.

Image: A close-up of the control buttons located on the top panel of the ION Film 2 SD Plus.
Scan Image
Press the "Scan" or "OK" button to capture the image. The scanner will automatically focus, adjust exposure, and balance colors. The digitized image will be saved to the inserted SD card.
Advance to Next Image
Slide the media holder further to position the next slide or negative for scanning. Repeat the scanning process for all desired images.
Transfer Images to Computer
Once scanning is complete, remove the SD card from the scanner. Insert the SD card into your computer's SD card reader, or connect the scanner directly to your computer using the USB cable. Your scanned images will appear as standard image files (e.g., JPEG) and can be transferred, viewed, or edited using the included software or your preferred image editing program.
Maintenance
- Cleaning the Scanner: Use a soft, dry, lint-free cloth to clean the exterior of the scanner. Do not use liquid cleaners or aerosols.
- Cleaning the Lens/Glass: If dust or debris appears on scanned images, use a soft brush or a lens cleaning cloth to gently clean the glass surface inside the scanner where the slides/negatives pass. Refer to the detailed Safety & Warranty Manual for specific instructions on internal cleaning.
- Media Care: Ensure your slides and negatives are clean and free of dust before scanning to prevent artifacts on your digital images.
Troubleshooting
| Problem | Solution |
|---|---|
| Scanner does not power on. | Ensure the power supply is securely connected to the scanner and a working power outlet. Try a different outlet. |
| Images appear blurry or out of focus. | Ensure the slide/negative is properly seated in the holder. Clean the scanner's internal glass surface. The scanner has auto-focus, but extreme conditions or dirty media can affect results. |
| Scanned images have spots or lines. | Clean the slides/negatives before scanning. Clean the scanner's internal glass surface. |
| SD card not recognized. | Ensure the SD card is inserted correctly and fully. Try reinserting it. Ensure the card is not locked (check the small switch on the side of the SD card). Try a different SD card if available. |
| Cannot transfer files to computer via USB. | Ensure the USB cable is securely connected to both the scanner and the computer. Check if the computer recognizes the device (it should appear as a mass storage device). Try a different USB port or cable. |
Specifications
| Feature | Detail |
|---|---|
| Model Number | ISC09 |
| Scanner Type | Film (35mm slides and negatives) |
| Resolution | 14 Megapixel (7200 DPI equivalent) |
| Media Type | Negatives, Slide, Photo |
| Connectivity | USB |
| Storage | SD Card (included) |
| Product Dimensions | 4.5 x 5.75 x 4.25 inches |
| Item Weight | 2.24 ounces (0.14 Pounds) |
| Minimum System Requirements | Windows 7 (for software/USB connection) |
| Manufacturer | ION Audio |
Warranty and Support
For detailed warranty information and technical support, please refer to the included Safety & Warranty Manual or visit the official ION Audio website. You can also find additional resources and contact information on the ION Store on Amazon.
Related documentsISC09


Ask a question about this manual
Ask about setup, troubleshooting, compatibility, parts, safety, or missing instructions. Manuals+ will review the question and use this page’s manual context to help answer it.