
Introduction
This manual provides essential information for the safe operation, assembly, maintenance, and troubleshooting of your Greenworks 5.5 Amp 15-inch Corded Electric String Trimmer, Model 21272. This tool is designed for trimming grass and light weeds in small to medium-sized yards. Please read and understand all instructions before use to ensure proper function and safety.
Safety Information
WARNING: Use protective eyewear, gloves, and long pants to protect against potential flying debris and cut hazards during operation. Always disconnect the power supply before performing any adjustments, maintenance, or cleaning. Keep bystanders, children, and pets at a safe distance (at least 50 feet/15 meters) from the operating area. Do not operate the trimmer in wet conditions or near electrical hazards. Inspect the area for objects that could be thrown by the cutting line.
Product Overview
The Greenworks 5.5 Amp 15-inch Corded Electric String Trimmer is engineered for efficiency and ease of use. Key features include:
- Lightweight design, weighing approximately 7.05 pounds, for easy maneuverability.
- 15-inch cutting path for efficient trimming.
- Pivoting head with an edging wheel for versatile trimming and edging capabilities.
- 0.065 dual line auto-feed system for continuous cutting without manual line advancement.
- Electric start for immediate operation without the need for gas or batteries.
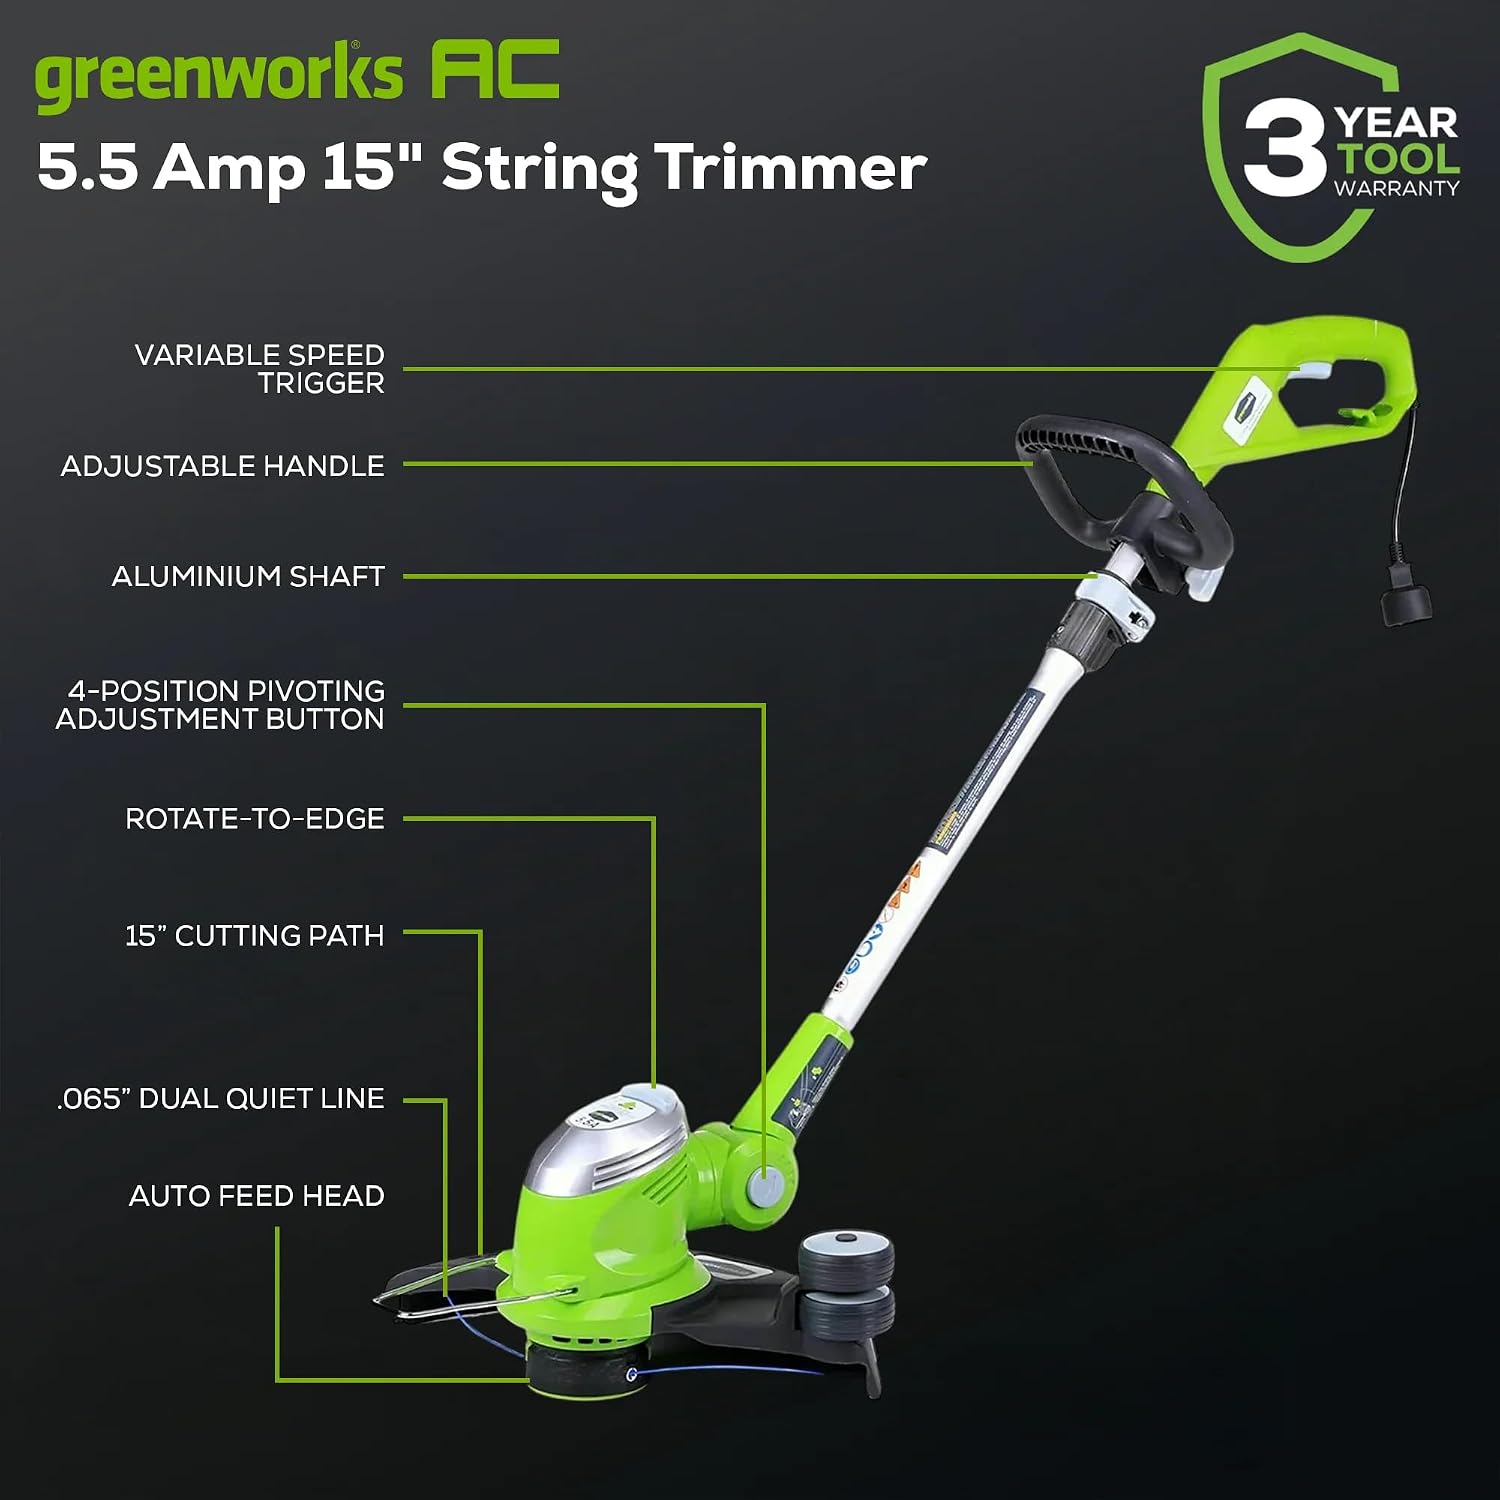
Figure 1: Product Diagram with Labeled Components
Setup
- Handle Assembly: Attach the auxiliary handle to the shaft. Ensure it is securely tightened for comfortable and safe operation.
- Guard Installation: Securely attach the safety guard to the trimmer head using the provided hardware. This guard protects against flying debris.
- Adjusting Shaft Length: The trimmer features an adjustable shaft. Loosen the locking collar, extend or retract the shaft to a comfortable operating length, and then securely tighten the collar.
- Power Connection: Connect the trimmer's power cord to a suitable outdoor-rated extension cord. Ensure the extension cord is rated for outdoor use and is of appropriate gauge for the length required. Secure the trimmer cord to the extension cord using the cord retention hook to prevent accidental disconnection.

Figure 2: Adjustable Shaft Length
Operating Instructions
- Starting the Trimmer: Plug the extension cord into a grounded outdoor outlet. Hold the trimmer firmly with both hands. Press the safety lock-off button and then squeeze the trigger switch to start the motor. Release the lock-off button once the motor starts.
- Trimming Technique: Hold the trimmer at an angle, allowing the tip of the cutting line to do the work. Use a sweeping motion from side to side. Avoid hitting hard objects like fences, walls, or trees, as this can damage the line and the trimmer.
- Edging Technique: To convert to an edger, press the pivoting head adjustment button and rotate the head 90 degrees. The edging wheel will guide the trimmer along hard surfaces like sidewalks and driveways. Walk slowly and maintain a steady pace for a clean edge.
- Line Advancement: This trimmer features an automatic line feed system. The line will advance automatically as it wears down. If the line does not advance, briefly tap the trimmer head on a hard surface while the motor is running (ensure safety precautions are followed).
- Stopping the Trimmer: Release the trigger switch to turn off the motor. Disconnect the power cord from the outlet after use.
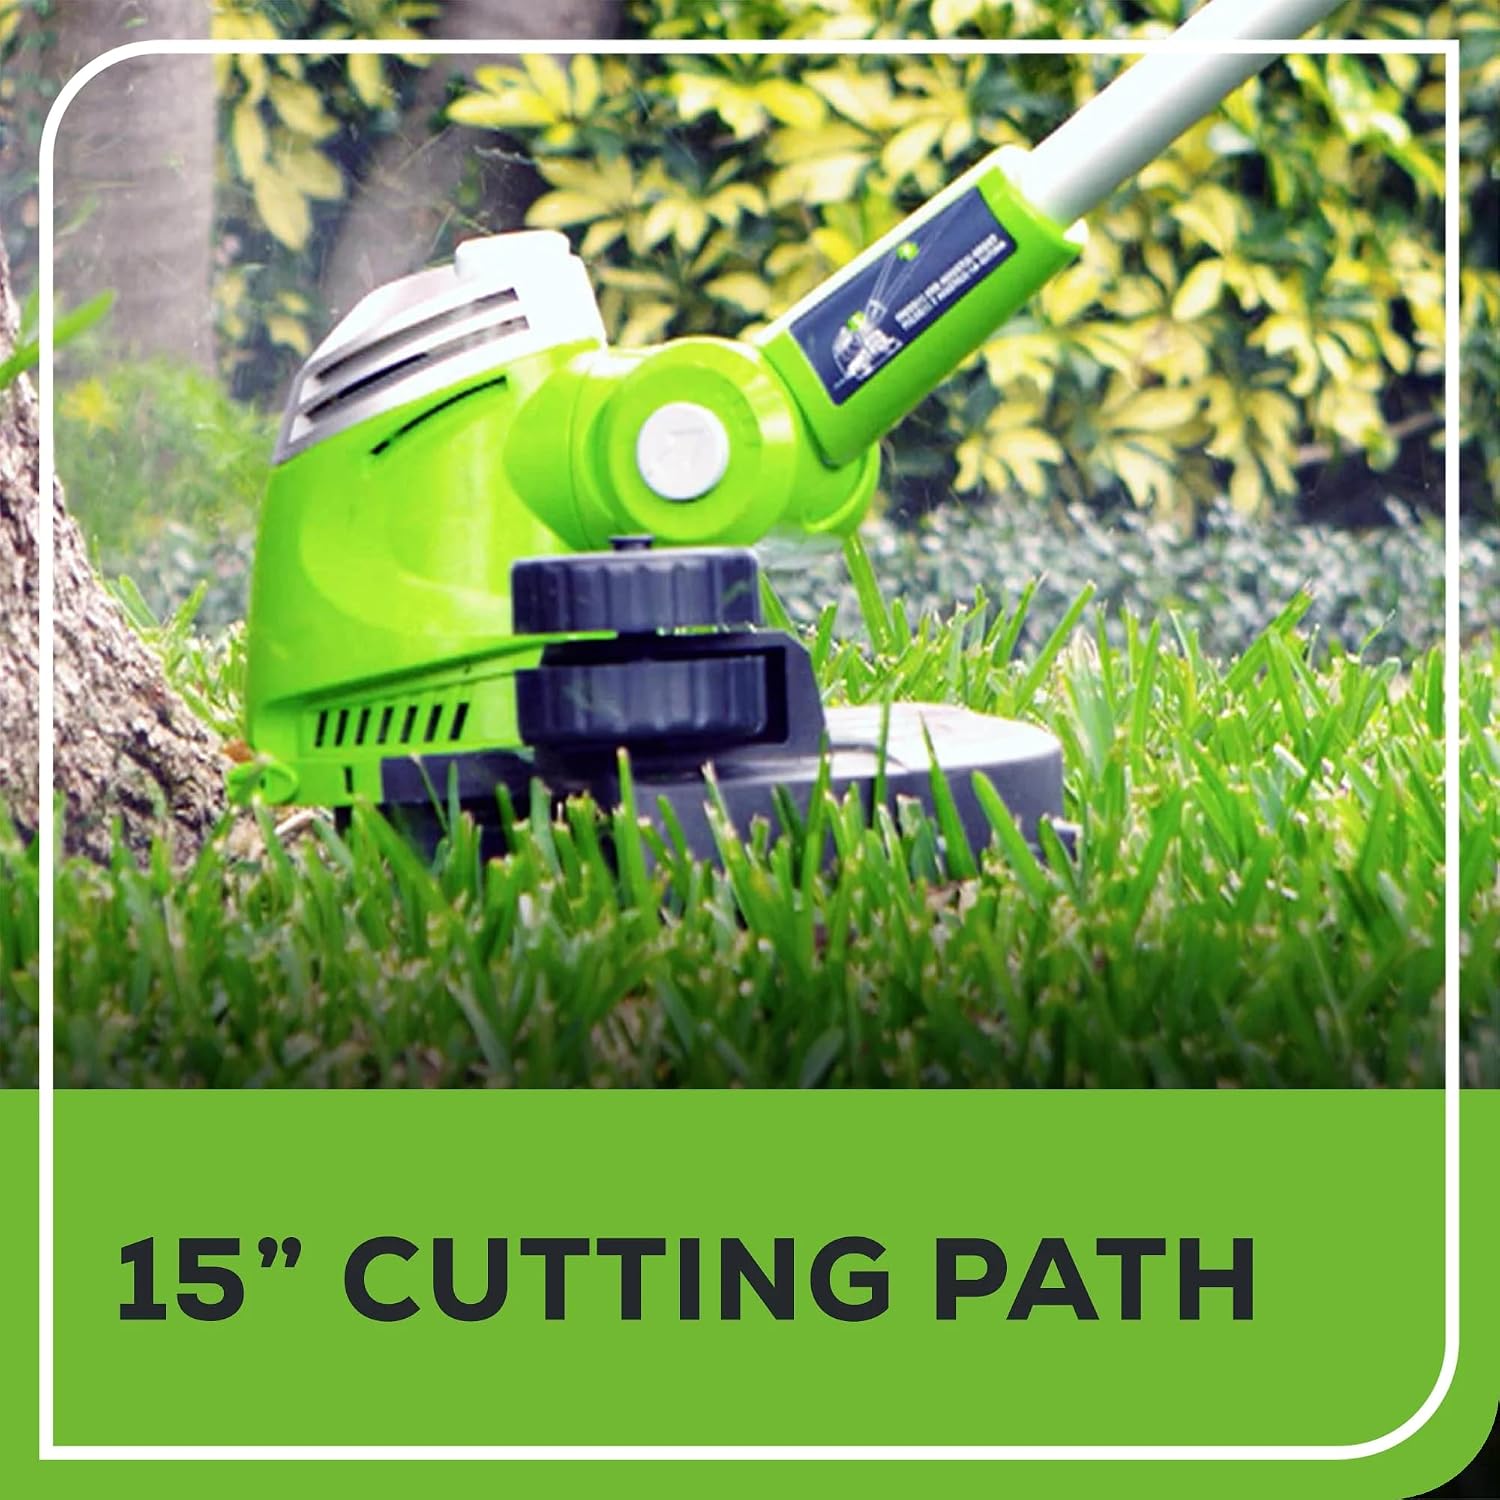
Figure 3: Trimming with 15-inch Cutting Path
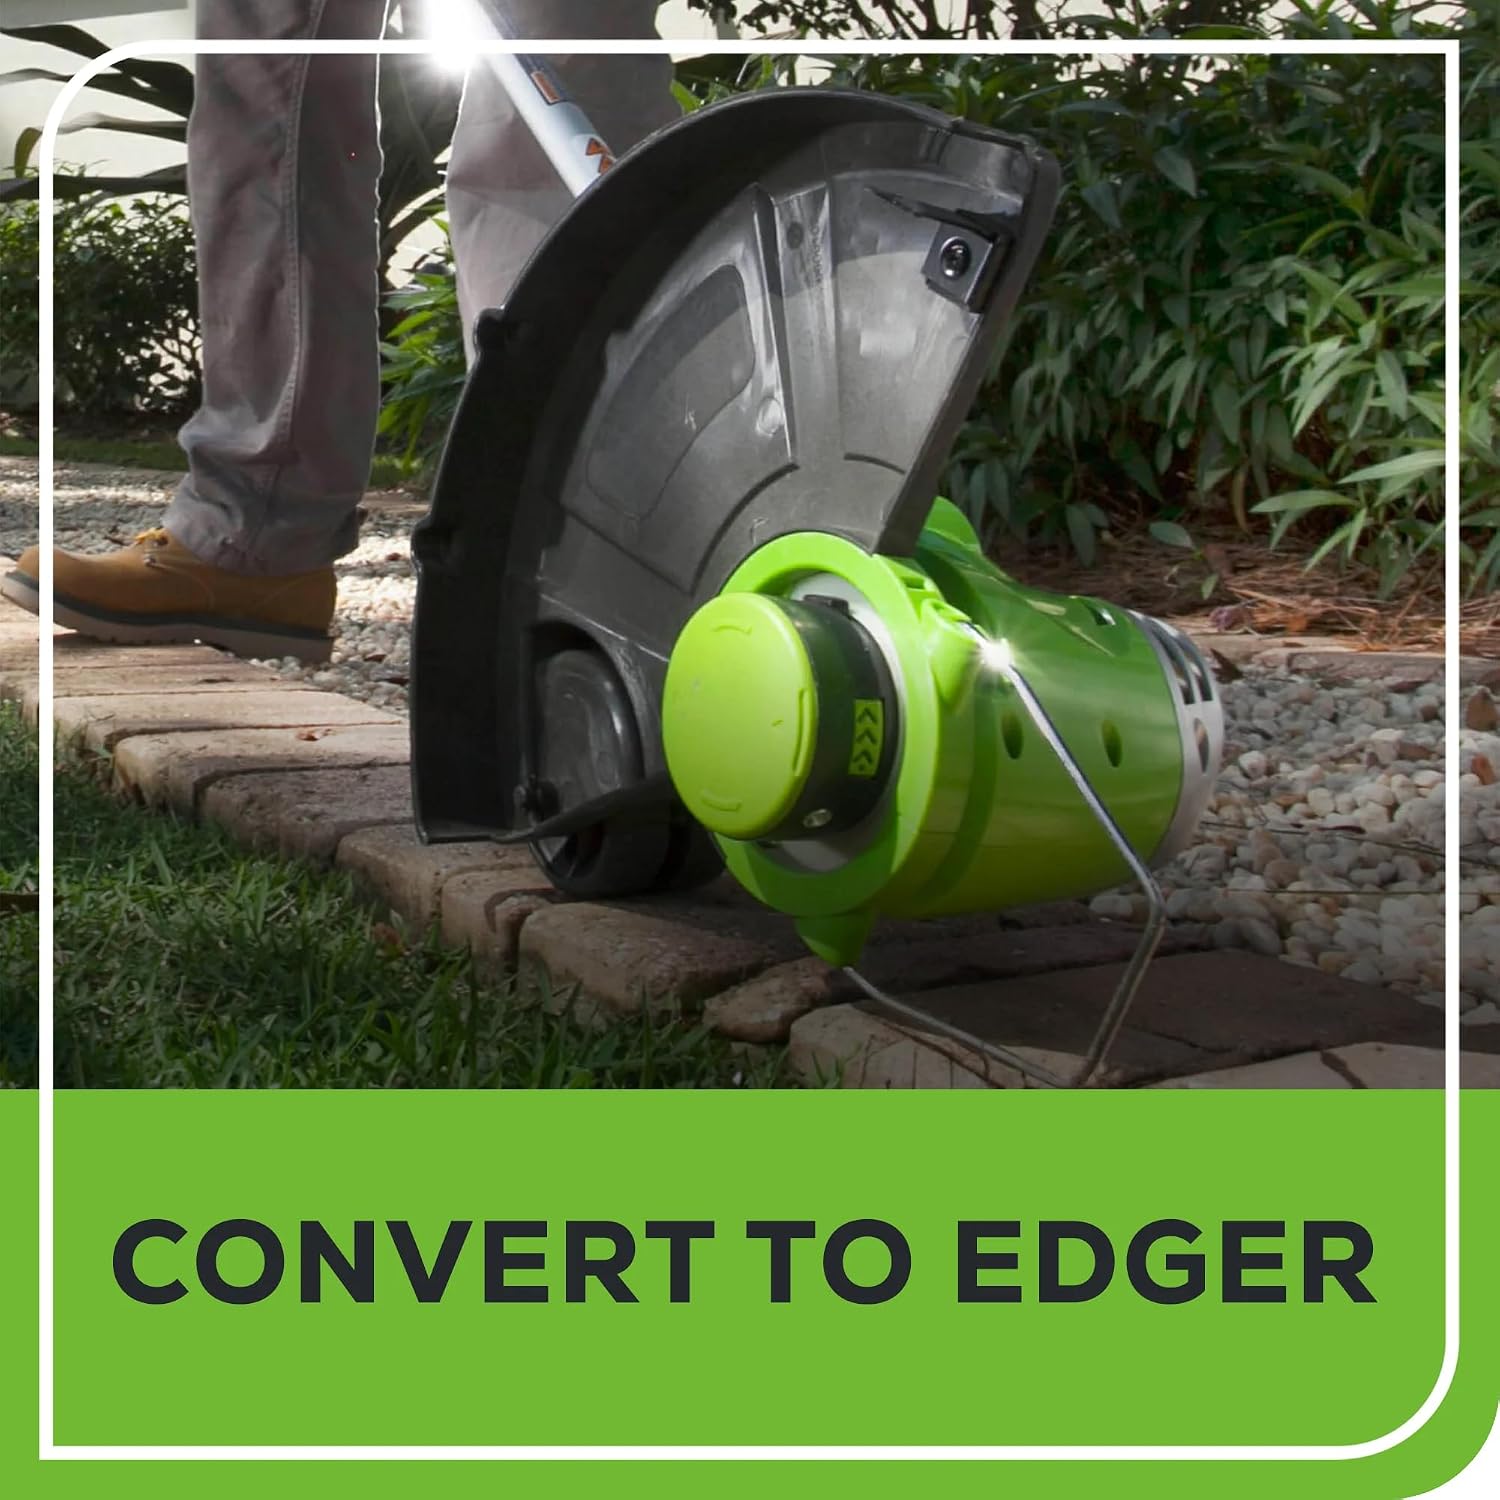
Figure 4: Converting to Edger Mode

Figure 5: Auto Feed Head
Maintenance
- Cleaning: After each use, disconnect the power and clean the trimmer with a damp cloth. Remove any grass clippings or debris from the guard and air vents. Do not use solvents or harsh chemicals.
- Line Replacement: When the cutting line runs out, replace it with Greenworks replacement spool, model 29082. Refer to the specific instructions provided with the replacement spool for proper installation.
- Storage: Store the trimmer in a dry, secure location out of reach of children. Avoid storing in direct sunlight or extreme temperatures.
Troubleshooting
| Problem | Possible Cause | Solution |
|---|---|---|
| Trimmer does not start | No power, faulty extension cord, safety button not pressed | Check power connection, try another outlet/cord, ensure safety button is pressed before trigger |
| Cutting line does not advance | Line tangled, spool empty, debris in head | Disconnect power, inspect spool for tangles, replace spool if empty, clear debris |
| Motor runs but line does not spin | Spool not installed correctly, line broken inside head | Disconnect power, re-install spool correctly, replace line if broken |
| Excessive vibration | Damaged cutting head, unbalanced line | Disconnect power, inspect cutting head for damage, ensure line is evenly distributed |
Specifications
| Specification | Value |
|---|---|
| Brand | Greenworks |
| Model Number | 21272 |
| Power Source | Corded Electric |
| Amperage | 5.5 Amp |
| Cutting Width | 15 inches (38.1 cm) |
| Line Diameter | 0.065 inches |
| Line Feed System | Dual Line Auto Feed |
| Item Weight | 6.86 Pounds |
| Dimensions (L x W) | 58"L x 16"W |
Warranty
This Greenworks product is covered by a 4-year manufacturer's warranty. For specific terms and conditions, please refer to the warranty card included with your product or contact Greenworks customer support. Keep your purchase receipt as proof of purchase for warranty claims.

Figure 6: Greenworks Warranty Information
Support
For further assistance, replacement parts, or to register your product, please visit the official Greenworks website or contact their customer service department. You can also find more information and products at the Greenworks Store on Amazon.


