1. Introduction
Thank you for choosing the FERM Precision Belt Sander EFM1001. This powerful 400W electric file is designed for fast and precise sanding tasks on various materials. To ensure safe and efficient operation, please read this instruction manual thoroughly before first use and keep it for future reference.
2. Safety Instructions
Always observe the following safety precautions to reduce the risk of electric shock, fire, and serious injury.
- Work Area Safety: Keep the work area clean and well-lit. Do not operate power tools in explosive atmospheres, such as in the presence of flammable liquids, gases, or dust.
- Electrical Safety: Power tool plugs must match the outlet. Never modify the plug in any way. Avoid body contact with earthed or grounded surfaces. Do not expose power tools to rain or wet conditions.
- Personal Safety: Always wear eye protection, dust mask, non-skid safety shoes, hard hat, or hearing protection when operating power tools. Dress properly; avoid loose clothing or jewelry.
- Tool Use and Care: Do not force the power tool. Use the correct power tool for your application. Disconnect the plug from the power source before making any adjustments, changing accessories, or storing power tools.
- Specific Sander Safety:
- Ensure the workpiece is securely clamped or held.
- Always use the dust collection bag or connect to a vacuum cleaner to minimize dust exposure.
- Do not sand materials containing asbestos.
- Allow the tool to reach full speed before applying it to the workpiece.
3. Product Overview and Components
The FERM EFM1001 Precision Belt Sander comes with several accessories to enhance its versatility.

Figure 3.1: The FERM EFM1001 Precision Belt Sander displayed with its complete set of accessories, including the main unit, various sanding arms, abrasive belts, dust bag, and storage case.

Figure 3.2: A detailed view of the sander's front section, showing the belt mechanism and the attachment point for the sanding arms.

Figure 3.3: This image highlights the variable speed control dial located on the top of the sander's handle, allowing for precise speed adjustments.
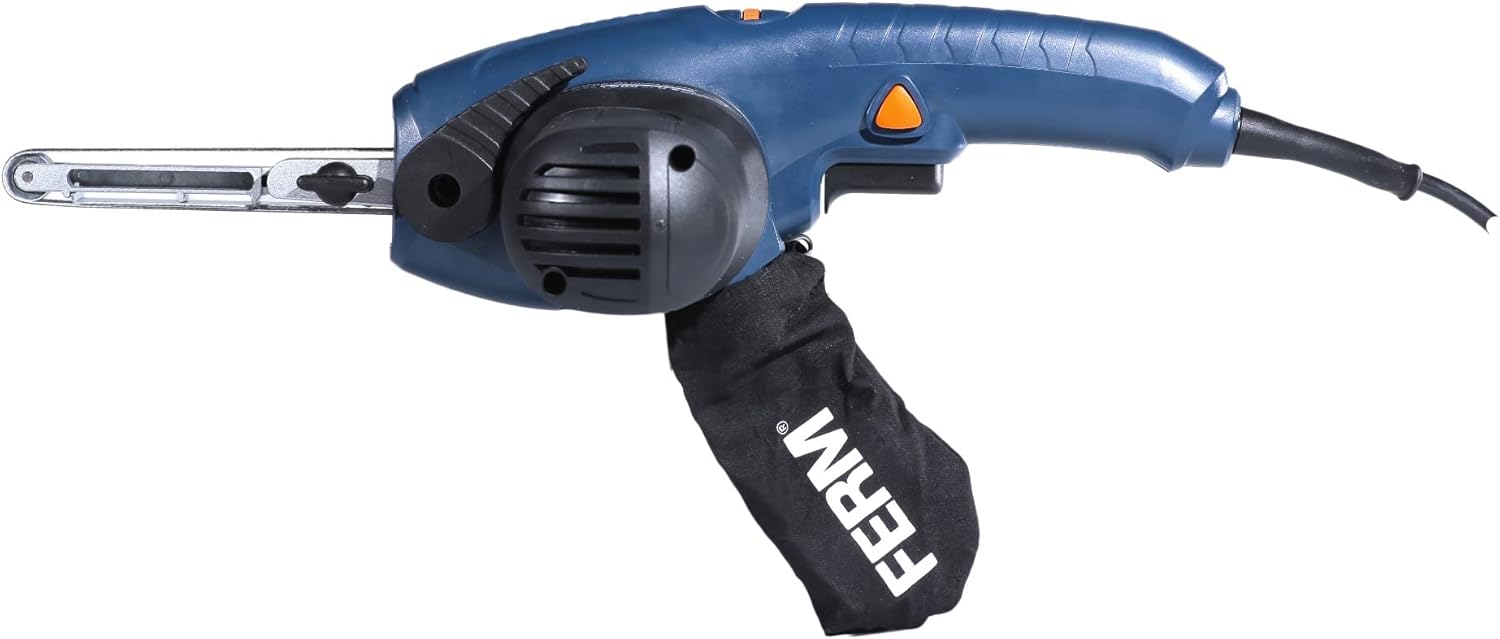
Figure 3.4: The sander is shown with the included dust collection bag securely attached, demonstrating its dust management feature.

Figure 3.5: The robust plastic storage case provided with the sander, designed for convenient transport and protection of the tool and its accessories.
Included Components:
- FERM Electric File (Main Unit)
- 12 Abrasive Belts (P40, P80, P120 grits)
- 8 mm Narrow Sanding Arm
- 13 mm Wide Sanding Arm
- 13 mm Curved Sanding Arm
- Dust Collection Bag
- Storage Case
4. Setup and Assembly
Before operating the sander, ensure all components are correctly assembled.
- Attaching a Sanding Arm:
- Select the appropriate sanding arm (8mm narrow, 13mm wide, or 13mm curved) for your task.
- Align the arm with the mounting slot on the front of the sander.
- Slide the arm into place until it clicks securely. Ensure it is firmly seated and does not wobble.
- Installing Abrasive Belts:
- Ensure the sander is unplugged from the power source.
- Release the belt tension lever (refer to your tool's specific design for location, usually near the sanding arm).
- Slide the abrasive belt over the rollers of the sanding arm, ensuring the arrow on the belt (if present) matches the direction of rotation indicated on the tool.
- Re-engage the belt tension lever to secure the belt. The belt should be taut and centered on the rollers.
- Attaching the Dust Collection Bag:
- Locate the dust extraction port on the sander.
- Slide the dust collection bag onto the port until it is securely attached. Ensure a tight fit to maximize dust collection efficiency.
5. Operating Instructions
Follow these steps for effective and safe operation of your FERM Precision Belt Sander.
- Power Connection: Plug the sander into a suitable 230V power outlet. The 3-meter cable provides ample freedom of movement.
- Variable Speed Control: The sander features a variable speed control dial. Rotate the dial to adjust the sanding speed according to the material and desired finish. Lower speeds are suitable for delicate work or heat-sensitive materials, while higher speeds are for rapid material removal.
- Starting and Stopping:
- To start the sander, press the ON/OFF switch.
- To stop the sander, release or press the ON/OFF switch again (depending on switch type).
- Sanding Techniques:
- General: Apply light, even pressure. Let the tool do the work. Move the sander smoothly and consistently across the surface.
- Wood: Sand along the grain for best results. Start with a coarser grit (P40, P80) for material removal and finish with a finer grit (P120) for a smooth surface.
- Metal: Use appropriate abrasive belts for metal. Be aware of heat buildup; take breaks to allow the material and tool to cool.
- Ceramic, Plaster, Plastic: Use suitable abrasive belts and adjust speed as necessary. For plastics, lower speeds can prevent melting.

Figure 5.1: Demonstrates the FERM Precision Belt Sander in use, highlighting its ability to reach into narrow spaces, such as sanding a door frame.
6. Maintenance
Regular maintenance ensures the longevity and optimal performance of your sander.
- Cleaning: After each use, unplug the tool and clean it with a soft, damp cloth. Do not use harsh chemicals or abrasive cleaners. Clear any dust or debris from ventilation openings.
- Belt Replacement: Replace abrasive belts when they become worn or lose their effectiveness. Follow the "Installing Abrasive Belts" steps in Section 4.
- Dust Bag: Empty the dust collection bag regularly to maintain efficient dust extraction and prevent clogging.
- Storage: Store the sander and its accessories in the provided storage case in a dry, secure place, out of reach of children.
7. Troubleshooting
If you encounter issues with your sander, refer to the following common problems and solutions.
| Problem | Possible Cause | Solution |
|---|---|---|
| Sander does not start. | No power supply; faulty switch. | Check power connection and outlet. If problem persists, contact service. |
| Belt slips or comes off. | Belt not tensioned correctly; worn belt; incorrect belt size. | Ensure belt tension lever is engaged. Replace worn belt. Use correct belt size. |
| Poor sanding performance. | Worn abrasive belt; incorrect grit for material; excessive pressure. | Replace abrasive belt. Use appropriate grit. Apply lighter, even pressure. |
| Excessive dust. | Dust bag full or not attached correctly. | Empty dust bag. Ensure dust bag is securely attached to the port. |
8. Technical Specifications
| Specification | Value |
|---|---|
| Manufacturer | FERM B.V. - Tools - FR |
| Model Number | EFM1001 |
| Power Input | 400 Watts |
| Voltage | 230 Volts |
| Max Rotation Speed | 12000 rpm |
| Cord Length | 3 Meters |
| Product Dimensions (L x W x H) | 34 x 30 x 13 cm |
| Item Weight | 1.46 Kilograms |
| Included Components | Electric File, 12 Abrasive Belts (P40, P80, P120), 8/13 mm Sanding Arms, 13 mm Curved Sanding Arm, Dust Bag, Storage Case |
9. Warranty Information
This FERM Precision Belt Sander EFM1001 comes with a 3-year manufacturer's warranty. Please retain your proof of purchase for warranty claims. The warranty covers defects in materials and workmanship under normal use. It does not cover damage resulting from misuse, abuse, unauthorized repairs, or normal wear and tear.
10. Support and Contact
For further assistance, technical support, or spare parts, please visit the official FERM website or contact their customer service department. Refer to the contact information provided on the product packaging or the official FERM website for your region.
You can also visit the Ferm Brand Store on Amazon for more product information and support resources.


