
1. Setup
Follow these steps to set up your Dell E1913 LED Monitor.
1.1 Unpacking the Monitor
- Carefully open the packaging and remove the monitor and all accessories.
- Ensure all components are present: monitor panel, stand base, stand riser, power cable, VGA cable, and documentation.
1.2 Assembling the Stand
- Place the stand base on a flat, stable surface.
- Align the stand riser with the slot on the stand base and press down until it clicks into place.
- Attach the assembled stand to the back of the monitor panel by aligning the tabs and pushing until it locks securely.
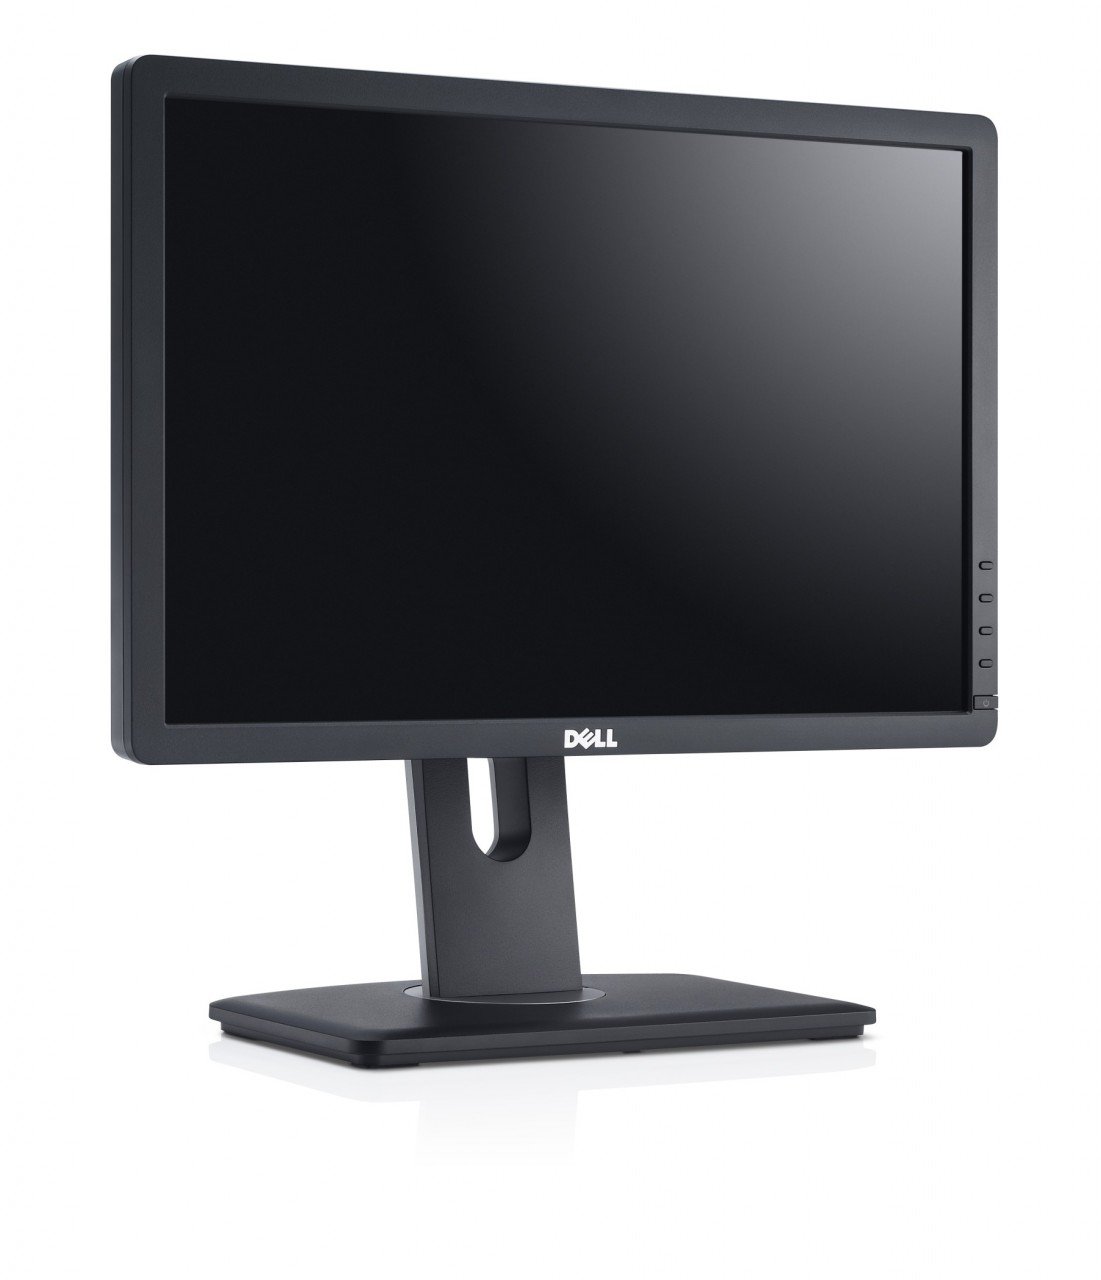
Image: The Dell E1913 LED Monitor with its stand attached, ready for connection. This image illustrates the monitor's front view, showcasing its display and bezel.
1.3 Connecting Cables
- Power Cable: Connect one end of the power cable to the monitor's power port and the other end to a grounded electrical outlet.
- Video Cable (VGA): Connect the VGA cable from your computer's video output port to the VGA input port on the monitor. Ensure the screws on the VGA connector are tightened for a secure connection.
- USB Cable (Optional): If your monitor has USB ports, connect the upstream USB cable from your computer to the monitor's upstream USB port to enable the monitor's USB hub functionality.
1.4 Initial Power-On
- Ensure all cables are securely connected.
- Press the power button on the monitor. The power indicator light should illuminate.
- Turn on your computer. The monitor should automatically detect the input signal and display the computer's screen.
2. Operating the Monitor
This section provides instructions for basic operation and adjustment of your Dell E1913 monitor.
2.1 Power On/Off
- To turn on the monitor, press the power button located on the front bezel.
- To turn off the monitor, press the power button again. The power indicator light will turn off.
2.2 Adjusting Display Settings (OSD Menu)
The On-Screen Display (OSD) menu allows you to adjust various monitor settings. Use the buttons on the front bezel to navigate and select options.
- Press the Menu button to open the OSD menu.
- Use the Up and Down arrow buttons to navigate through the menu options.
- Press the Select button (often the same as the Menu button or a dedicated button) to enter a sub-menu or confirm a selection.
- Adjust settings such as Brightness, Contrast, Input Source, Color Settings, and Display Mode.
- Press the Exit button (or Menu button again) to close the OSD menu.
2.3 Input Source Selection
If you have multiple devices connected to your monitor, you can manually switch between input sources.
- Press the Input Select button (refer to your monitor's bezel for the specific icon).
- Use the arrow buttons to highlight the desired input (e.g., VGA).
- Press the Select button to confirm your choice.
3. Maintenance
Proper care and maintenance will extend the life of your Dell E1913 monitor.
3.1 Cleaning the Monitor
- Always turn off the monitor and unplug the power cord before cleaning.
- Screen: Use a soft, lint-free cloth lightly dampened with water or a non-abrasive screen cleaner. Do not spray cleaner directly onto the screen.
- Casing: Use a soft, dry cloth to wipe the monitor casing. Avoid using strong detergents or abrasive cleaners.
3.2 Storage
- If storing the monitor for an extended period, disconnect all cables and pack it in its original packaging if possible.
- Store in a cool, dry place away from direct sunlight and extreme temperatures.
4. Troubleshooting
This section addresses common issues you might encounter with your Dell E1913 monitor.
4.1 No Display / Black Screen
- Check Power: Ensure the monitor's power cable is securely connected to both the monitor and a working electrical outlet. Verify the power indicator light is on.
- Check Video Cable: Ensure the VGA cable is firmly connected to both the monitor and the computer. Try re-seating the cable.
- Input Source: Verify that the correct input source (e.g., VGA) is selected on the monitor using the OSD menu.
- Computer Status: Ensure your computer is powered on and not in sleep or standby mode.
4.2 Flickering or Unstable Image
- Cable Connection: Re-check the video cable connection. A loose connection can cause flickering.
- Resolution/Refresh Rate: Ensure your computer's display resolution and refresh rate are set to values supported by the monitor (e.g., 1440 x 900 at 60Hz). Adjust these settings in your computer's display settings.
- Interference: Move any electronic devices that might be causing electromagnetic interference away from the monitor.
4.3 Poor Image Quality / Incorrect Colors
- OSD Settings: Access the OSD menu and adjust Brightness, Contrast, and Color settings to your preference.
- Factory Reset: If issues persist, try performing a factory reset through the OSD menu to restore default settings.
- Graphics Driver: Ensure your computer's graphics card drivers are up to date.
5. Specifications
Key technical specifications for the Dell E1913 LED Monitor.
| Feature | Specification |
|---|---|
| Model Number | E1913 |
| Screen Size | 19 Inches |
| Resolution | 1440 x 900 (XGA+ Wide) |
| Aspect Ratio | 16:10 |
| Contrast Ratio | 1,000:1 |
| Response Time | 5 ms |
| Display Type | LED LCD |
| Video Inputs | VGA |
| USB Ports | 2 (Total USB Ports) |
| Product Dimensions | 20.08 x 14.17 x 4.92 inches |
| Item Weight | 8.6 pounds |
6. Warranty and Support
For detailed warranty information, please refer to the warranty document included with your purchase or visit the official Dell support website.
6.1 Technical Support
If you encounter issues that cannot be resolved using the troubleshooting guide, please contact Dell Technical Support. Have your monitor's serial number ready when contacting support.
- Online Support: Visit www.dell.com/support
- Phone Support: Refer to your region-specific contact information provided in the documentation.


