
1. Introduction and Overview
The Yato YT 7312 Timing Light is a precision instrument designed for checking and adjusting the ignition timing on internal combustion engines. This device, also known as a strobe light or timing gun, utilizes a bright xenon flash to illuminate the engine's timing marks, allowing for accurate synchronization of the ignition system with the engine's crankshaft position. Proper ignition timing is crucial for optimal engine performance, fuel efficiency, and reduced emissions.
This manual provides essential information for the safe and effective use of your Yato YT 7312 Timing Light. Please read it thoroughly before operation.
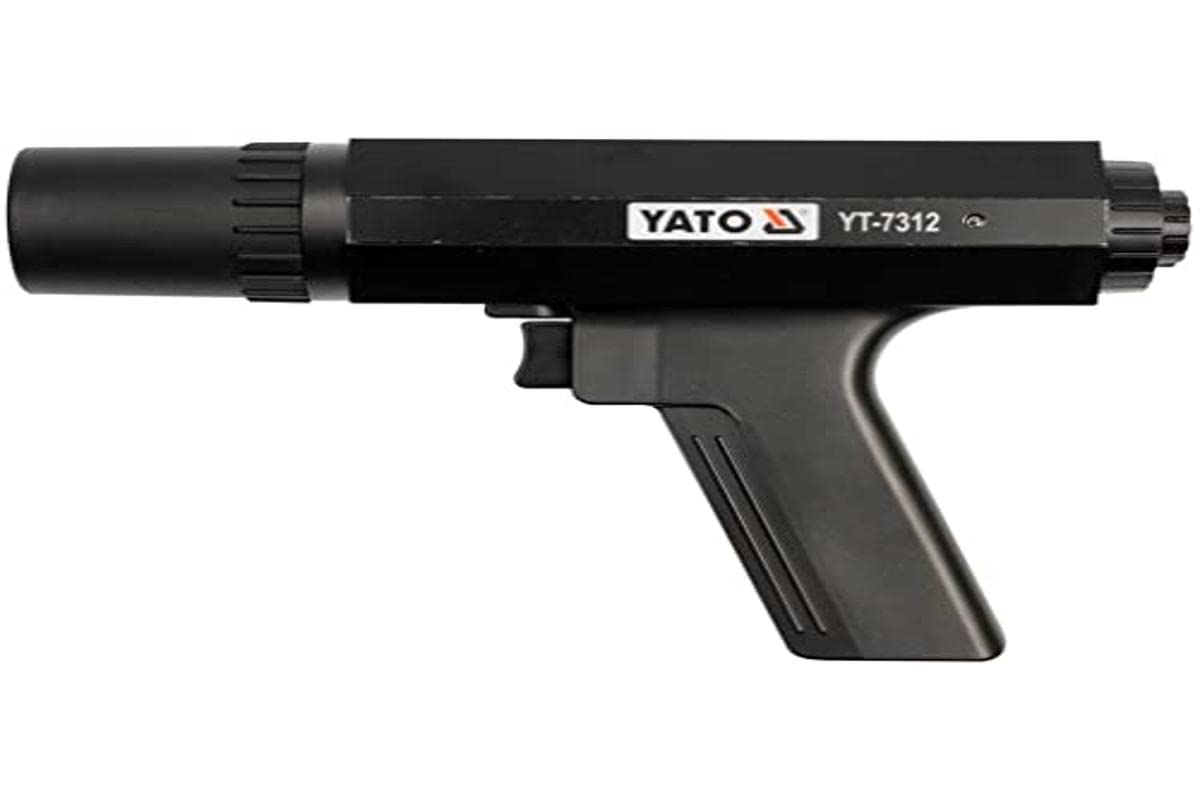
Image 1.1: The Yato YT 7312 Timing Light. This image shows the main unit with its distinctive red and black housing, indicating its robust design.
2. Safety Information
WARNING: Always observe safety precautions when working on or around internal combustion engines. Failure to do so may result in serious injury or damage to property.
- Wear appropriate personal protective equipment (PPE), including safety glasses, gloves, and hearing protection.
- Ensure the engine is turned off and cool before making any connections or disconnections, unless specifically instructed otherwise for timing procedures.
- Keep hands, tools, and clothing clear of moving engine parts (e.g., fan blades, belts, pulleys) when the engine is running.
- Be aware of hot engine components and exhaust systems.
- Avoid contact with high-voltage ignition components. The inductive pickup is designed to safely detect the spark without direct contact, but exercise caution.
- Work in a well-ventilated area to avoid inhaling exhaust fumes.
- Ensure the vehicle is in park (automatic) or neutral (manual) with the parking brake engaged. Block the wheels if necessary.
- Do not use the timing light if its cables or housing are damaged.
3. Product Components
The Yato YT 7312 Timing Light typically includes the following main components:
- Timing Light Unit: The main body containing the xenon strobe lamp and control circuitry.
- Power Cables: Red and black cables with alligator clips for connecting to the vehicle's 12V battery. The red clip connects to the positive (+) terminal, and the black clip connects to the negative (-) terminal.
- Inductive Pickup: A clamp-on sensor that attaches to a spark plug wire. This sensor detects the electrical pulse from the spark plug, triggering the strobe light.
4. Setup
Follow these steps to properly set up your Yato YT 7312 Timing Light:
- Prepare the Vehicle: Ensure the engine is off and cool. Locate the vehicle's battery and the spark plug wire for cylinder number one (typically the cylinder closest to the front of the engine). Consult your vehicle's service manual for specific cylinder numbering and timing mark locations.
- Connect Power: Attach the red alligator clip of the timing light's power cable to the positive (+) terminal of the vehicle's 12V battery. Attach the black alligator clip to the negative (-) terminal of the battery or a good chassis ground point. Ensure connections are secure.
- Attach Inductive Pickup: Open the inductive pickup clamp and place it around the spark plug wire for cylinder number one. Ensure the arrow on the pickup (if present) points towards the spark plug. Close the clamp securely.
- Locate Timing Marks: Identify the timing marks on the engine's crankshaft pulley or flywheel and the corresponding pointer on the engine block. These marks are essential for reading the ignition timing. Clean them if necessary for clear visibility.
5. Operating Instructions
Once the timing light is set up, proceed with the following steps to check ignition timing:
- Start Engine: Start the vehicle's engine and allow it to reach its normal operating temperature. Ensure the engine is idling smoothly.
- Disable Vacuum Advance (if applicable): For some older vehicles, it may be necessary to disconnect and plug the vacuum advance hose to the distributor to get an accurate base timing reading. Refer to your vehicle's service manual.
- Aim Timing Light: Point the timing light's strobe lamp directly at the timing marks you located in the setup phase.
- Read Timing: The strobe light will flash each time the spark plug fires, making the timing marks appear stationary. Compare the mark on the crankshaft pulley/flywheel with the pointer on the engine block. This indicates the current ignition timing.
- Adjust Timing (if necessary): If the timing is not within the manufacturer's specifications, adjustments may be required. This typically involves loosening the distributor hold-down bolt and rotating the distributor slightly until the timing marks align correctly. Re-tighten the bolt after adjustment. Note: The Yato YT 7312 is a measurement tool; the adjustment procedure itself is vehicle-specific and not performed by the tool.
- Disconnect: Once timing is checked or adjusted, turn off the engine. Disconnect the inductive pickup, then the power cables (black first, then red) from the battery.
6. Maintenance
To ensure the longevity and accurate performance of your Yato YT 7312 Timing Light, follow these maintenance guidelines:
- Cleaning: After each use, wipe the timing light unit and cables with a clean, dry cloth to remove any dirt, grease, or moisture. Do not use harsh chemicals or abrasive cleaners.
- Storage: Store the timing light in a clean, dry place, preferably in its original packaging or a protective case, away from direct sunlight, extreme temperatures, and corrosive substances.
- Inspection: Periodically inspect the power cables and inductive pickup for any signs of damage, such as cuts, cracks, or frayed wires. If damage is found, discontinue use and replace the unit if necessary.
7. Troubleshooting
If you encounter issues while using your Yato YT 7312 Timing Light, refer to the following troubleshooting tips:
| Problem | Possible Cause | Solution |
|---|---|---|
| Timing light does not flash. |
|
|
| Inaccurate timing reading. |
|
|
| Light flashes erratically. |
|
|
8. Specifications
| Feature | Detail |
|---|---|
| Model Number | YT-7312 |
| Manufacturer | Yato |
| Power Source | 12V DC (Vehicle Battery) |
| Batteries Required | No |
| Light Type | Xenon Strobe |
| Color | Red/Black |
| Included Components | 1 Timing Light Unit |
| First Available Date | January 15, 2020 |
9. Warranty and Support
For information regarding the warranty period, terms, and conditions for your Yato YT 7312 Timing Light, please refer to the documentation provided at the time of purchase or contact your retailer. Yato products are known for their durability and quality, and support is typically available through authorized distributors and service centers.
If you require technical assistance or have questions not covered in this manual, please contact the Yato customer support or your local Yato dealer.