
1. Introduction
This manual provides detailed instructions for the installation, setup, operation, and maintenance of your Sunlite 04995-SU In-Wall Digital Timer. This device is designed to automatically control light fixtures or outlets by replacing a traditional single-pole switch, offering convenience and energy management.

Image 1.1: Front view of the Sunlite 04995-SU In-Wall Digital Timer. The timer is white with a small digital display at the top and a larger manual control panel below, designed to fit into a standard wall switch plate.
2. Safety Information
WARNING: Risk of Electric Shock. Installation requires working with electrical wiring. If you are not familiar with electrical wiring, consult a qualified electrician.
- Always turn off power at the circuit breaker before installation or servicing.
- This timer is for indoor installation only.
- Do not exceed the maximum load rating: 15 Amps, 1800 Watts Resistive at 120 VAC.
- Ensure all wire connections are secure and comply with local electrical codes.
- The product is UL Listed, indicating it meets safety and quality standards.
3. Package Contents
Verify that all components are present before beginning installation:
- Sunlite 04995-SU In-Wall Digital Timer
- Decorative Wall Plate
- Mounting Screws
- Wire Nuts
- Instruction Manual (this document)
4. Specifications
| Feature | Specification |
|---|---|
| Model Number | 04995-SU |
| Voltage | 120 Volts AC |
| Maximum Load | 15 Amps, 1800 Watts Resistive |
| Programmability | 7-Day, up to 18 ON/18 OFF settings |
| Operating Modes | Manual On/Off, Auto Override, Random, DST |
| Backup | Auto backup saves programming during power outages |
| Dimensions (H x L) | 4.2 inches x 1.6 inches (approximate) |
| Material | Metal, Plastic |
| Color | White Finish |
| Certifications | UL Listed |

Image 4.1: Diagram showing the approximate dimensions of the Sunlite 04995-SU In-Wall Digital Timer: 4.2 inches in height and 1.6 inches in length.

Image 4.2: Visual representation of key features including 15 Amps (1800 Watts), Manual On/Off with Auto Override, 7-Day Programmable functionality, and ease of installation.
5. Installation
This section outlines the steps for installing the Sunlite 04995-SU In-Wall Digital Timer. Ensure power is OFF at the circuit breaker before proceeding.
- Turn Off Power: Locate the circuit breaker controlling the switch you intend to replace and turn it OFF. Verify power is off using a voltage tester.
- Remove Old Switch: Carefully remove the existing wall plate and unscrew the old switch from the electrical box. Disconnect the wires from the old switch, noting their connections.
- Identify Wires: You will typically find a LINE (hot) wire, a LOAD wire (to the fixture), and a NEUTRAL wire. A ground wire should also be present. If a neutral wire is not available in your electrical box, this timer cannot be installed.
- Connect New Timer: Using the provided wire nuts, connect the wires from the electrical box to the corresponding wires on the Sunlite timer. Refer to the wiring diagram provided with the physical product for specific connections. Ensure all connections are secure.
Important: The timer requires a neutral wire for proper operation. - Mount Timer: Gently push the connected wires back into the electrical box. Secure the timer to the electrical box using the provided mounting screws.
- Install Wall Plate: Attach the decorative wall plate over the timer.
- Restore Power: Turn the power back ON at the circuit breaker. The timer's digital display should illuminate.
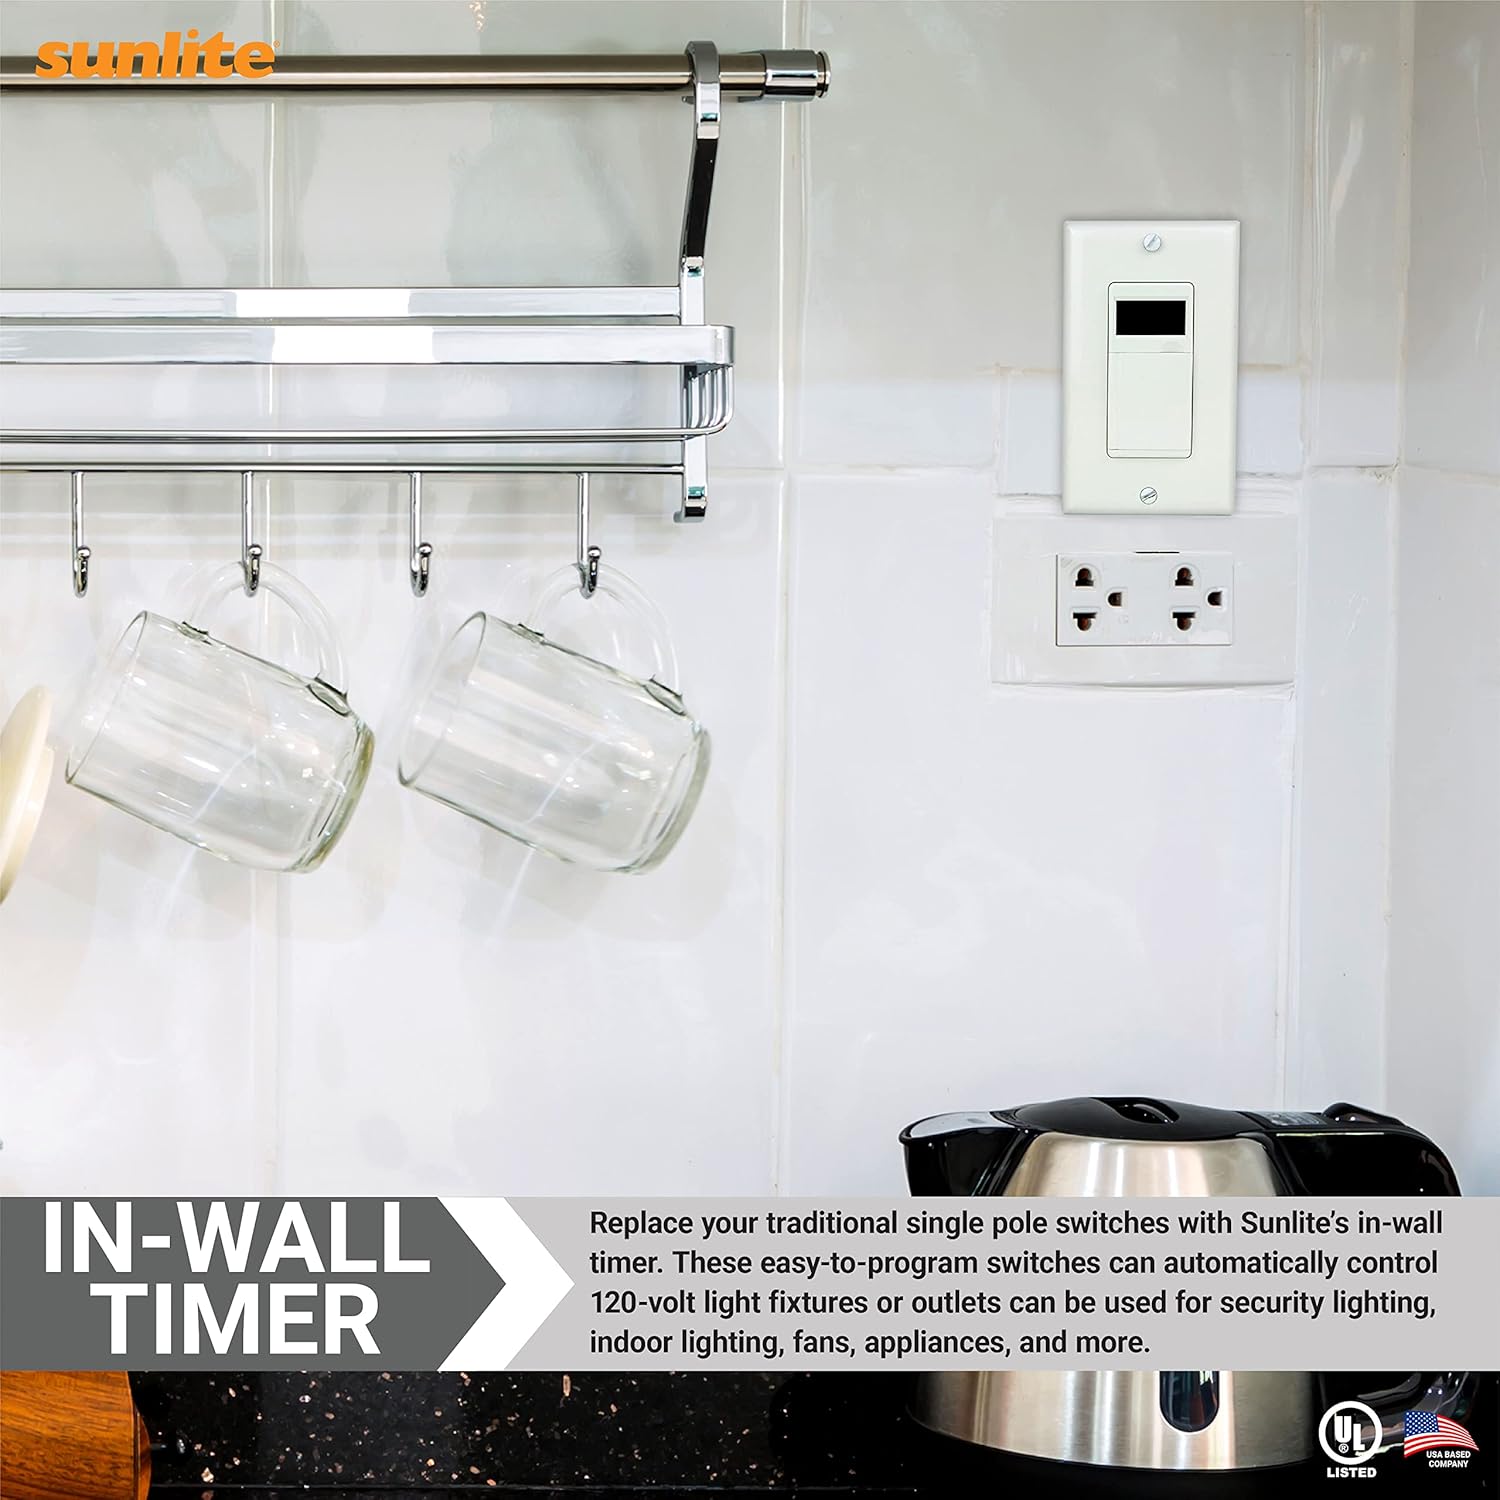
Image 5.1: An example of the Sunlite In-Wall Digital Timer installed in a kitchen setting, replacing a traditional single-pole switch to control an outlet.
6. Initial Setup
After installation and restoring power, the timer will require initial setup of the current time and day.
- Open Control Panel: Gently press the bottom part of the timer's cover to reveal the programming buttons.
- Set Current Time:
- Press the HOUR button to adjust the hour.
- Press the MIN button to adjust the minute.
- Set Current Day: Press the DAY button to cycle through the days of the week until the correct day is displayed.
- Close Control Panel: Once the time and day are set, close the control panel cover. The display will show the current time and day.
7. Operating Instructions
The Sunlite 04995-SU timer offers various operating modes and programming options.
7.1. Manual On/Off Operation
You can manually turn the connected device ON or OFF at any time by simply pressing the control panel cover. This action overrides any active program until the next scheduled ON/OFF event.
7.2. Programming ON/OFF Settings
The timer allows for up to 18 ON and 18 OFF settings per day or across a 7-day cycle. To program:
- Open Control Panel: Press the bottom part of the timer's cover.
- Enter Program Mode: Press the PROG button. The display will show '1 ON'.
- Set ON Time: Use the HOUR and MIN buttons to set the desired ON time for program 1.
- Select Days for ON Event: Press the DAY button repeatedly to cycle through day options:
- All 7 days (Mon-Sun)
- Individual days (Mon, Tue, Wed, etc.)
- Weekdays (Mon-Fri)
- Weekends (Sat-Sun)
- Set OFF Time: Press PROG again. The display will show '1 OFF'. Use HOUR and MIN buttons to set the desired OFF time for program 1. Select days using the DAY button as before.
- Repeat for Additional Programs: Continue pressing PROG to set up to 18 ON/OFF programs. Each press will advance to the next program number (e.g., '2 ON', '2 OFF', '3 ON', etc.).
- Exit Program Mode: After setting all desired programs, press the RCL button to return to the current time display.

Image 7.1: Close-up view of the Sunlite 04995-SU In-Wall Digital Timer's control panel, showing buttons for PROG, DAY, HOUR, MIN, DST, RND, ON, OFF, and MAN for setting and adjusting schedules.
7.3. Random Setting (Vacation Mode)
The random setting varies the ON/OFF times by a few minutes, giving a
