
1. Introduction
This manual provides essential information for the proper handling, installation, and maintenance of the National 710582 Auto Trans Output Shaft Seal. Adhering to these instructions will help ensure the seal's optimal performance and longevity. This product is designed for specific automotive transmission applications.
2. Product Overview
The National 710582 is a high-quality auto transmission output shaft seal engineered to prevent fluid leakage from the transmission. It features a spring-loaded, multi-lip design, providing a robust sealing solution. This seal is compatible with a wide range of fluids and maintains excellent performance across a broad temperature range.
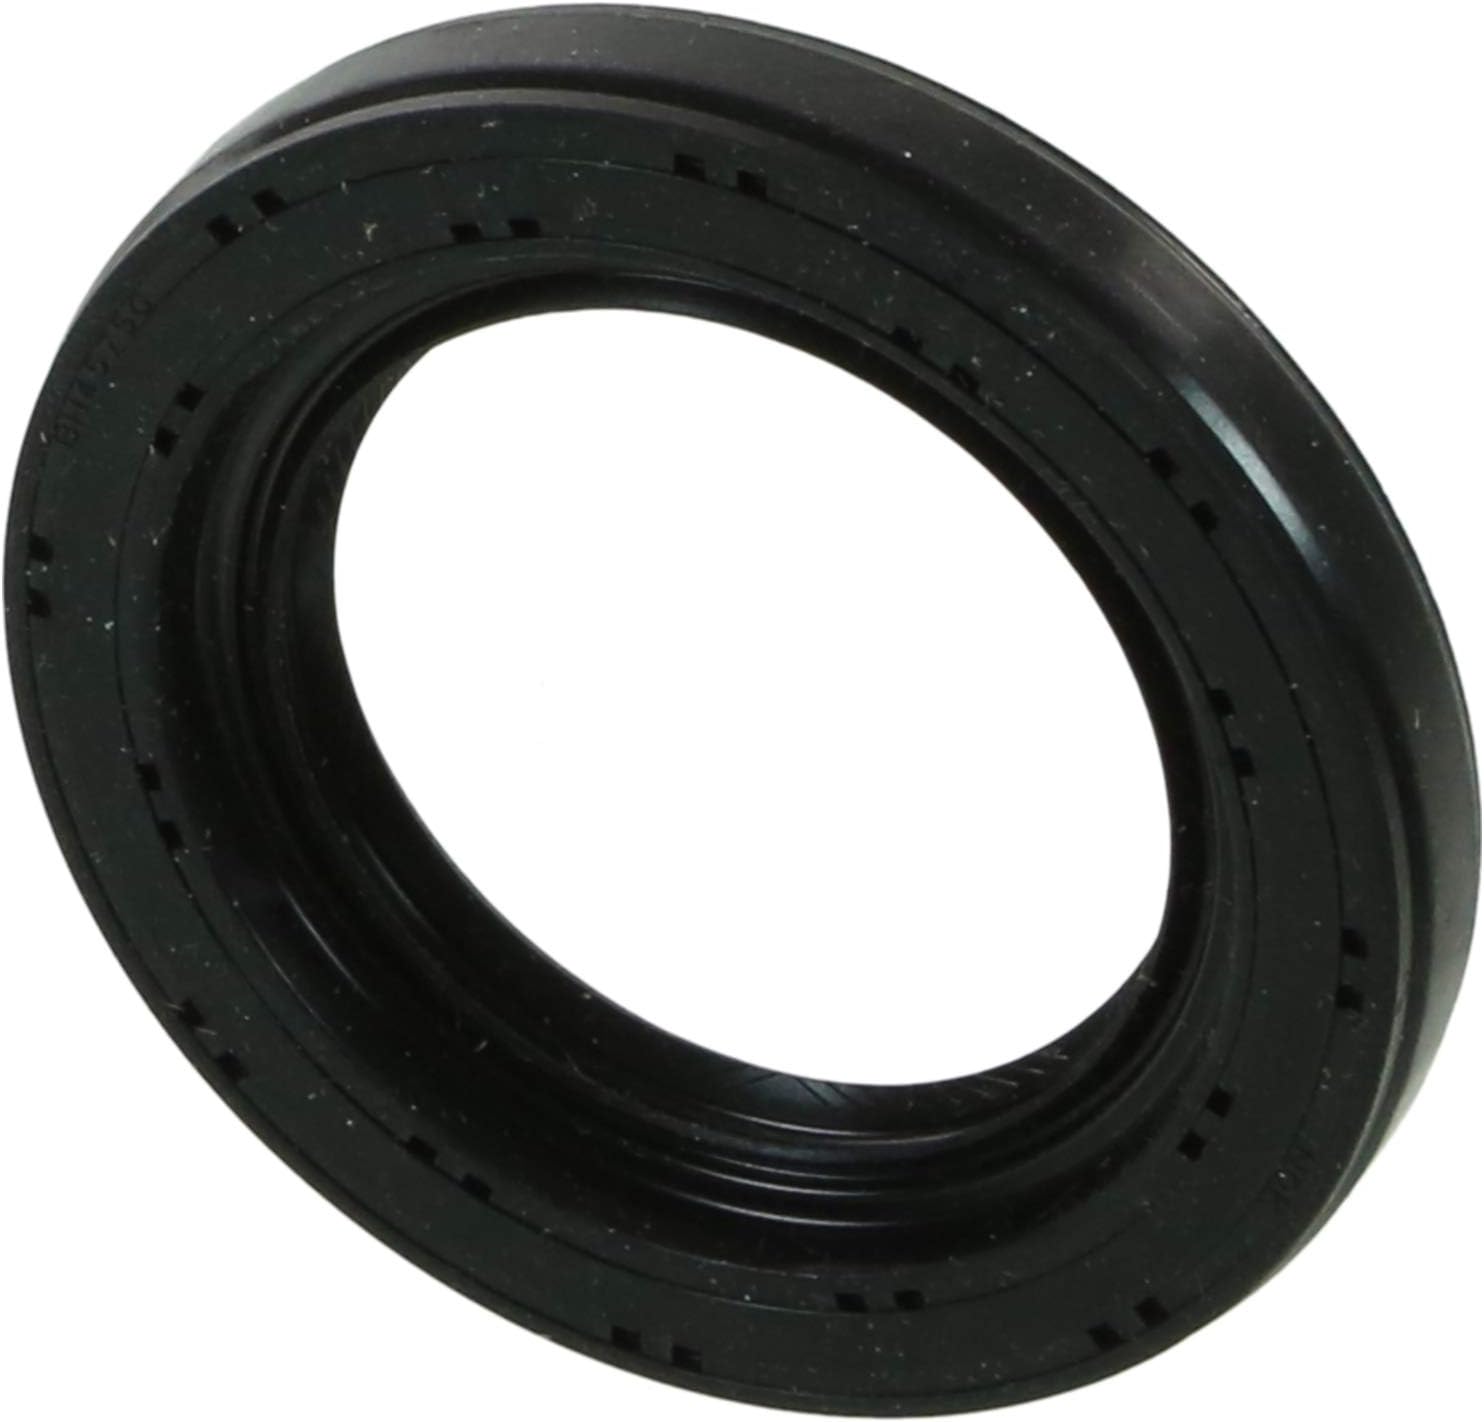
Figure 1: The National 710582 Auto Trans Output Shaft Seal, a circular black rubber seal with a metal spring inside, designed for automotive transmission applications.
Key Features:
- Design Type: Spring loaded; multi-lip for enhanced sealing.
- Temperature Range: Operates effectively from -40°F to 400°F (-40°C to 204°C).
- Fluid Compatibility: Designed to be compatible with a wide range of automotive transmission fluids.
- Performance: Engineered for reliable and consistent sealing performance.
3. Setup and Installation
Proper installation is critical for the effective function and longevity of the output shaft seal. It is recommended that installation be performed by a qualified automotive technician.
Required Tools (Typical):
- Seal removal tool
- Seal installation tool (or appropriate size socket/driver)
- Clean lint-free cloths
- Transmission fluid (compatible with your vehicle)
- Safety glasses and gloves
Installation Steps:
- Safety First: Ensure the vehicle is safely lifted and supported. Disconnect the battery if necessary.
- Remove Old Seal: Carefully remove the old output shaft seal using a suitable seal removal tool. Avoid damaging the transmission housing or the output shaft.
- Clean Surface: Thoroughly clean the seal bore in the transmission housing and the output shaft. Remove any old sealant, dirt, or debris. The sealing surfaces must be perfectly clean and smooth.
- Inspect Components: Inspect the output shaft for any nicks, burrs, or wear that could damage the new seal. Address any issues before proceeding.
- Lubricate New Seal: Lightly lubricate the inner and outer lips of the new National 710582 seal with clean, compatible transmission fluid. This aids in installation and prevents initial dry startup wear.
- Install New Seal: Using a seal installation tool that matches the outer diameter of the seal, carefully press the new seal squarely into the transmission housing. Ensure the seal is seated evenly and fully to the correct depth. Do not use excessive force or hammer directly on the seal without a proper driver, as this can deform or damage it.
- Verify Installation: Once installed, visually inspect the seal to ensure it is seated correctly and not cocked or damaged.
- Reassemble: Reassemble any components removed during the process, ensuring all fasteners are tightened to manufacturer specifications.
- Refill Fluid: Refill the transmission fluid to the correct level according to the vehicle manufacturer's recommendations.
- Test: Start the vehicle and check for any leaks. Monitor fluid levels.

Figure 2: This diagram illustrates the internal structure of the National 710582 seal, highlighting its spring-loaded, multi-lip design for effective sealing.
4. Operating Considerations
Once correctly installed, the National 710582 seal operates continuously as an integral part of the automatic transmission system. Its function is to maintain fluid integrity and prevent leakage around the output shaft. No direct user operation is required beyond ensuring proper installation and regular vehicle maintenance checks.
5. Maintenance
The National 710582 Auto Trans Output Shaft Seal is designed to be maintenance-free once properly installed. However, regular inspection of your vehicle's transmission system for any signs of fluid leaks is recommended as part of routine vehicle maintenance. Early detection of a leak can prevent further damage to the transmission.
6. Troubleshooting
If a leak occurs after installation, consider the following troubleshooting steps:
- Verify Installation: Re-check that the seal was installed squarely and fully seated without damage. An improperly seated seal is a common cause of leaks.
- Inspect Sealing Surfaces: Examine the output shaft and transmission housing bore for any imperfections (scratches, burrs, corrosion) that could compromise the seal's integrity.
- Fluid Compatibility: Ensure that the correct type of transmission fluid is being used, as incompatible fluids can sometimes affect seal materials over time.
- Professional Assistance: If the leak persists after verifying proper installation and inspecting components, it is advisable to consult a qualified automotive technician for further diagnosis and repair.
7. Specifications
| Attribute | Value |
|---|---|
| Manufacturer | National |
| Brand | National |
| Model Number | 710582 |
| Item Weight | 0.8 ounces |
| Product Dimensions | 2.75 x 0.69 x 0.1 inches |
| Exterior | Machined |
| Position | Center |
8. Warranty Information
Specific warranty details for the National 710582 Auto Trans Output Shaft Seal are not provided in this manual. For warranty inquiries, please refer to the product packaging, the official National website, or contact your point of purchase.
9. Support
For technical assistance or further information regarding the National 710582 Auto Trans Output Shaft Seal, please consult the official National manufacturer's resources or contact a certified automotive professional.