
Vicks V188
Vicks V188 Warm Steam Vaporizer Instruction Manual
Model: V188
Introduction
This manual provides essential instructions for the safe and effective use, setup, operation, maintenance, and troubleshooting of your Vicks V188 Warm Steam Vaporizer. Please read all instructions carefully before use and retain this manual for future reference.

Image: The Vicks V188 Warm Steam Vaporizer packaging, showing the product and key features.
Important Safety Instructions
WARNING: Failure to follow these instructions may result in electric shock, fire, or serious injury.
- Always place the vaporizer on a firm, flat, water-resistant surface at least 12 inches (30 cm) away from walls and 4 feet (1.2 meters) from the bedside.
- Do not place the vaporizer on carpet, towels, or other absorbent surfaces.
- Keep out of reach of children and pets. Hot steam can cause burns.
- Do not operate the vaporizer if the cord or plug is damaged.
- Never add medication or essential oils directly into the water tank unless specifically designed for the vaporizer's medicine cup. Use only Vicks VapoSteam or similar compatible inhalants in the designated medicine cup.
- Unplug the vaporizer before filling, cleaning, or moving it.
- Do not block steam outlet.
- Do not immerse the power unit in water.
Setup
- Unpack: Carefully remove the vaporizer from its packaging. Ensure all components are present and undamaged.
- Placement: Select a suitable location as described in the safety instructions. Ensure the surface is stable and heat-resistant.
- Fill Water Tank:
- Remove the top housing (steam unit) from the water tank.
- Fill the water tank with cool tap water up to the MAX fill line. Do not overfill.
- For optimal performance, use hard water. If you have soft water, add a pinch of salt to the water tank to improve steam production.
- Add Inhalant (Optional): If desired, pour Vicks VapoSteam or a compatible inhalant into the medicine cup located on the top housing. Do not add directly to the water tank.
- Assemble: Carefully place the top housing back onto the water tank, ensuring it is securely seated.

Image: Side view of the Vicks V188 Vaporizer, illustrating its compact design.
Operating Instructions
- Connect Power: Plug the power cord into a suitable electrical outlet. The vaporizer is designed for corded electric operation.
- Start Operation: The vaporizer will begin to heat the water and produce warm steam within a few minutes. There is no on/off switch; operation begins upon plugging in.
- Steam Output: Steam will be emitted from the steam outlet. Ensure it is directed away from walls, furniture, and people.
- Automatic Shut-Off: The Vicks V188 Vaporizer features an automatic shut-off function. The unit will turn off automatically when the water level is too low or the tank is empty.
- Duration: The vaporizer can operate for up to 12-14 hours on a single fill, depending on water hardness and room conditions.
- To Stop: Unplug the vaporizer from the electrical outlet. Allow the unit to cool completely before handling or refilling.
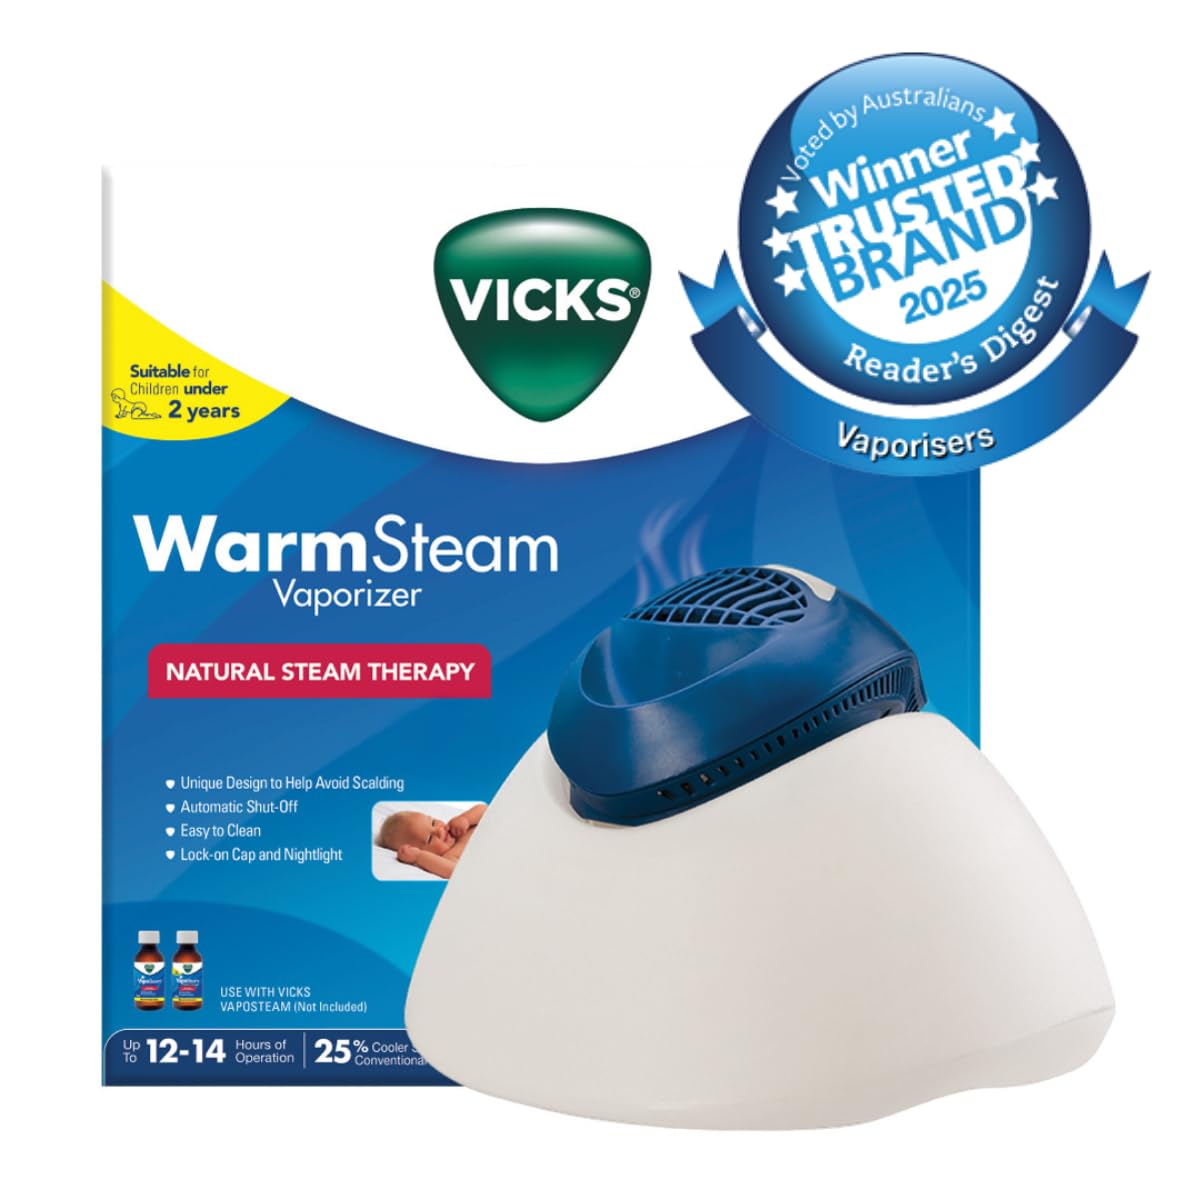
Image: The Vicks V188 Vaporizer operating in a room, demonstrating its use for steam therapy.
Maintenance and Cleaning
Regular cleaning is essential to maintain optimal performance and hygiene of your vaporizer. Always unplug the unit and allow it to cool before cleaning.
- Daily Cleaning:
- Empty any remaining water from the tank.
- Rinse the water tank and medicine cup thoroughly with cool water.
- Wipe the exterior of the unit with a damp cloth. Do not immerse the electrical components in water.
- Allow all parts to air dry completely before storage or next use.
- Weekly Descaling (or as needed): Mineral deposits from water can build up and affect performance.
- Mix a solution of 1 cup (250ml) undiluted white vinegar with 1 cup (250ml) water.
- Pour the solution into the water tank and let it soak for 20-30 minutes.
- Gently scrub any mineral deposits with a soft brush or sponge.
- Rinse the tank thoroughly with clean water until the vinegar smell is gone.
- For stubborn deposits on the heating element, carefully wipe with a cloth dampened with vinegar.
- Storage: When not in use, ensure the vaporizer is clean and dry. Store it in a cool, dry place.
Troubleshooting
| Problem | Possible Cause | Solution |
|---|---|---|
| No steam or very little steam. |
|
|
| Unit not turning on. |
|
|
| Bubbling noise is too loud. |
|
|
Specifications
| Brand | Vicks |
| Model Number | V188 |
| Color | White |
| Operation Mode | Automatic |
| Power Source | Corded Electric |
| Product Dimensions (LxWxH) | 10.83 x 8.46 x 11.42 cm |
| Item Weight | 1.64 kg (1 kg 640 g) |
| Recommended Room Type | Bedroom, Living Room, Office |
| Recommended Floor Area | 36 Square Meters |
| Care Instructions | Hand wash only (for removable parts) |
| Batteries Required | No |
| UPC | 328785501889 |
Warranty Information
The Vicks V188 Warm Steam Vaporizer comes with a 5-year warranty. Please retain your proof of purchase for warranty claims. For specific terms and conditions, refer to the warranty card included with your product or contact Vicks customer support.
Customer Support
For further assistance, questions, or to report an issue, please contact Vicks customer support. Contact details can typically be found on the product packaging or the official Vicks website.
Related documentsV188


Ask a question about this manual
Ask about setup, troubleshooting, compatibility, parts, safety, or missing instructions. Manuals+ will review the question and use this page’s manual context to help answer it.