1. Introduction
This manual provides essential information for the safe and efficient operation, installation, and maintenance of your Hormann ProMatic 3 BiSecure garage door opener. The ProMatic 3 BiSecure is designed for convenience and security, featuring an integrated emergency release, automatic door locking, and advanced safety mechanisms.
Key features include:
- Integrated Emergency Release: Allows manual opening of the door during power outages.
- Automatic Door Locking: Prevents unauthorized external lifting of the door.
- Automatic Stop: Halts door movement upon encountering resistance, preventing entrapment.
- Soft Start and Stop: Ensures quiet and smooth door operation.
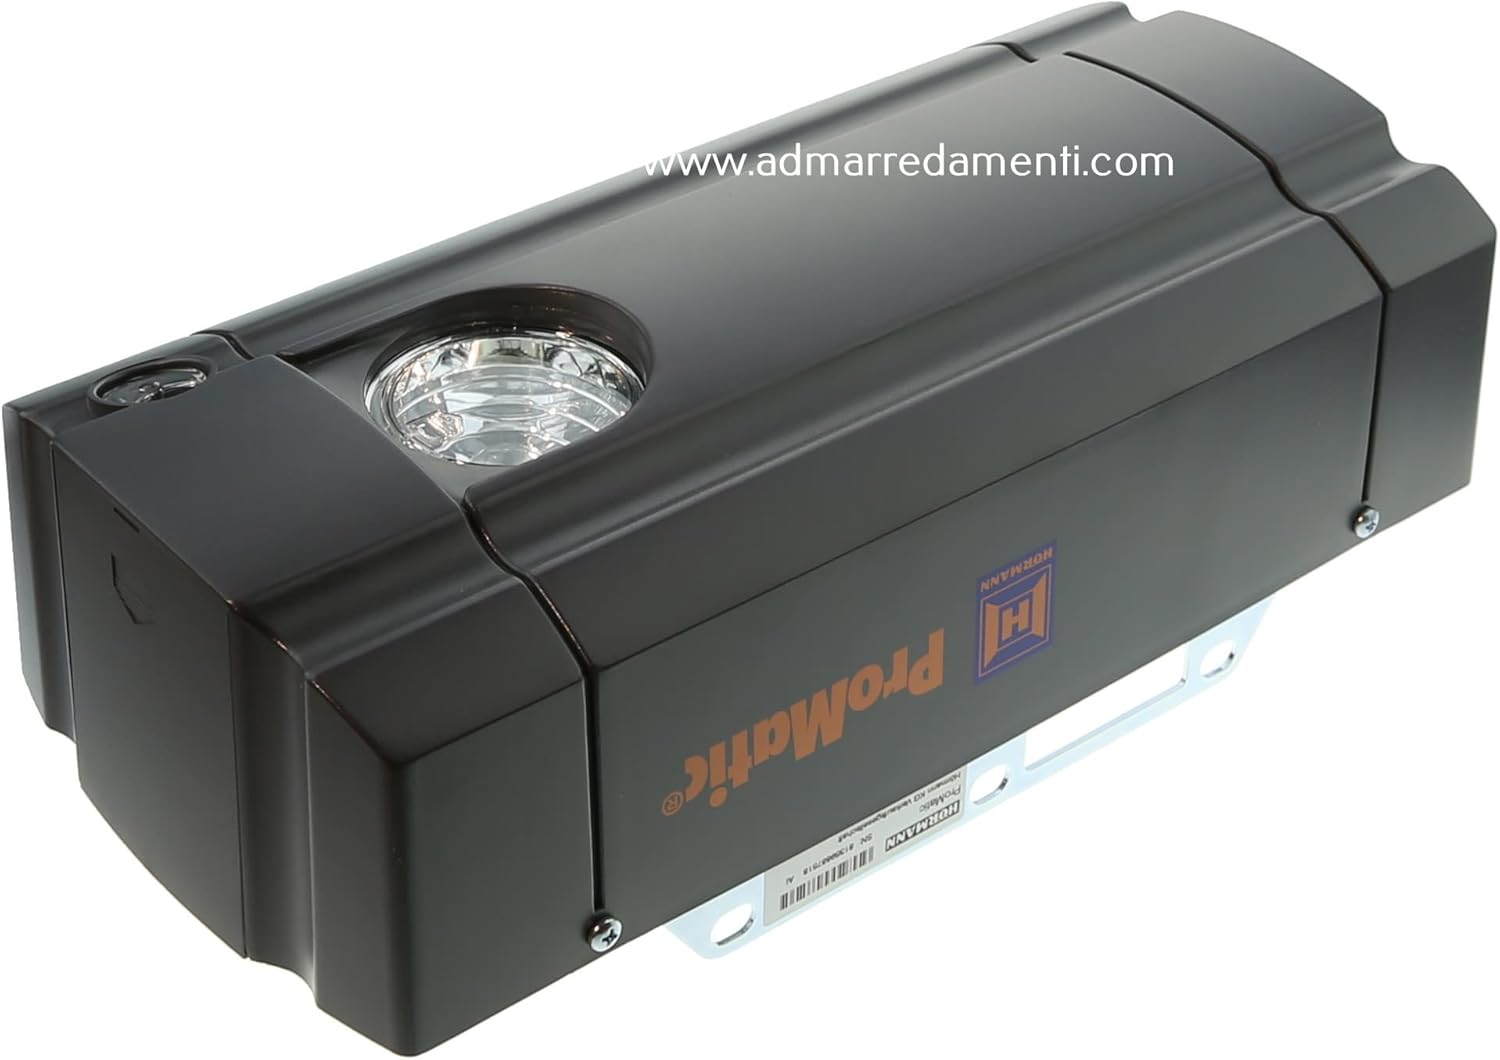
- Integrated Lighting: Provides 2 minutes of illumination for your garage.
- Partial Opening Function: Allows ventilation of the garage to prevent moisture and mold.
- Maintenance-Free Toothed Belt: Patented technology for consistent quiet operation without lubrication.
- BiSecur Encryption: Secure wireless system preventing signal copying by unauthorized individuals.

2. Safety Information
Please read all safety instructions carefully before installation and operation to prevent injury or damage. Keep this manual for future reference.
- Always disconnect power before performing any maintenance or repairs.
- Keep children and pets away from the garage door area, especially during operation.
- Do not allow children to play with the garage door opener controls or remote.
- Ensure the garage door is balanced and in good working order before installing the opener.
- Never walk or stand under a moving garage door.
- Regularly inspect the door and opener for signs of wear or damage.
- Only use original spare parts and accessories.
3. Package Contents
Verify that all components are present in the package:
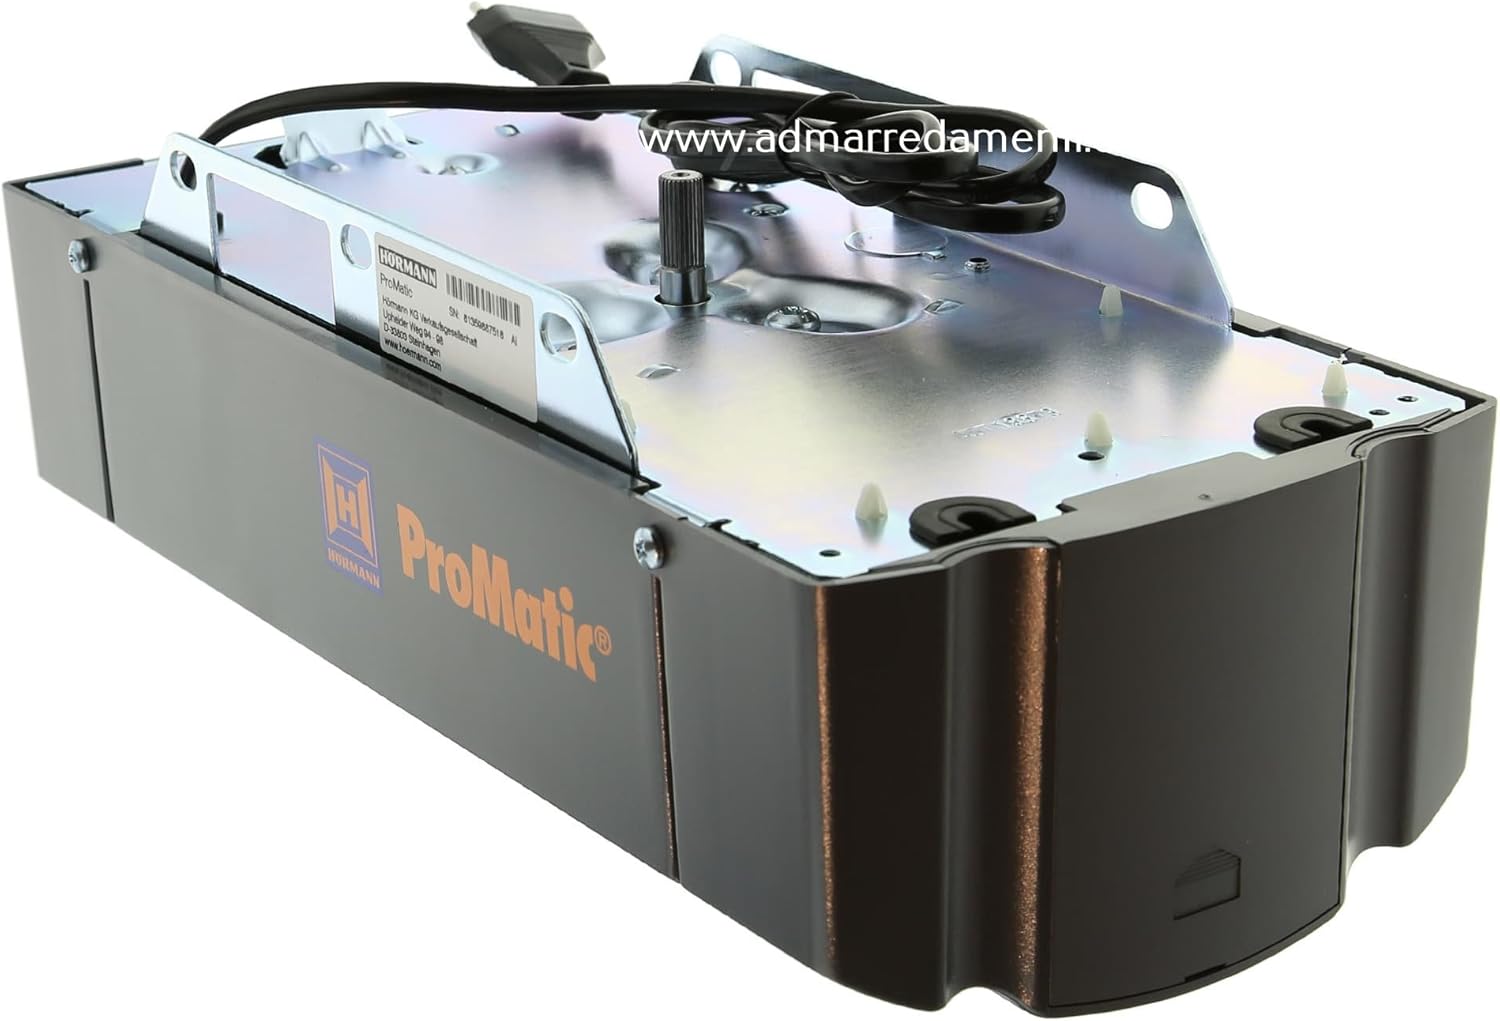
- Drive head ProMatic 3
- 2-button micro hand transmitter HSE 2 BS
- Integrated bidirectional 2-channel receiver BS
- Mounting accessories
- Installation manual with wiring diagram
- Universal fitting for swing and sectional doors
4. Technical Specifications
| Feature | Specification |
|---|---|
| Max. Gate Width | 5000 mm |
| Max. Gate Leaf Surface | 11.25 m² |
| Gate Cycles per Day | Max. 12 |
| For Wooden Doors (Max.) | 3.5 m width and 9 m² surface |
| Motor | 24 V DC motor |
| Power Supply | 230 V - 240 V AC |
| Power Consumption | 0.2 kW |
| Pull and Push Force | Up to 600 N |
| Peak Power | Up to 750 N |
| Opening Speed | Max. 14 cm/s |
| Hold Time (after activation) | 30 seconds |
| Stand-by Power | <7 watts |
| Housing Material | Plastic, galvanized steel base plate |
| Temperature Range | -20 °C to +60 °C |
| Protection Class | Only for dry rooms |
| Display | LED |
| Drive Lighting | Yes, 2 minutes light |
| Partial Opening | Yes, adjustable |
| Automatic Feed | Yes, adjustable |
| Package Dimensions | 59 x 19.2 x 13.8 cm |
| Weight | 5.19 kg (11.44 lbs) |
| Batteries Required | 1 Lithium ion battery (included) |
5. Setup and Installation
Installation should be performed by a qualified individual following the included installation manual and local electrical codes. Ensure the garage door is properly balanced before proceeding.
5.1 Mounting the Drive Head
The universal fitting allows for installation on both swing and sectional doors. Refer to the detailed diagrams in the separate installation manual for specific mounting procedures.

5.2 Electrical Connection
Connect the drive head to a 230 V - 240 V AC power supply. The installation manual includes a detailed wiring diagram. Ensure all connections are secure and comply with safety standards.
5.3 Programming the Hand Transmitter
Follow the instructions in the installation manual to program the included 2-button micro hand transmitter HSE 2 BS with the integrated bidirectional 2-channel receiver BS. The BiSecur encryption ensures secure communication.
6. Operating Instructions
6.1 Basic Operation
Use the programmed hand transmitter to open and close the garage door. Pressing a button will initiate movement. The soft start and stop functions ensure smooth operation.
6.2 Safety Features
- Automatic Stop: If the door encounters an obstruction during closing, it will automatically reverse to prevent injury or damage. During opening, it will stop.
- Automatic Door Locking: When the door is closed, the drive automatically locks, providing enhanced security against forced entry.
- Emergency Release: In case of a power failure, use the integrated emergency release to manually open or close the door. Refer to the installation manual for its location and operation.
6.3 Special Functions
- Integrated Lighting: The drive's integrated light will illuminate for 2 minutes after activation, providing visibility in the garage.
- Partial Opening: This function allows the door to open only partially, useful for ventilation without fully exposing the garage. Consult the installation manual for instructions on how to set and activate this feature.

7. Maintenance
Regular maintenance ensures the longevity and safe operation of your garage door opener. Always disconnect power before performing any maintenance.
- Toothed Belt: The patented toothed belt is maintenance-free and does not require greasing or oiling. Periodically inspect it for any signs of wear or damage.
- General Cleaning: Keep the drive head and track clean from dust and debris. Use a soft, dry cloth. Do not use abrasive cleaners or solvents.
- Moving Parts: Annually inspect all moving parts of the garage door (hinges, rollers, cables, springs) for wear. Lubricate as recommended by the garage door manufacturer.
- Safety Reversal Test: Monthly test the automatic stop function by placing an object (e.g., a 2x4 piece of wood) on the floor in the door's path. The door should reverse upon contact. If it does not, adjust the force settings or contact support.
8. Troubleshooting
This section addresses common issues you might encounter. For more complex problems, consult the detailed troubleshooting guide in the installation manual or contact customer support.
| Problem | Possible Cause | Solution |
|---|---|---|
| Door does not move | No power; remote battery dead; emergency release engaged. | Check power supply; replace remote battery; disengage emergency release. |
| Door reverses unexpectedly | Obstruction in door path; force settings too sensitive. | Remove obstruction; adjust force settings (refer to manual). |
| Remote control not working | Battery dead; remote out of range; remote not programmed. | Replace battery; move closer to opener; reprogram remote. |
| Door operates slowly or noisily | Worn door parts; track obstruction; motor issue. | Inspect door hardware; clean track; contact support if motor issue suspected. |
9. Warranty Information
Hormann KG provides a manufacturer's warranty for this product. The specific terms and duration of the warranty are outlined in the warranty card included with your purchase. Please retain your proof of purchase for any warranty claims. The warranty typically covers defects in materials and workmanship under normal use.
10. Customer Support
If you require further assistance, have questions not covered in this manual, or need to report a defect, please contact Hormann customer support. You can find contact information on the Hormann website or in the documentation provided with your product.
For technical support, please have your model number (4512401) and purchase date ready.


