
1. Introduction
This manual provides essential information for the installation, operation, and maintenance of your DB Electrical 160-02086 CDI Module. This module is designed as a direct replacement for specific Yamaha ATV models. Please read this manual thoroughly before installation to ensure proper function and safety.
2. Product Overview
The DB Electrical 160-02086 is a high-quality aftermarket Capacitive Discharge Ignition (CDI) module. It is engineered to meet or exceed OEM specifications, providing reliable ignition timing and performance for your ATV. The CDI module is a critical component of the ignition system, responsible for controlling the spark plug firing sequence.
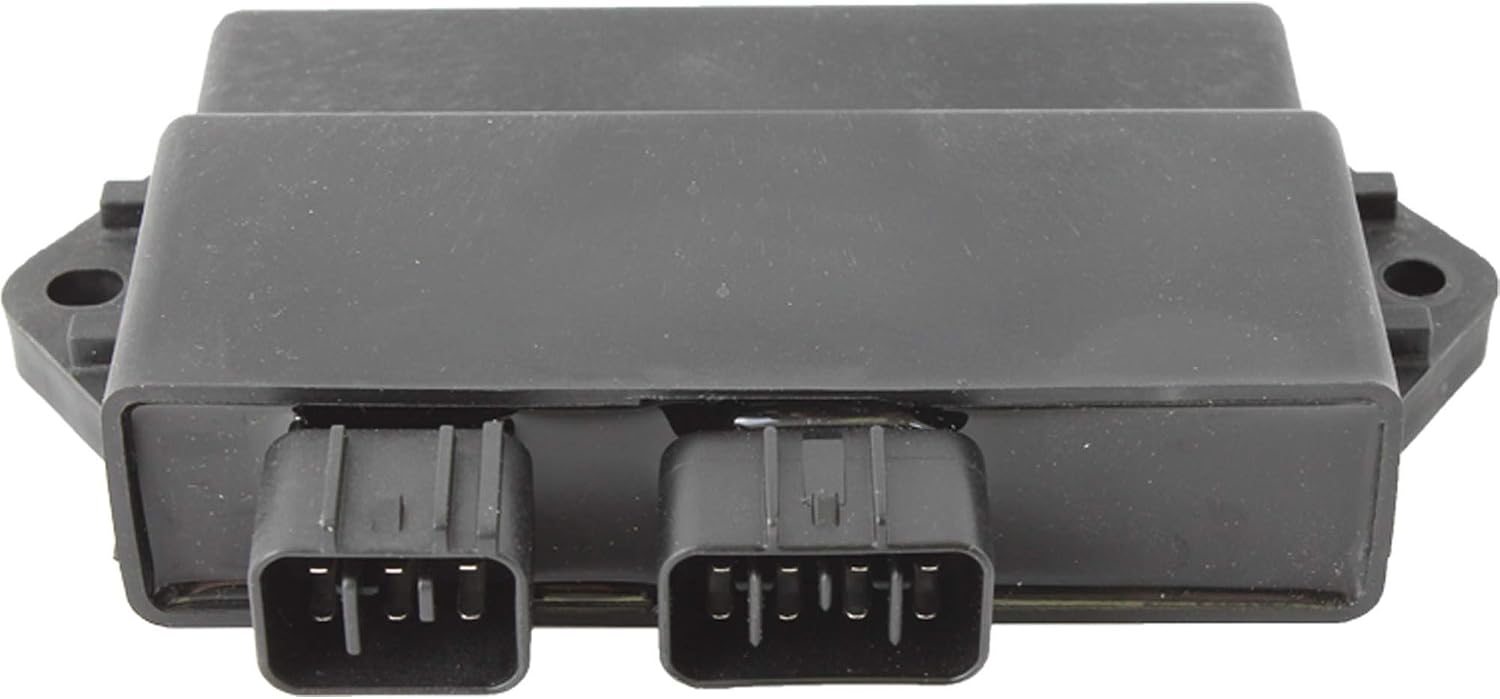
Image 1: Top view of the DB Electrical 160-02086 CDI Module, showing the main housing and electrical connectors.
3. Compatibility
This CDI module is compatible with the following Yamaha ATV models:
- Yamaha Warrior 350 YFM350X: 1997, 1998, 1999, 2000, 2001
Replaces OEM Numbers:
- ARROWHEAD: 160-02086, IYA6042
- ARROWHEAD (OEM): ESP1597
- J & N: 160-02086, 160-02131
- TUCKER ROCKY: 495757
- YAMAHA: 3GD-85540-40-00
Important: Always verify part fitment with your vehicle's specific make, model, and year before purchasing and installing.
4. Installation and Setup
Installation of the CDI module typically involves replacing the existing unit. It is recommended that installation be performed by a qualified technician. Always refer to your ATV's service manual for specific instructions and safety precautions.
Safety Precautions:
- Ensure the ATV is turned off and the key is removed.
- Disconnect the negative terminal of the battery before beginning any electrical work to prevent accidental shorts or injury.
- Wear appropriate personal protective equipment, such as gloves and eye protection.
- Allow the engine to cool down completely before working on it.
General Installation Steps:
- Locate the Existing CDI Module: Consult your ATV's service manual to identify the location of the CDI module. It is typically found near the battery or under the seat/fender.
- Disconnect Wiring: Carefully disconnect the electrical connectors from the old CDI module. Note the orientation and connection points if necessary.
- Remove Old Module: Unmount the old CDI module from its bracket or mounting points.
- Install New Module: Mount the new DB Electrical 160-02086 CDI module in the same location and secure it properly.
- Connect Wiring: Connect the electrical connectors to the new CDI module. Ensure all connections are secure and properly seated.
- Reconnect Battery: Reconnect the negative terminal of the battery.
- Test Functionality: Start the ATV and check for proper engine operation. Listen for any unusual noises and observe the engine's idle and throttle response.

Image 2: Close-up view of the electrical connectors on the CDI module, illustrating the connection points.
5. Operation
Once installed, the CDI module operates automatically as part of your ATV's ignition system. It receives signals from the crankshaft position sensor and determines the precise moment to discharge a high-voltage pulse to the ignition coil, which then fires the spark plug. This process is crucial for engine combustion and overall performance.
A properly functioning CDI module ensures consistent spark delivery, contributing to smooth engine operation, efficient fuel combustion, and optimal power output.
6. Maintenance
The DB Electrical 160-02086 CDI module is a sealed electronic component and generally requires no routine maintenance. However, to ensure its longevity and reliable performance, consider the following:
- Keep Connections Clean and Secure: Periodically inspect the electrical connectors for corrosion, dirt, or looseness. Clean any corrosion with an appropriate electrical contact cleaner and ensure connections are tight.
- Protect from Moisture and Extreme Temperatures: While designed for outdoor use, excessive exposure to moisture or extreme temperatures can degrade electronic components over time. Ensure the module is properly mounted and protected within the ATV's design.
- Avoid Physical Damage: Protect the module from impacts or vibrations that could damage its internal components.
7. Troubleshooting
If you experience ignition-related issues after installing the new CDI module, consider the following troubleshooting steps. Note that these are general guidelines, and a comprehensive diagnosis may require specialized tools or a professional technician.
Common Symptoms of a Faulty CDI Module:
- No spark or intermittent spark.
- Engine cranks but does not start.
- Engine misfires or runs rough.
- Loss of power at higher RPMs.
- Engine backfiring.
Troubleshooting Steps:
- Check All Connections: Ensure all electrical connectors to the CDI module, ignition coil, and spark plug are clean, secure, and free of corrosion.
- Inspect Spark Plug: Remove and inspect the spark plug. Check for proper gap, fouling, or damage. Replace if necessary.
- Test for Spark: With the spark plug removed and connected to its wire, ground the plug against the engine block (away from the spark plug hole) and crank the engine. Observe for a strong, consistent spark. If no spark or a weak spark is present, further diagnosis is needed.
- Check Kill Switch and Ignition Switch: Ensure both are in the 'ON' position and functioning correctly.
- Battery Voltage: Verify that the battery has sufficient charge and is providing adequate voltage to the ignition system.
- Consult Service Manual: Refer to your ATV's specific service manual for detailed diagnostic procedures and resistance values for ignition components.
If issues persist after these checks, it is advisable to seek assistance from a certified ATV mechanic.
8. Specifications
| Unit Type | CDI Module - Powersports |
| Model Number | 160-02086 |
| Manufacturer Part Number | 160-02086 |
| OEM Part Number (Equivalent) | IYA6042, 3GD-85540-40-00 |
| Weight | Approximately 227 g (0.5 lbs) |
9. Warranty and Support
DB Electrical provides a 1-year warranty on this product. This warranty covers defects in materials and workmanship under normal use. If the product fails within one year of purchase, DB Electrical will replace it. For warranty claims or technical support, please contact DB Electrical customer service with your purchase details.
For further assistance or inquiries, please refer to the contact information provided by your retailer or on the official DB Electrical website.