
1. Introduction
This manual provides detailed instructions for the setup, operation, and maintenance of your Targus USB 3.0 Dual Video Docking Station, model ACP70APZ. This device is designed to expand the connectivity options of your notebook PC, offering a convenient 'one-touch' solution for connecting multiple peripherals and external displays.
2. Package Contents
Please verify that all items are present in your package:
- Targus USB 3.0 Dual Video Docking Station (ACP70APZ)
- USB 3.0 Cable
- Power Adapter
- Driver CD (or link to download drivers)
- Quick Start Guide (this document)
3. Product Overview
The Targus ACP70APZ docking station provides a range of ports to connect your peripherals and displays.

3.1. Front Panel

3.2. Rear Panel

4. Setup Instructions
Follow these steps to set up your docking station:
- Install Drivers: Before connecting the docking station, install the necessary drivers. Insert the provided driver CD into your computer's optical drive or download the latest drivers from the official Targus website. Follow the on-screen instructions to complete the installation.
- Connect Power: Connect the power adapter to the DC 5V input port on the rear of the docking station and plug it into a power outlet.
- Connect to Laptop: Use the provided USB 3.0 cable to connect the docking station's USB 3.0 upstream port (labeled 'UP') to an available USB 3.0 port on your notebook PC.
- Connect Peripherals:
- Displays: Connect your external monitors to the DVI-I and/or HDMI ports on the rear panel.
- Network: Connect an Ethernet cable from your router or network switch to the Ethernet port on the docking station.
- USB Devices: Connect your keyboard, mouse, external hard drives, and other USB devices to the available USB ports on the docking station (USB 3.0 on the front, USB 2.0 on the rear).
- Audio: Connect headphones or speakers to the headphone jack and a microphone to the microphone jack on the front panel.

5. Operating Instructions
5.1. Power On/Off
The docking station powers on automatically when connected to a powered USB port on your laptop and its own power adapter is connected. There is no separate power button.
5.2. Display Configuration
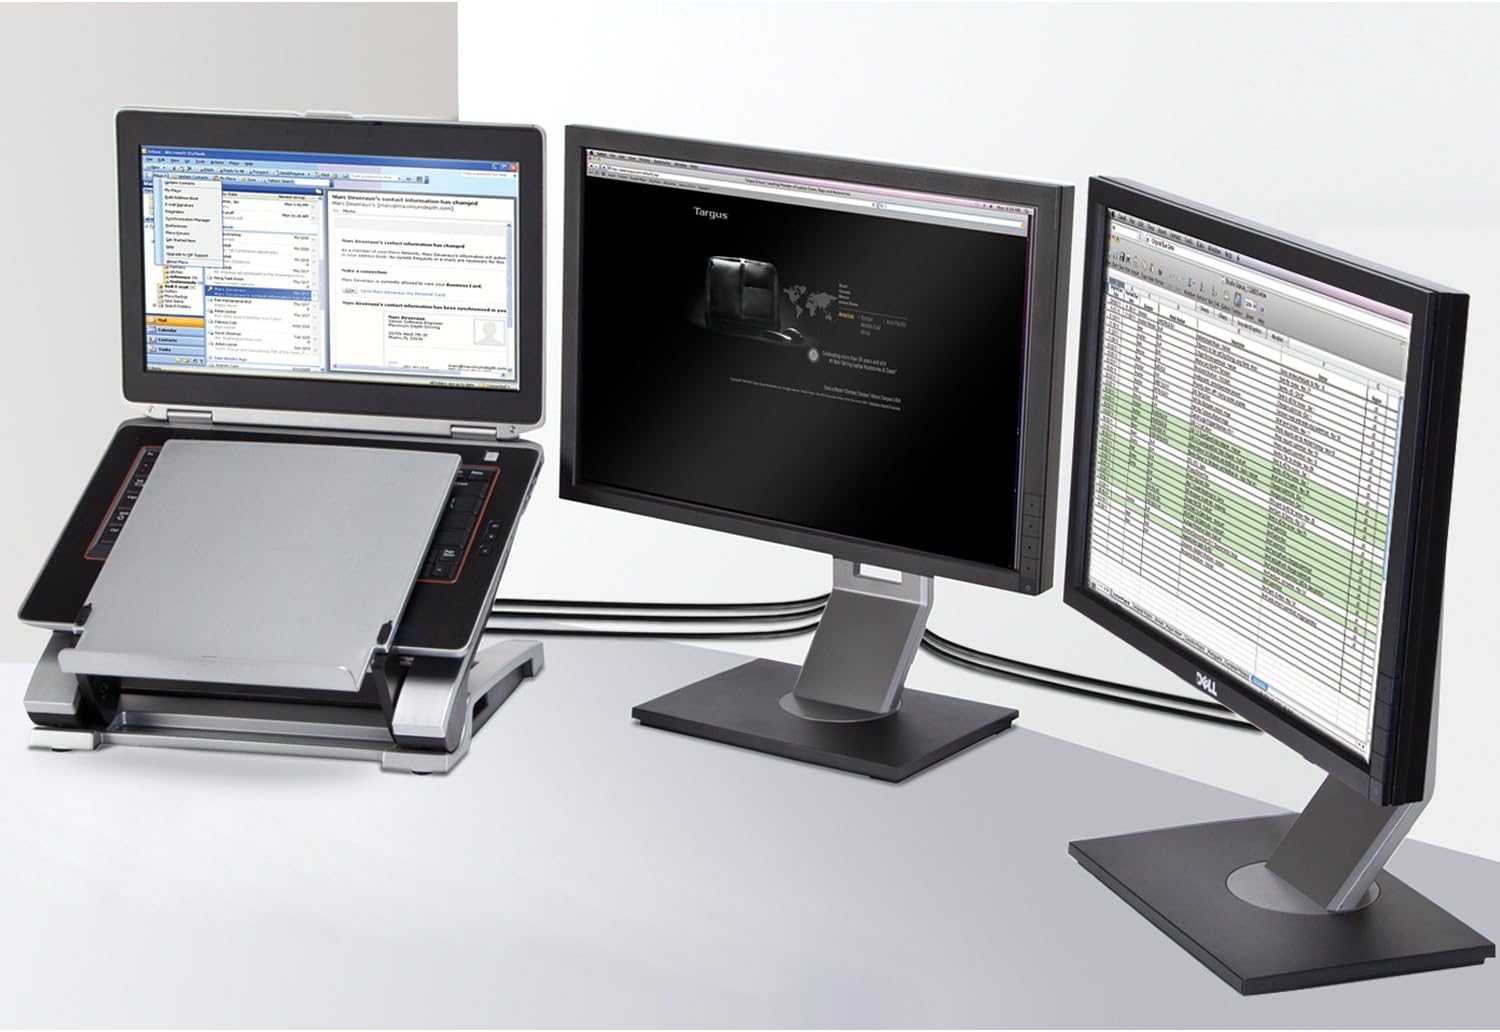
Once your external monitors are connected, you can configure your display settings through your operating system:
- Windows: Right-click on the desktop and select 'Display settings' or 'Screen resolution'. You can then choose to extend your desktop, duplicate it, or use only one of the connected displays.
- macOS: Go to 'System Preferences' > 'Displays'. Here you can arrange your displays, set resolutions, and choose between extended or mirrored modes.
5.3. USB Device Usage
Simply plug your USB devices into the available USB ports on the docking station. The USB 3.0 port on the front panel supports faster data transfer speeds and device charging.
6. Maintenance
To ensure optimal performance and longevity of your docking station:
- Cleaning: Use a soft, dry cloth to clean the exterior of the docking station. Avoid using liquid cleaners or solvents.
- Software Updates: Periodically check the Targus website for updated drivers or firmware to ensure compatibility and performance improvements.
- Ventilation: Ensure the docking station is placed in a well-ventilated area to prevent overheating.
7. Troubleshooting
If you encounter issues, refer to the following common problems and solutions:
- No Display on External Monitors:
- Ensure the docking station is powered on and connected to your laptop via USB 3.0.
- Verify that the display cables (HDMI/DVI) are securely connected to both the docking station and the monitors.
- Check your computer's display settings to ensure the external monitors are detected and configured correctly (extended or duplicated).
- Reinstall or update the display drivers.
- USB Devices Not Recognized:
- Ensure the docking station is properly connected to your laptop and powered.
- Try connecting the USB device to a different port on the docking station or directly to your laptop to isolate the issue.
- Update the USB drivers on your computer.
- Network Connection Issues:
- Verify the Ethernet cable is securely connected to the docking station and your network source.
- Check your computer's network settings.
- Update the network adapter drivers.
- Audio Not Working:
- Ensure headphones/speakers are properly plugged into the correct jack.
- Check your computer's sound settings to ensure the docking station's audio output is selected as the default device.
8. Specifications
| Feature | Specification |
|---|---|
| Model Number | ACP70APZ |
| Dimensions (W x D x H) | 27.0 x 7.2 x 3.7 cm (10.63 x 2.83 x 1.46 inches) |
| Weight | 0.95 kg (2.09 lbs) |
| Color | Black |
| Host Interface | USB 3.0 (Type-B upstream) |
| Video Output | 1x HDMI, 1x DVI-I (supports dual display) |
| USB Ports | 1x USB 3.0 (front, with fast charging), 4x USB 2.0 (rear) |
| Network | Gigabit Ethernet (RJ-45) |
| Audio | 1x Headphone jack, 1x Microphone jack (front) |
| Power | DC 5V Power Adapter |
| OS Compatibility | Windows 8, 7, Vista, XP (and newer versions with driver updates) |
| UPC | 092636276300 |
9. Warranty Information
The Targus USB 3.0 Dual Video Docking Station (ACP70APZ) comes with a 3-year limited warranty from the date of purchase. This warranty covers defects in materials and workmanship under normal use. For full warranty terms and conditions, please refer to the warranty card included with your product or visit the official Targus website.
10. Support
For technical support, driver downloads, or further assistance, please visit the official Targus support website or contact their customer service department. Contact information can typically be found on the Targus website or in the product packaging.


