1. Introduction
Thank you for choosing the Hama 95236 8-inch LCD Digital Photo Frame. This manual provides important information regarding the safe operation, setup, and maintenance of your device. Please read it thoroughly before using the product and keep it for future reference.
2. Safety Instructions
- Do not open the device. Incorrect assembly or repair can lead to electric shock.
- Do not operate the product if it is visibly damaged.
- Protect the product from dirt, moisture, and overheating. Use it only in dry environments.
- Do not drop the product or expose it to strong vibrations.
- Only use the product for its intended purpose.
- Keep this product, like all electrical products, out of the reach of children.
- Dispose of packaging material immediately according to locally applicable regulations.
3. Package Contents
Please check that the package contains the following items:
- Hama 95236 8-inch LCD Digital Photo Frame
- Power Adapter
- User Manual (this document)
4. Product Overview
Familiarize yourself with the components and controls of your digital photo frame.
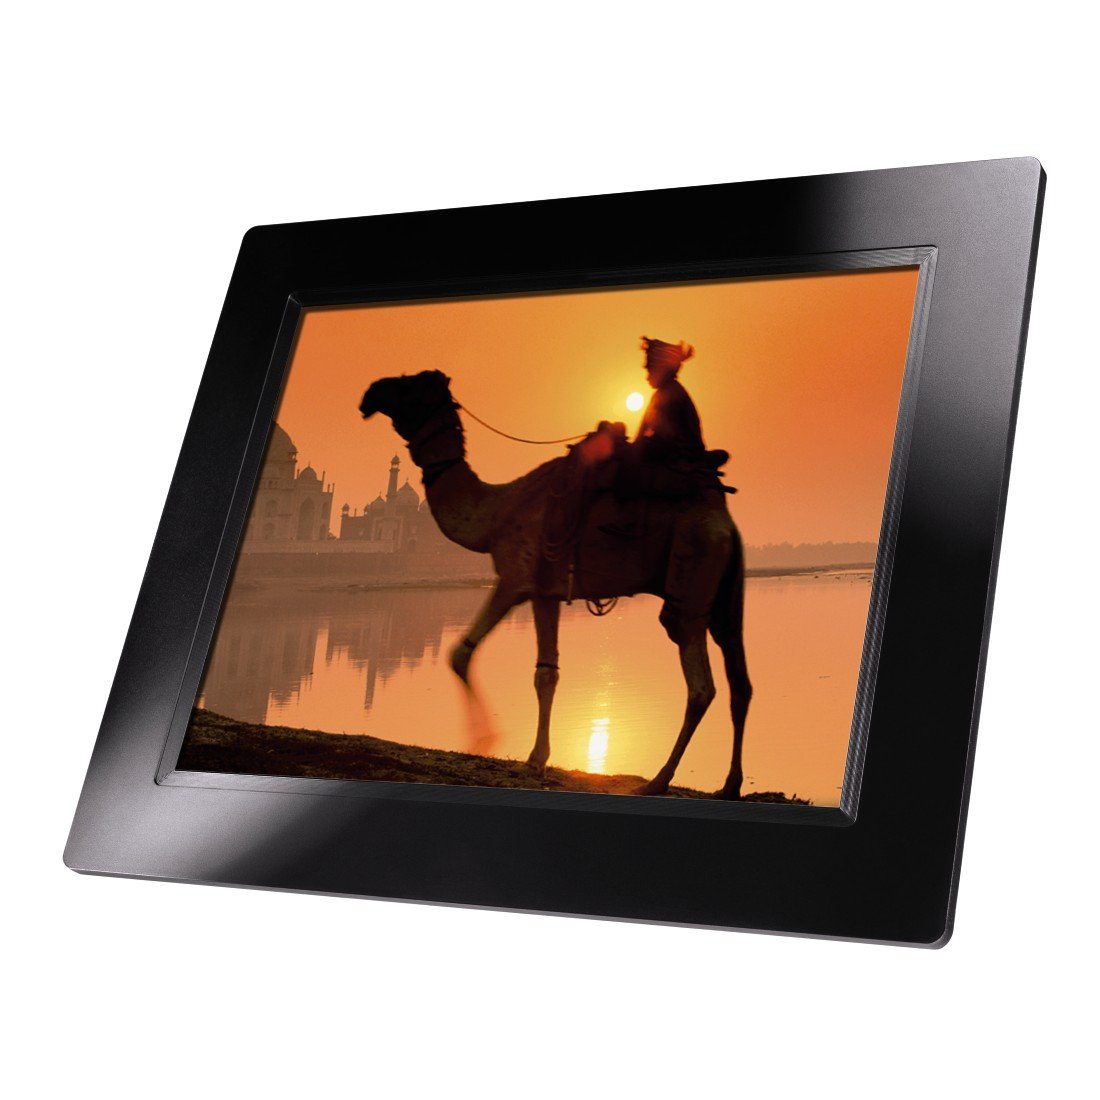
Figure 4.1: Front view of the Hama 95236 Digital Photo Frame, showing the 8-inch LCD screen.

Figure 4.2: Side view of the digital photo frame, highlighting the various input ports including the SD/MMC/MS card slot, USB port, and DC IN power port.

Figure 4.3: Rear view of the digital photo frame, showing the stand attachment point, ventilation grilles, and the control panel with power, navigation, and menu buttons.
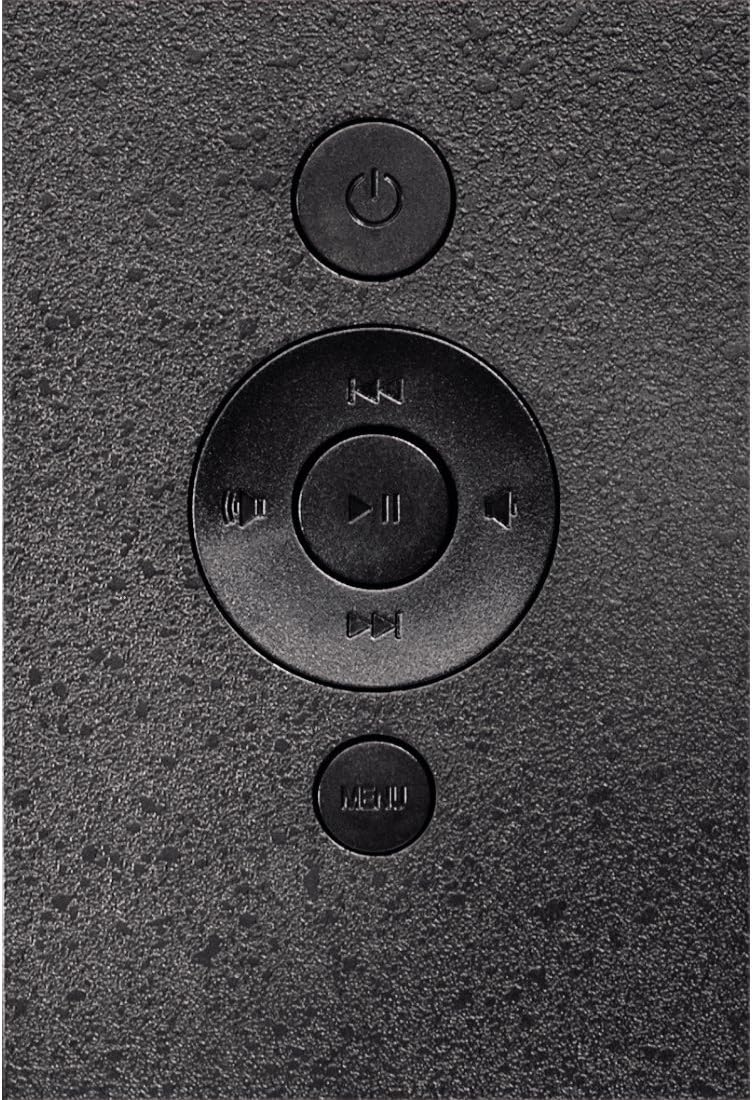
Figure 4.4: Close-up of the control buttons located on the back of the frame. These include the power button, directional navigation buttons (up, down, left, right), play/pause/enter button, and the menu button.
4.1. Ports and Controls
- SD/MMC/MS Card Slot: For inserting memory cards to display photos and videos.
- USB Port: For connecting USB flash drives or other compatible USB storage devices.
- DC IN: Power input for connecting the provided power adapter.
- Power Button: Turns the device on or off.
- Navigation Buttons (Up/Down/Left/Right): Used to navigate through menus and select options.
- Play/Pause/Enter Button: Confirms selections or controls media playback.
- Menu Button: Accesses the main menu for settings and options.
5. Setup
5.1. Attaching the Stand
Insert the metal stand into the designated slot on the back of the digital photo frame. Ensure it is securely fastened to provide stable support for the frame.
5.2. Power Connection
- Connect the power adapter to the DC IN port on the back of the photo frame.
- Plug the power adapter into a suitable electrical outlet.
- The frame will typically power on automatically or can be turned on using the power button.
5.3. Inserting a Memory Card or USB Drive
The Hama 95236 supports SD/MMC/MS memory cards and USB flash drives.
- Locate the SD/MMC/MS card slot or the USB port on the side of the frame (refer to Figure 4.2).
- Carefully insert your memory card or USB drive into the corresponding slot/port. Ensure it is inserted correctly to avoid damage.
- The frame should automatically detect the storage device and prompt you to view its contents or start a slideshow.
6. Operating Instructions
6.1. Basic Navigation
Use the navigation buttons on the back of the frame to move through menus and options. The Play/Pause/Enter button confirms your selection.
6.2. Main Menu
Press the MENU button to access the main menu. From here, you can select different modes and settings:
- Photo: View photos in a slideshow or individually.
- Music: Play audio files.
- Video: Play video files.
- Calendar/Clock: Display the calendar and time.
- Settings: Adjust various device parameters.
6.3. Photo Playback
- From the main menu, select Photo.
- Navigate to your desired folder or select all photos.
- Press the Play/Pause/Enter button to start the slideshow.
- During a slideshow, you can use the navigation buttons to skip photos or pause playback.
6.4. System Settings
Access the Settings menu to customize your photo frame:
- Display Settings: Adjust brightness, contrast, and display mode.
- Slideshow Settings: Configure transition effects, display time per photo, and repeat mode.
- Date & Time: Set the current date and time. Note: Some users have reported that date and time settings may reset after power loss.
- Language: Select your preferred language for the menu interface.
- Storage Information: View details about connected storage devices.
7. Maintenance
7.1. Cleaning the Device
- Always disconnect the device from the power supply before cleaning.
- Clean the screen and exterior surfaces with a soft, dry, lint-free cloth.
- Do not use aggressive cleaning agents, solvents, or abrasive materials.
7.2. Storage
If storing the device for an extended period, disconnect it from power and store it in a cool, dry place away from direct sunlight and extreme temperatures.
8. Troubleshooting
| Problem | Possible Cause | Solution |
|---|---|---|
| Device does not turn on. | Power adapter not connected or faulty. | Ensure the power adapter is securely connected to both the frame and the power outlet. Test the outlet with another device. |
| No images displayed. | No memory card/USB drive inserted or files not supported. | Insert a compatible memory card or USB drive with supported image formats (e.g., JPEG). Check if the storage device is properly inserted. |
| Date and time reset after power off. | No internal battery backup for clock. | This model may not retain date/time settings without continuous power. Re-enter settings if necessary after power interruption. |
| Video playback is choppy or distorted. | Unsupported video format or high bitrate. | Ensure video files are in a supported format and resolution. Convert videos to a lower resolution or bitrate if issues persist. |
| Buttons are unresponsive. | Temporary software glitch. | Disconnect the power adapter, wait a few seconds, then reconnect it to restart the device. |
9. Specifications
| Feature | Detail |
|---|---|
| Model Number | 00095236 |
| Screen Size | 8 Inches |
| Display Resolution | 800 x 600 pixels |
| Aspect Ratio | 4:3 |
| Internal Storage | 2 GB (2048 MB) |
| Connectivity | USB, SD/MMC/MS Card Slot |
| Dimensions (L x W x H) | 2.6 x 22.2 x 17.8 cm |
| Weight | 550 g |
| Manufacturer | Hama |
10. Warranty Information
Hama GmbH & Co KG provides a manufacturer's warranty for this product. The specific terms and conditions of the warranty period and coverage are subject to the purchase date and the region of purchase. Please retain your proof of purchase (receipt) for any warranty claims.
For detailed warranty information, please refer to the official Hama website or contact their customer support directly.
11. Customer Support
Should you have any questions regarding this product, please contact Hama Customer Support:
- Website: Visit the official Hama website for FAQs, drivers, and further product information. www.hama.com
- Contact: Refer to the contact section on the Hama website for phone numbers or email support in your region.
Please have your model number (00095236) and proof of purchase ready when contacting support.