
Introduction
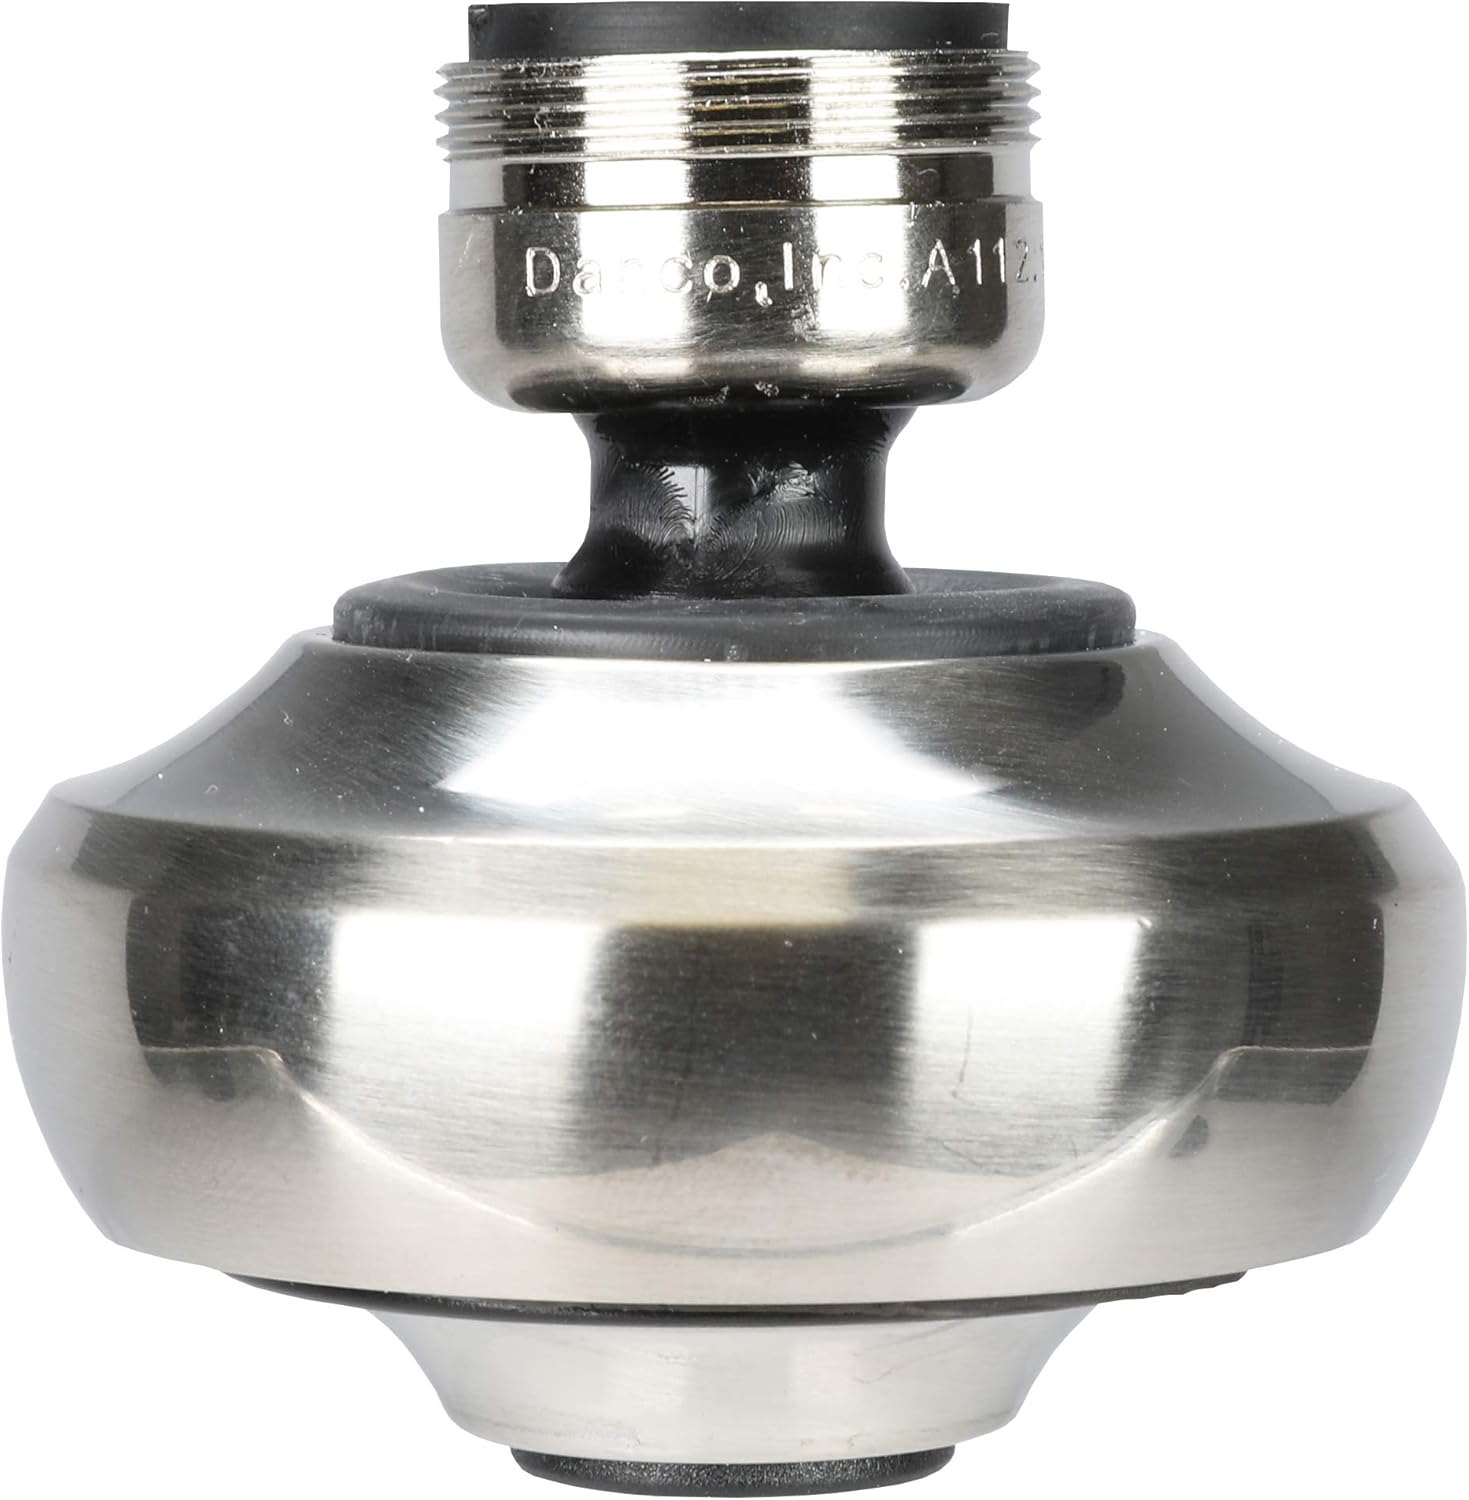
This manual provides comprehensive instructions for the installation, operation, and maintenance of your Danco 1.5 GPM Brushed Nickel Dual-Thread Premium Swivel Sprayrator. Please read these instructions carefully before installation and retain them for future reference.
Safety Information
WARNING: This product may expose you to chemicals known to the State of California to cause cancer and birth defects or other reproductive harm. For more information go to www.P65Warnings.ca.gov.
Package Contents
Please verify that all components are present before proceeding with installation:
- 1.5 GPM Brushed Nickel Dual-Thread Premium Swivel Sprayrator
Specifications
| Brand | Danco |
| Model Number | 10502 |
| Material | Brass |
| Finish Type | Brushed Nickel |
| Maximum Flow Rate | 1.5 Gallons Per Minute (GPM) |
| Thread Size | 15/16 in.-27M or 55/64 in.-27F |
| Certification | WaterSense Certified |
| Product Dimensions | 2.35 x 2.88 x 4.83 inches |
| Item Weight | 2.11 ounces |
Installation Instructions
Before You Begin
- Ensure the water supply to the faucet is turned off.
- Gather necessary tools, which may include pliers or an adjustable wrench (if the existing aerator is difficult to remove).
Installation Steps
- Remove Existing Aerator: Unscrew the current aerator from your faucet. Turn counter-clockwise. If it is tight, use pliers with a cloth to avoid scratching the faucet finish.
- Clean Faucet Spout: Clean any debris or mineral buildup from the faucet spout threads.
- Identify Thread Type: The Danco Swivel Sprayrator features dual threads (15/16 in.-27M or 55/64 in.-27F) to fit most standard faucets with inside threads. Determine if your faucet has male (threads on the outside of the spout) or female (threads on the inside of the spout) threads.
- Install Sprayrator:
- For faucets with male threads (threads on the outside of the spout), screw the sprayrator directly onto the faucet spout.
- For faucets with female threads (threads on the inside of the spout), the sprayrator will screw into the faucet spout.
- Hand-Tighten: Hand-tighten the sprayrator until snug. Do not overtighten, as this can damage the threads or the sprayrator.
- Test for Leaks: Turn on the water supply and check for any leaks around the connection point. If leaks occur, gently tighten further or re-seat the washer.

Operation
Spray Patterns
Your Danco Swivel Sprayrator offers two distinct water flow patterns:
- Aerated Stream: Provides a steady, aerated flow of water, ideal for filling pots or general washing.
- Aerated Wide Spray: Delivers a wider, more powerful spray, functioning like a mini side spray for rinsing dishes or cleaning the sink basin.
To switch between these patterns, gently pull down on the sprayrator head for the wide spray, and push up for the aerated stream. The mechanism is designed for easy transition.
360-Degree Swivel Function
The sprayrator features a 360-degree swivel motion, allowing you to direct the water flow precisely where needed. This flexibility enhances convenience for various kitchen tasks, such as rinsing different areas of the sink or washing larger items.
Maintenance
Cleaning
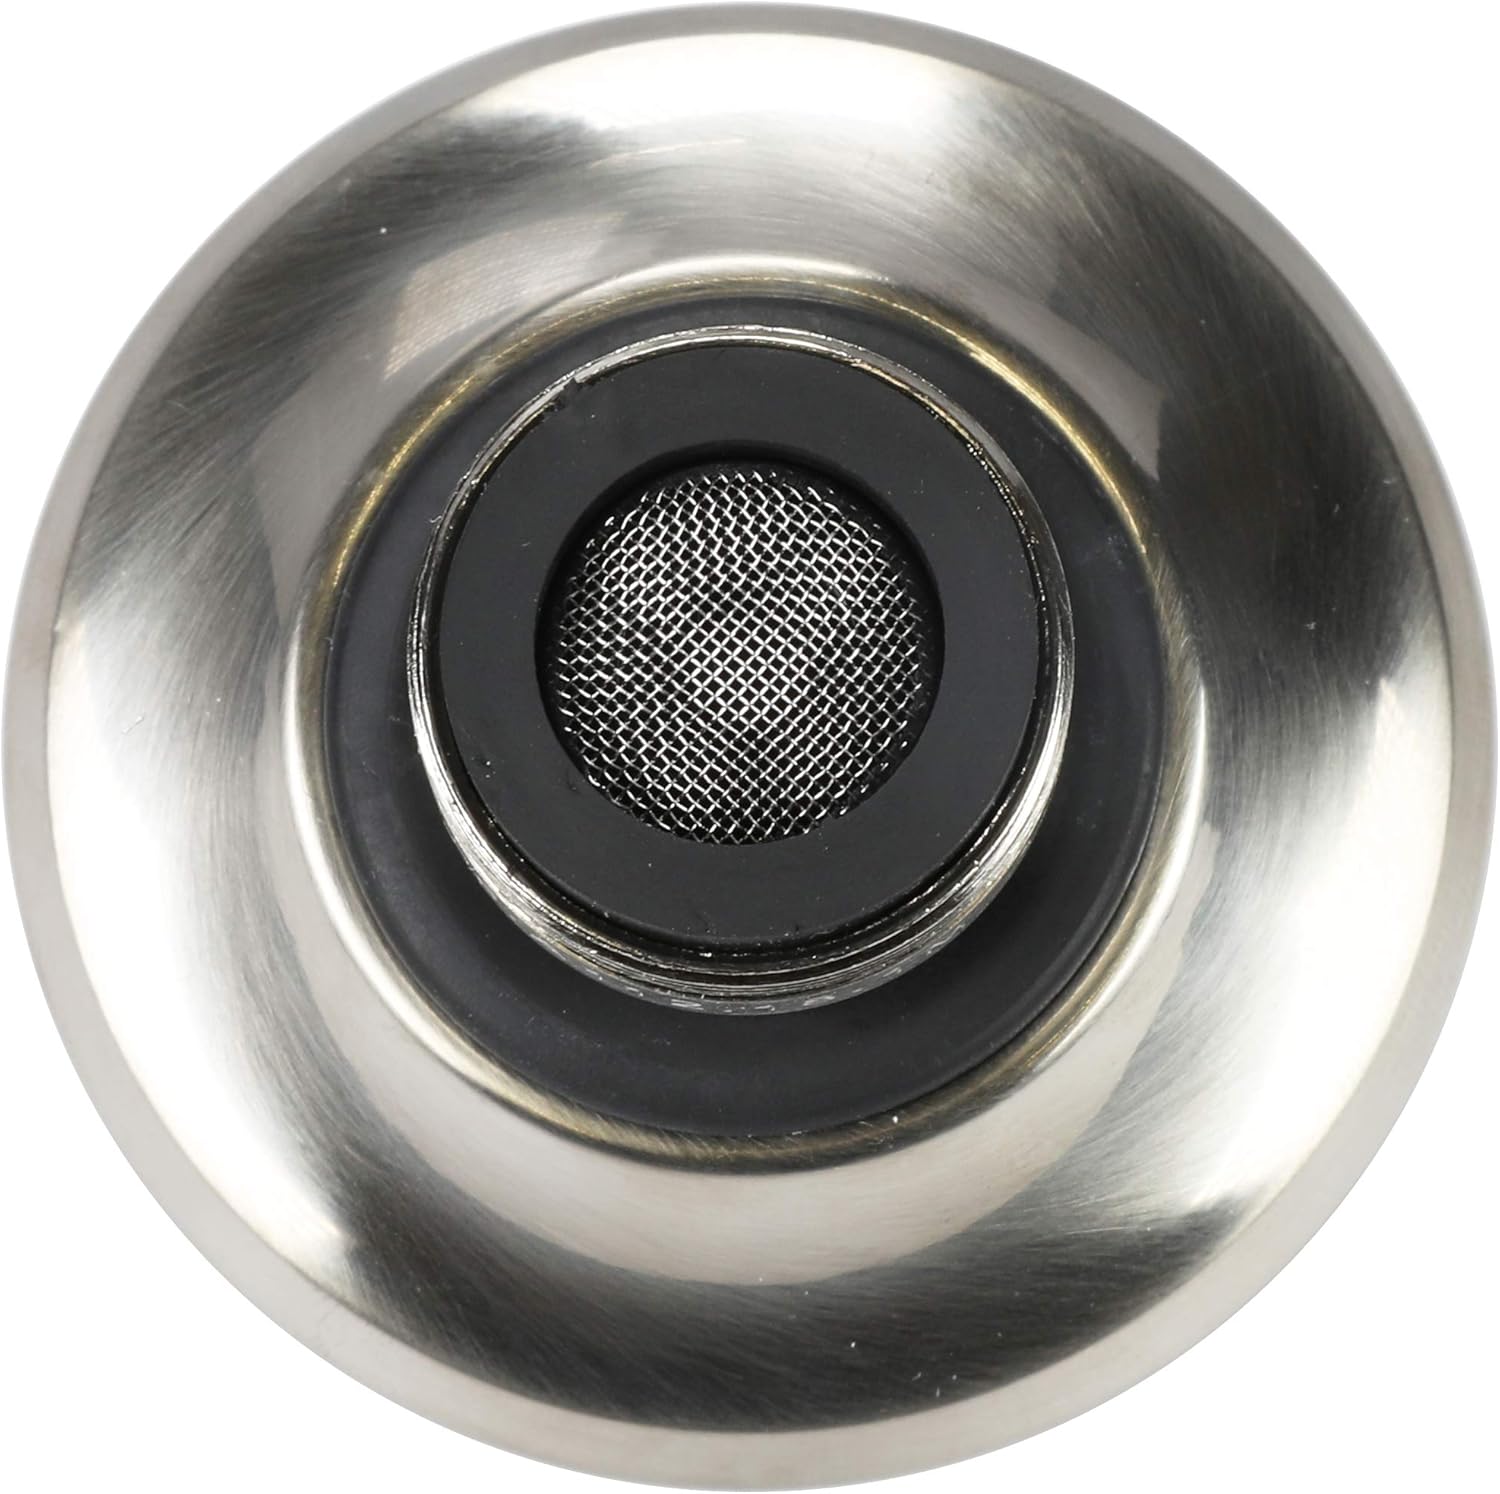
Regular cleaning of your sprayrator is essential to maintain optimal water flow and prevent mineral buildup. Follow these steps:
- Remove Sprayrator: Unscrew the sprayrator from the faucet spout.
- Disassemble (if necessary): Some models allow for partial disassembly to access the aerator screen. Refer to the product diagram if available.
- Rinse Components: Rinse the aerator screen and any internal components under running water to remove loose debris.
- Remove Mineral Buildup: For stubborn mineral deposits (limescale), soak the screen and affected parts in a solution of equal parts white vinegar and water for 30 minutes to an hour. Use a soft brush (like an old toothbrush) to gently scrub away any remaining deposits.
- Reassemble and Reattach: Rinse all components thoroughly with clean water, reassemble, and screw the sprayrator back onto the faucet. Hand-tighten only.

Troubleshooting
Common Issues and Solutions
- Issue: Leaking at the Faucet Connection.
Solution: Ensure the sprayrator is securely hand-tightened. Verify that the rubber washer is correctly seated and not damaged. If the washer is worn, it may need replacement. - Issue: Reduced Water Flow.
Solution: The aerator screen may be clogged with debris or mineral buildup. Refer to the "Maintenance" section for cleaning instructions. - Issue: Spray Pattern Not Switching or Not Staying in Desired Mode.
Solution: This can occur due to internal debris, wear on the switching mechanism, or insufficient water pressure. Try cleaning the sprayrator as described in the "Maintenance" section. Ensure your household water pressure is adequate. If the issue persists after cleaning, the internal mechanism may be worn. - Issue: Sprayrator Feels Loose or Wobbly.
Solution: Re-tighten the sprayrator by hand. If it continues to feel loose, check the faucet threads for damage.
Warranty Information
This Danco product is covered by a Limited 1 Year Warranty from the date of purchase. This warranty covers defects in material and workmanship under normal use and service.
For warranty claims or further details regarding the terms and conditions of your warranty, please retain your proof of purchase and contact Danco customer support.
Customer Support
For additional assistance, product information, or to inquire about replacement parts, please visit the official Danco website or contact their customer service department. Contact information can typically be found on the product packaging or the Danco website.


