
1. Product Overview
The Miller Smith Little Torch 239-047B is a versatile torch outfit designed for precision work in various applications, including jewelry repair and manufacturing, hobby and crafts, metal and sculpture, glass blowing, plumbing, and electronics repair. This compact and lightweight unit offers exceptional control and a stable flame, capable of melting commercially weldable metals, glass, and ceramics. It is compatible with several fuel gases, such as acetylene, hydrogen, propane, propylene, or natural gas, and features a British hose connection.
Special heating tips (not included in this specific kit) can be used to melt up to 3 oz. of gold or silver. Please note that gas cylinders and a carrying case are not included with this kit. The Miller Smith 13558 Propane Tank is sold separately.

Figure 1: The Miller Smith Little Torch 239-047B, showing the torch handle, red and green hoses, and a set of five interchangeable tips. The torch is designed for precision work.
2. Safety Information
WARNING: This product can expose you to chemicals including lead, which is known to the State of California to cause cancer and birth defects or other reproductive harm. For more information go to www.P65Warnings.ca.gov.
Always prioritize safety when operating any torch equipment. Failure to follow safety guidelines can result in serious injury or property damage.
- Ventilation: Always use the torch in a well-ventilated area to prevent the accumulation of hazardous fumes.
- Eye Protection: Wear appropriate eye protection (e.g., welding goggles or face shield) to protect against intense light, sparks, and molten material.
- Protective Clothing: Wear flame-resistant clothing, gloves, and closed-toe shoes to protect skin from heat and sparks.
- Flammable Materials: Keep all flammable materials, liquids, and gases away from the work area.
- Gas Cylinders: Ensure gas cylinders are secured upright and handled according to manufacturer instructions. Check for leaks regularly.
- Hose Connections: Verify all hose connections are tight and free of leaks before each use.
- Fire Extinguisher: Have a suitable fire extinguisher readily available.
- Children and Pets: Keep children and pets away from the work area.
- Read Manual: Read and understand all instructions and safety warnings in this manual before operating the torch.
3. Package Contents
The Miller Smith Little Torch 239-047B kit typically includes the following components:
- Little Torch handle
- Oxygen hose (green, with British connection)
- Fuel gas hose (red, with British connection)
- Assortment of torch tips (e.g., 5 tips of various sizes)
Note: Gas cylinders, regulators, and a carrying case are not included and must be purchased separately.
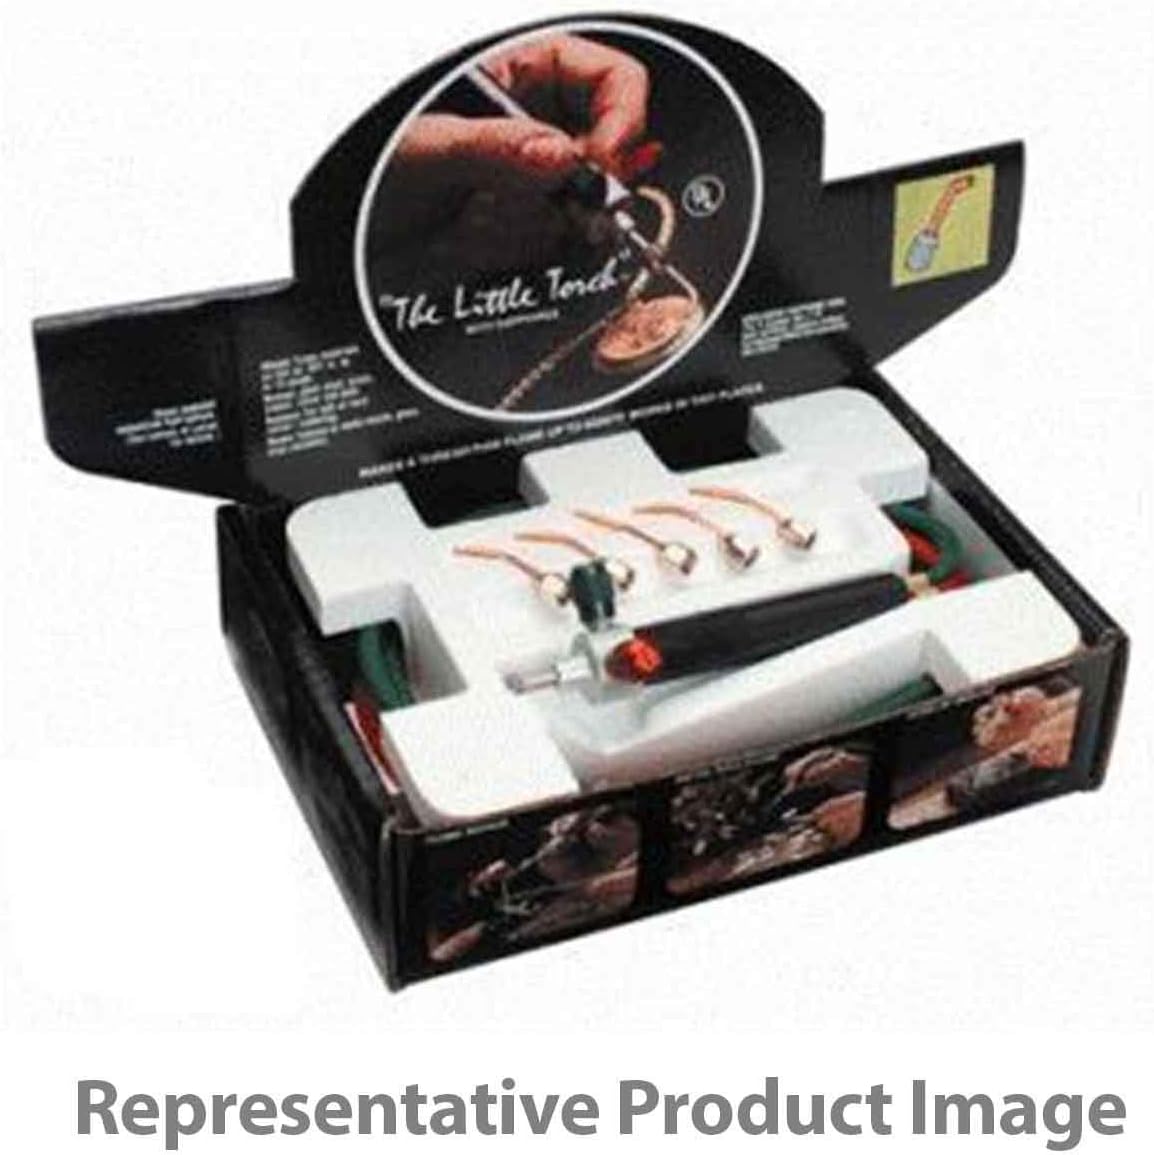
Figure 2: The Miller Smith Little Torch 239-047B kit as it appears in its retail packaging, showcasing the torch handle, hoses, and tips securely placed within a protective insert.
4. Setup Instructions
- Gas Supply: Connect the red hose to your fuel gas regulator (e.g., propane, acetylene) and the green hose to your oxygen regulator. Ensure these regulators are attached to their respective gas cylinders. This model features British hose connections.
- Secure Connections: Hand-tighten all connections, then use a wrench to ensure they are secure. Do not overtighten.
- Leak Check: Before opening gas cylinder valves, apply a leak detection solution (e.g., soapy water) to all connections. Slowly open the cylinder valves and check for bubbles, which indicate a leak. If a leak is detected, close the valves immediately and re-tighten the connection. Repeat until no leaks are present.
- Regulator Settings: Adjust your regulators to the recommended operating pressures for your chosen fuel gas and application. Refer to your gas supplier's guidelines or specific project requirements.
- Tip Selection: Select the appropriate torch tip for your task. Tips are interchangeable and screw onto the torch handle.
5. Operating Instructions
- Open Fuel Gas: Slightly open the fuel gas valve on the torch handle (typically the red knob).
- Ignite Flame: Use a spark lighter or striker to ignite the fuel gas. Do not use matches or cigarette lighters.
- Adjust Fuel Gas: Slowly increase the fuel gas flow until you achieve a stable, non-lifting flame.
- Introduce Oxygen: Gradually open the oxygen valve on the torch handle (typically the green knob) until the desired flame type (e.g., neutral, oxidizing, carburizing) is achieved for your application.
- Working with the Flame: Position the flame at the appropriate distance from your workpiece. The Little Torch provides a precise, concentrated flame suitable for delicate work.
- Shut Down: To turn off the torch, first close the oxygen valve on the torch handle, then close the fuel gas valve. Finally, close the main valves on the gas cylinders and bleed the lines by opening the torch valves briefly until the pressure drops to zero.
6. Maintenance
- Tip Cleaning: Regularly clean torch tips using a tip cleaner set to remove carbon buildup and ensure proper flame characteristics.
- Hose Inspection: Periodically inspect hoses for cracks, cuts, or signs of wear. Replace damaged hoses immediately.
- Connection Checks: Ensure all connections remain tight. Re-tighten as necessary.
- Storage: Store the torch and hoses in a clean, dry place, protected from physical damage and extreme temperatures.
7. Troubleshooting
- No Flame/Weak Flame:
- Check gas cylinder levels.
- Ensure regulator pressures are set correctly.
- Verify all valves are open.
- Clean torch tip for obstructions.
- Check for leaks in hoses or connections.
- Unstable Flame:
- Adjust gas flow rates.
- Clean torch tip.
- Check for drafts in the work area.
- Backfire:
- Ensure correct operating pressures.
- Clean or replace damaged torch tip.
- Check for proper gas mixing.
If issues persist, consult a qualified technician or contact Miller customer support.
8. Technical Specifications
| Brand | Miller |
| Model Number | 239-047B |
| Manufacturer | Miller Electric |
| Item Weight | 1 pound |
| Product Dimensions | 6 x 1 x 1 inches |
| Hose Connection Type | British |
| Compatible Fuel Gases | Acetylene, Hydrogen, Propane, Propylene, Natural Gas |
9. Warranty and Support
For warranty information, technical support, or to inquire about replacement parts, please contact Miller Electric customer service. Keep your purchase receipt and product model number handy when contacting support.
Visit the official Miller website for the most up-to-date contact information and product resources.