
1. Introduction
The Husky 5/8-Inch A/C Compression Union, Model AC58, is designed for repairing automotive air conditioning lines. This aluminum connector provides a reliable, tool-free push-on connection, simplifying on-the-car A/C line repairs. It is a component trusted in various A/C line repair kits.
2. Safety Information
WARNING: Always wear appropriate personal protective equipment (PPE) such as safety glasses and gloves when working with automotive systems. Ensure the A/C system is properly discharged by a certified technician before attempting any repairs involving refrigerant lines. Failure to do so can result in serious injury or system damage. This product is intended for use by qualified individuals.
- Always follow vehicle manufacturer's service procedures.
- Do not over-tighten connections.
- Keep out of reach of children.
3. Product Overview
The Husky AC58 is a straight compression union made from aluminum. It consists of a central body, two compression nuts, two ferrules, and two O-rings (O-rings are typically supplied separately or as part of a kit). Its design allows for a secure, leak-free connection between two sections of 5/8-inch A/C line.

Figure 1: Husky 5/8-Inch A/C Compression Union (Model AC58). This image shows the complete assembly of the compression union, including the central body and two threaded nuts.
4. Installation Instructions
This union is designed for on-the-car repairs, requiring no specialized crimping or flaring tools. Follow these steps carefully for a secure connection:
- Prepare the A/C Lines:
- Ensure the A/C system is completely discharged and depressurized.
- Carefully cut out the damaged section of the 5/8-inch A/C line using a suitable pipe cutter. Ensure cuts are clean and straight.
- Use emery cloth (320 grit or finer) to deburr the cut ends of the A/C lines, both internally and externally. Remove any sharp edges or metal shavings.
- Clean the interior and exterior of the cut lines thoroughly. Use a cotton swab or small brush for the interior and a clean rag with a suitable cleaner (e.g., brake cleaner) for the exterior. Ensure no debris enters the A/C system.
- Assemble the Union:
- Slide one compression nut onto each end of the prepared A/C lines.
- Slide one ferrule onto each line, ensuring it faces the cut end.
- Place one A/C O-ring onto each line, positioned behind the ferrule. Lubricate O-rings with appropriate A/C system oil.
- Connect the Lines:
- Insert one prepared A/C line end into one side of the central union body.
- Thread the corresponding compression nut onto the union body's male threads.
- Repeat for the other A/C line and compression nut.
- Hand-tighten both nuts, then use a wrench to snug them up until firm. Do not overtighten, as this can damage the O-rings or threads. The connection should be secure and leak-free.
- Test for Leaks: After installation, evacuate and recharge the A/C system according to manufacturer specifications. Use an appropriate leak detection method (e.g., electronic leak detector, UV dye) to confirm the connection is leak-free before returning the vehicle to service.
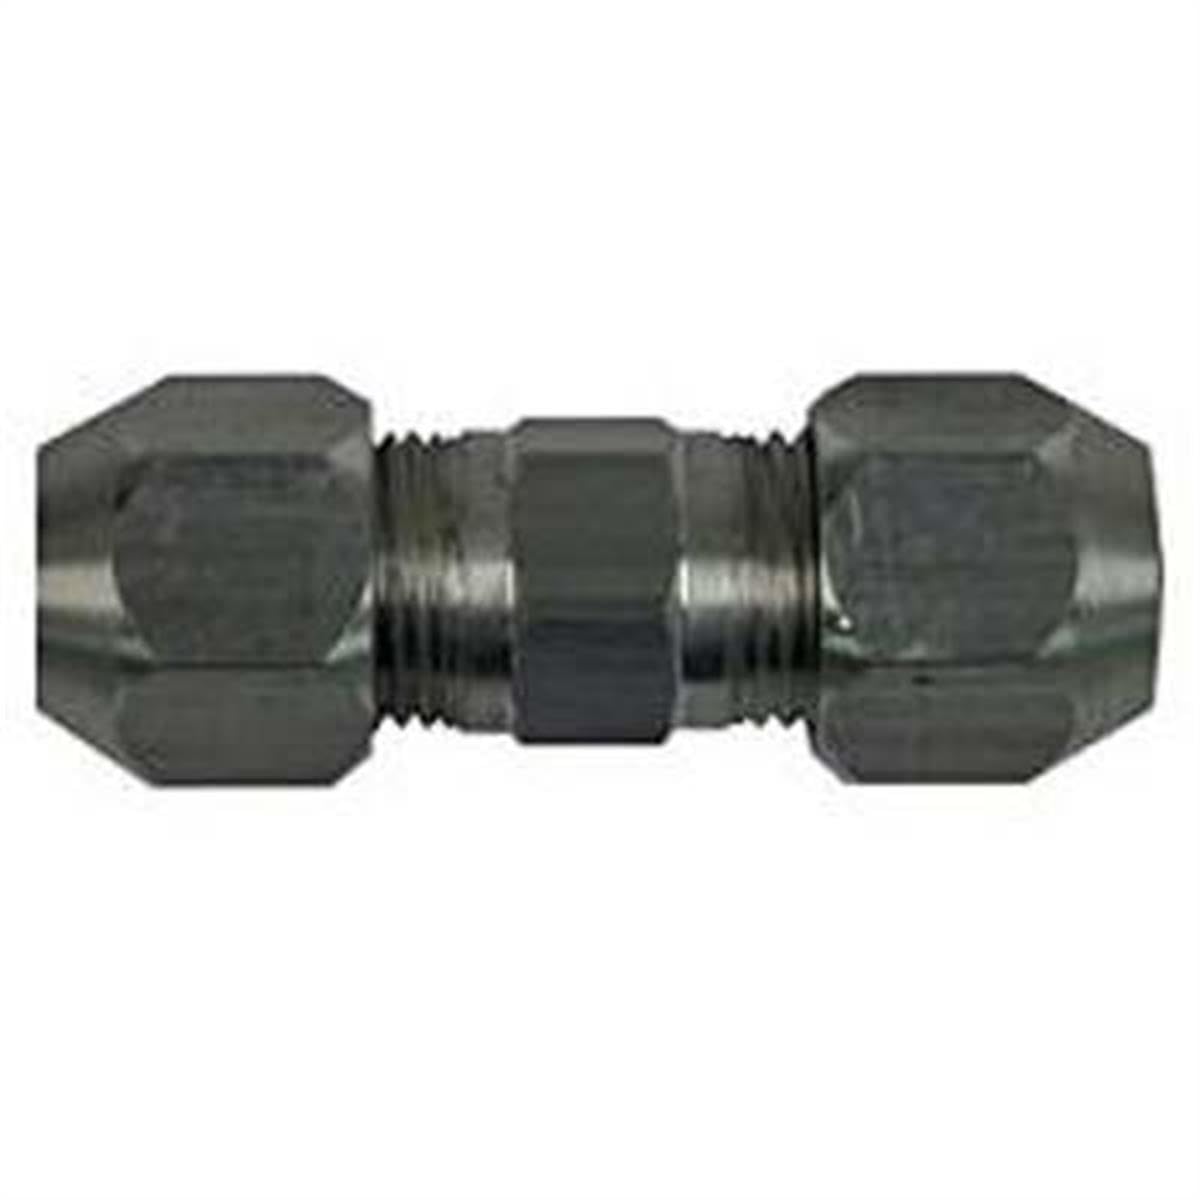
Figure 2: Disassembled view of the compression union, showing the central body, nuts, and ferrules. O-rings are typically included in kits.
5. Maintenance
The Husky A/C Compression Union is designed for long-term reliability once properly installed. No routine maintenance is required for the union itself. However, it is recommended to periodically inspect all A/C system connections for signs of leaks or corrosion during routine vehicle maintenance.
- If a leak is detected at the union, the system must be discharged, the union disassembled, O-rings replaced, and reassembled following the installation steps.
- Ensure O-rings are always lubricated with appropriate A/C system oil before assembly.
6. Troubleshooting
Leakage After Installation
If the union leaks after installation, consider the following:
- Improper Line Preparation: Ensure the A/C line ends were cut cleanly, deburred, and thoroughly cleaned. Any burrs or debris can prevent a proper seal.
- Damaged O-rings: O-rings can be pinched or damaged during installation if not properly lubricated or if overtightened. Always use new, lubricated O-rings.
- Insufficient Tightening: While overtightening is a risk, undertightening can also cause leaks. Ensure the nuts are snug and firm.
- Incorrect Components: Verify that the correct size (5/8-inch) union, ferrules, and O-rings are being used for the A/C line.
If troubleshooting steps do not resolve the issue, it is recommended to consult a professional automotive A/C technician.
7. Specifications
| Feature | Specification |
|---|---|
| Model Number | AC58 |
| Size | 5/8-Inch |
| Material | Aluminum |
| Connector Type | Compression Union |
| Thread Type | NPT |
| Product Dimensions (L x W x H) | 2.6 x 1 x 1 inches |
| Item Weight | 0.04 Pounds (0.64 ounces) |
| Manufacturer | S.U.R. and R Auto Parts |
| UPC | 812337011860 |
8. Warranty and Support
For warranty information or technical support regarding your Husky 5/8-Inch A/C Compression Union (Model AC58), please refer to the manufacturer's official website or contact their customer service department. Specific warranty terms and conditions may vary.
Manufacturer: S.U.R. and R Auto Parts
Please retain your proof of purchase for any warranty claims.