
1. Product Overview
The Fan-Tastic Vent U1500WH Ultra Breeze Vent Cover is designed to enhance the functionality of your RV's roof vent. Constructed from high-density polyethylene with UV protection, this cover provides durability and longevity. It is engineered to fit over most standard 14" x 14" roof vents and high-powered ventilators, including all Fan-Tastic Vent fans. This design allows for increased airflow compared to many other vent covers, while also offering protection from external elements.
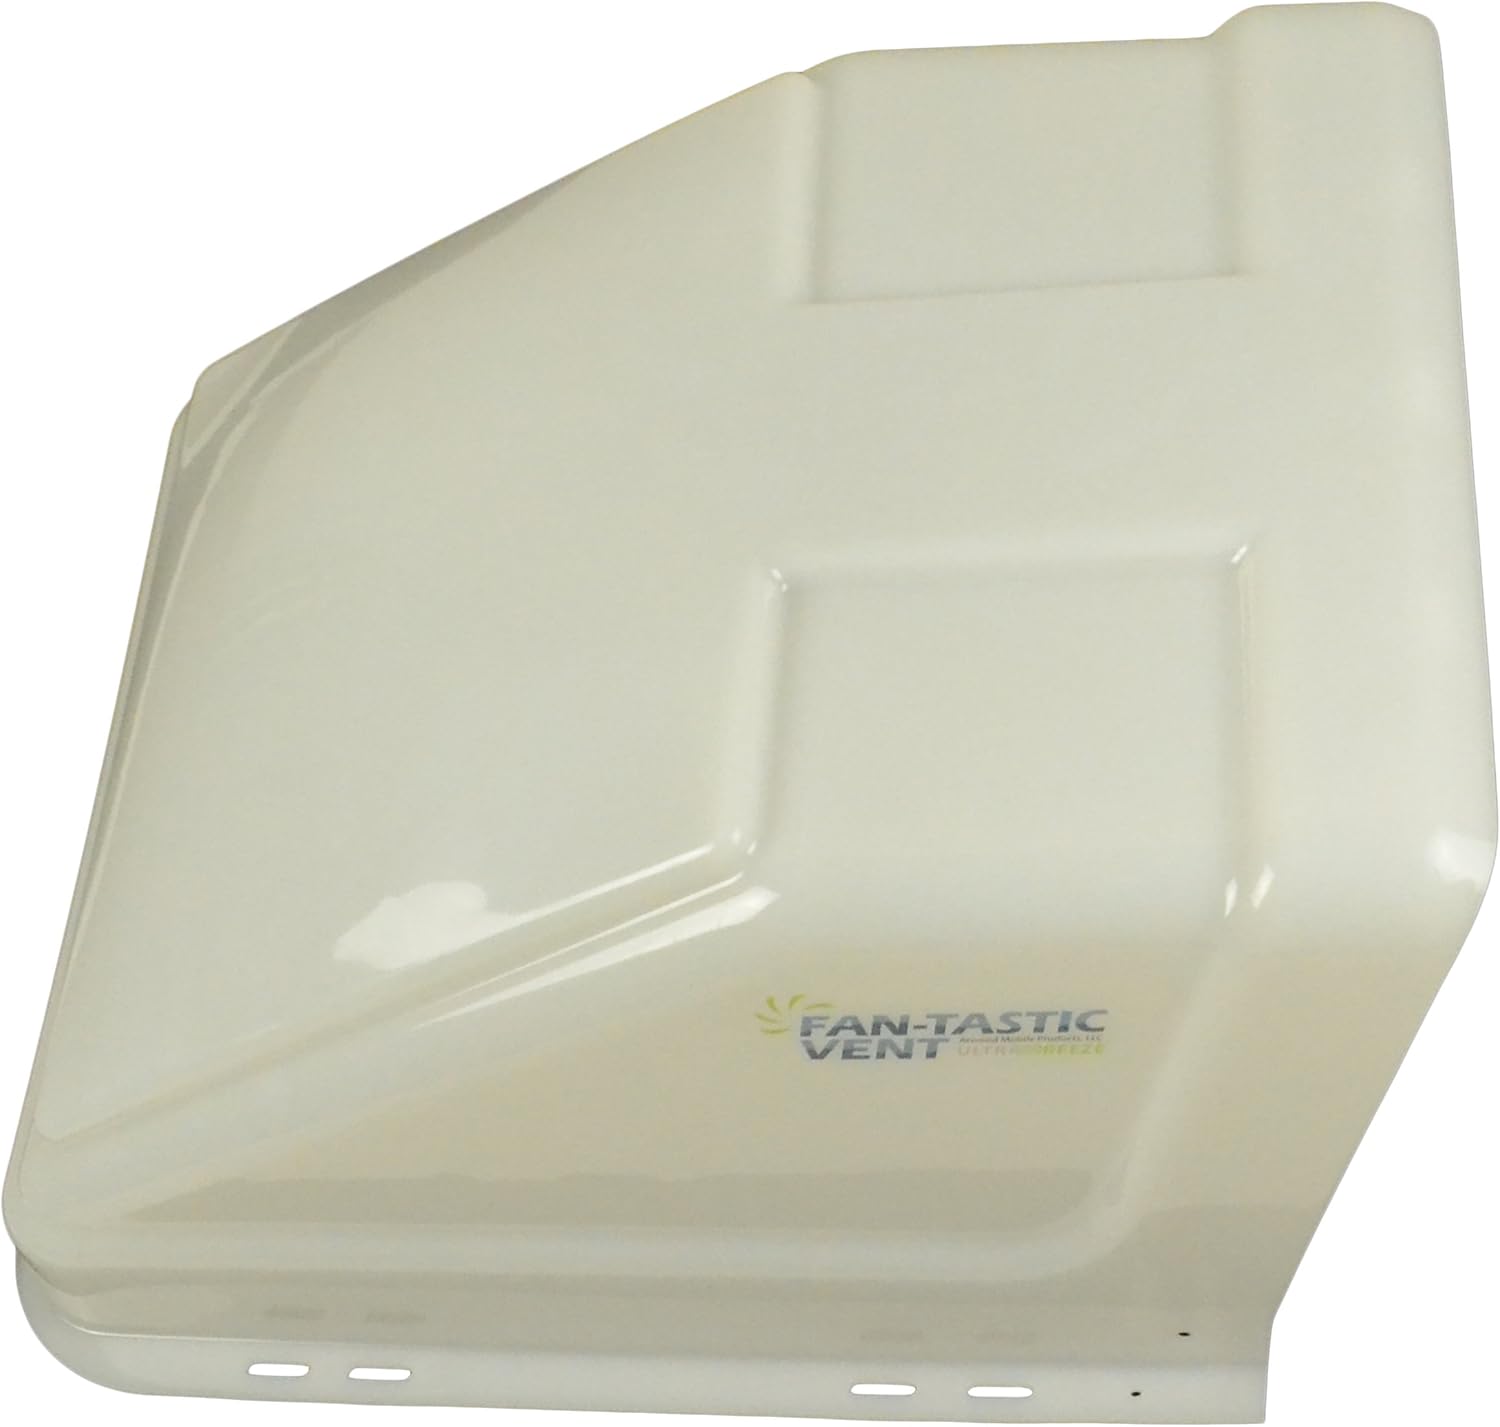
Figure 1: The Fan-Tastic Vent U1500WH Ultra Breeze Vent Cover in white translucent finish.
2. Package Contents
Before beginning installation, ensure all components are present:
- Ultra Breeze Vent Cover (White Translucent)
- Mounting Hardware (screws, washers, cotter pins, mounting brackets)

Figure 2: Included mounting hardware, typically consisting of screws, washers, cotter pins, and mounting brackets.
3. Installation Instructions
This vent cover is designed for straightforward installation, often utilizing existing vent screw points. For optimal sealing and longevity, it is recommended to use appropriate RV-grade self-leveling sealant (not included) during installation.
- Preparation: Ensure the area around your existing 14" x 14" roof vent is clean and dry. If replacing an old cover, carefully remove any old sealant and debris.
- Positioning: Place the Ultra Breeze Vent Cover over your existing roof vent. The cover is designed to sit on the existing bars or frame of the vent.
- Secure Mounting Brackets: The cover typically uses a no-drill installation method by replacing existing screws that secure your vent. Align the provided mounting brackets with the existing screw holes on your vent's flange.
- Fasten: Insert the provided screws through the mounting brackets and into the existing screw holes. Tighten securely, but do not overtighten.
- Install Cotter Pins: Once the cover is in place and secured with screws, insert the cotter pins through the designated holes to further secure the cover to the mounting brackets. This prevents accidental dislodgement.
- Seal (Recommended): Apply a bead of RV-grade self-leveling sealant around the base of the mounting brackets and any new screw holes to ensure a watertight seal. Allow adequate time for the sealant to cure as per manufacturer instructions.
Note: If your existing vent does not have suitable screw points, minor drilling may be required. Consult a professional if unsure.
4. Operating the Vent Cover
The Ultra Breeze Vent Cover allows for continuous ventilation under various weather conditions:
- Rain Protection: With the cover installed, you can leave your RV's internal vent open even during rain, allowing for fresh air circulation without water entry. This is particularly beneficial for rain-sensing vents that would otherwise close automatically.
- Driving Ventilation: The robust design permits leaving the vent open while driving, which can help maintain a more stable interior temperature and improve air quality during travel.
- Enhanced Airflow: The design promotes up to 75% more airflow compared to some competitors, ensuring efficient air exchange within your RV.

Figure 3: Underside view of the vent cover, illustrating the louvered design for airflow.
5. Maintenance
Regular maintenance ensures the longevity and optimal performance of your vent cover:
- Cleaning: Periodically clean the exterior of the vent cover with mild soap and water. Avoid abrasive cleaners that could damage the UV-protected surface.
- Inspection: Annually inspect the mounting hardware and sealant for any signs of wear, loosening, or cracking. Re-tighten hardware and reapply sealant as necessary to prevent leaks.
- UV Protection: While made with UV protection, prolonged exposure to harsh sunlight can eventually degrade plastics. Consider applying a UV protectant spray designed for plastics to extend its life.
6. Troubleshooting
If you encounter issues with your vent cover, consider the following:
- Water Leakage: Check the sealant around the base of the cover and the vent flange. Ensure all screws are tight. Reapply sealant if cracks or gaps are present.
- Reduced Airflow: Verify that the internal RV vent is fully open. Ensure there are no obstructions (e.g., debris, leaves) blocking the airflow through the cover's louvers.
- Loose Cover: Inspect all mounting hardware. Tighten any loose screws and ensure cotter pins are securely in place.
7. Specifications
| Feature | Specification |
|---|---|
| Brand | Fan-Tastic Vent |
| Model Number | U1500WH |
| Color | White Translucent |
| Material | High Density Polyethylene |
| Product Dimensions | 17"D x 35.25"W x 25"H |
| Item Weight | 5 Pounds |
| UPC | 834834007375 |
8. Warranty and Support
For specific warranty information and customer support, please refer to the documentation included with your purchase or visit the official Fan-Tastic Vent website. Keep your proof of purchase for warranty claims.
For technical assistance or replacement parts, contact Fan-Tastic Vent customer service directly.


