Introduction
This manual provides instructions for the safe and efficient operation of your Westek TM20DHB Indoor Mechanical Daily Timer. This device is designed to automate the power supply to connected appliances, offering convenience and energy management. Please read these instructions thoroughly before use and retain them for future reference.
Important Safety Information
- For indoor use only. Do not expose to moisture or extreme temperatures.
- Do not exceed the maximum load rating of 15 Amps or 1875 Watts.
- Ensure the timer is securely plugged into a grounded outlet.
- Do not use with appliances that could cause a hazardous condition if unattended, such as heating elements without automatic shut-off.
- Keep out of reach of children.
- Do not disassemble or attempt to repair the unit. Refer servicing to qualified personnel.
Product Overview
The Westek TM20DHB is a mechanical timer featuring a 24-hour dial and four outlets. It allows for daily programming of connected devices.

Figure 1: Front view of the Westek TM20DHB timer, showing the central 24-hour dial with numbered segments and the "TIMER ON" / "OUTLET ON" switch at the top.
Components:
- 24-Hour Dial: The central rotating dial marked with AM/PM hours and 30-minute segments.
- Programming Pins: Small, non-removable pins located around the edge of the dial. Each pin represents a 30-minute interval.
- Manual Override Switch: A slider switch at the top of the unit, labeled "TIMER ON" and "OUTLET ON".
- Outlets: Four 2-prong outlets, two on each side of the unit.

Figure 2: Angled view of the Westek TM20DHB timer, highlighting the two electrical outlets located on one side of the unit.
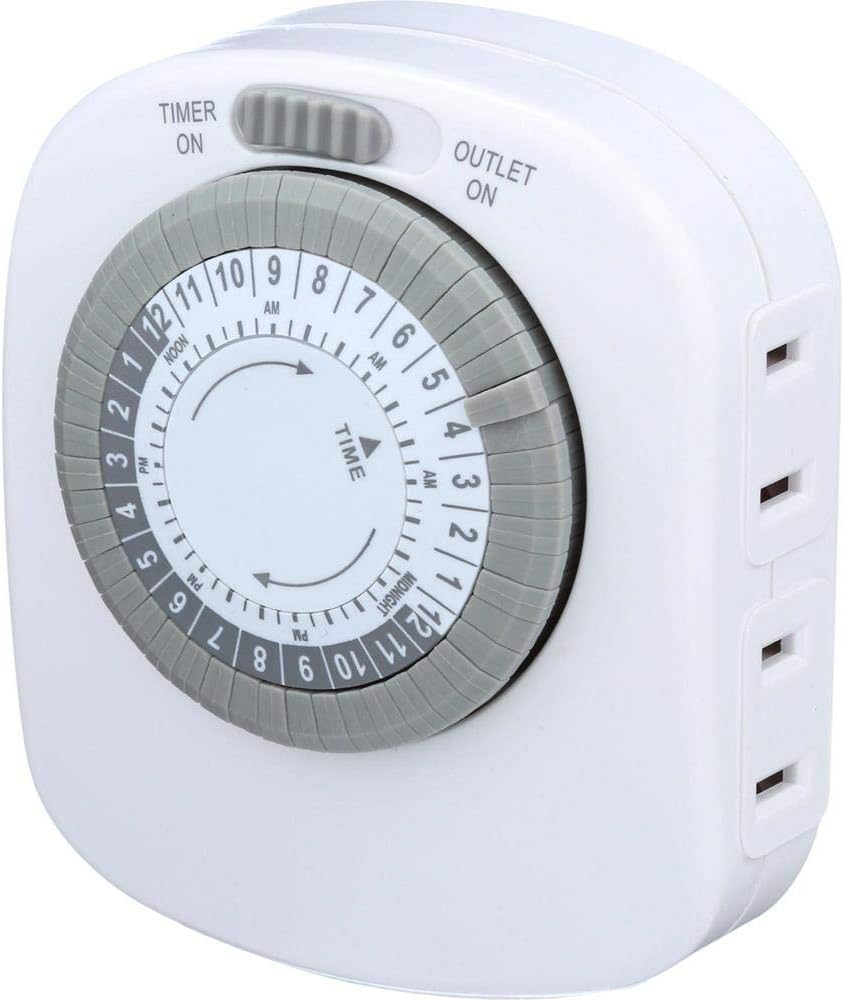
Figure 3: Another angled view of the Westek TM20DHB timer, showing the 24-hour dial and the two electrical outlets on the opposite side from Figure 2.
Setup
- Set Current Time: Rotate the entire 24-hour dial clockwise until the current time aligns with the arrow indicator on the timer's face. Ensure AM/PM is correctly observed (e.g., 3 PM is marked as 15 on the dial).
- Program ON/OFF Times:
- Each segment (pin) around the dial represents 30 minutes.
- To set a period for the connected device to be ON, push the corresponding pins down towards the center of the dial.
- To set a period for the connected device to be OFF, leave the corresponding pins in the up position.
- You can program up to 24 ON/OFF settings per day.
- Plug in Appliances: Connect up to four 2-prong appliances into the outlets on the sides of the timer.
- Plug in Timer: Insert the timer into a standard 120V AC wall outlet.
- Set Manual Override Switch: Slide the switch at the top to the "TIMER ON" position for programmed operation. If you want the outlets to be continuously on, slide the switch to "OUTLET ON".
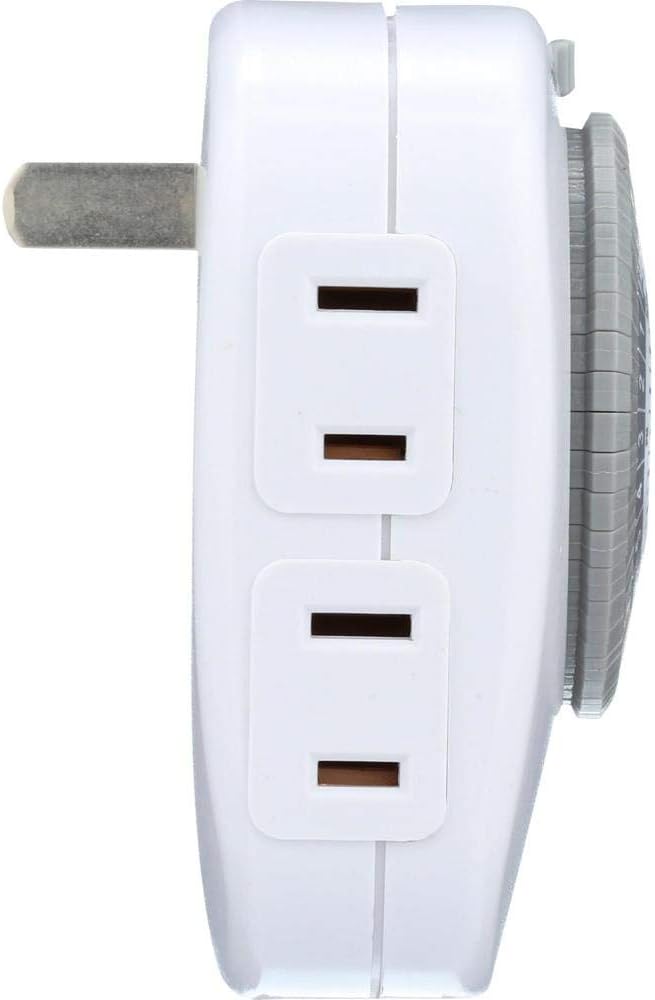
Figure 4: Side view of the Westek TM20DHB timer, clearly showing two of the four electrical outlets.
Operating Instructions
Automatic Operation:
Once the current time is set and the pins are programmed, ensure the manual override switch is in the "TIMER ON" position. The timer will then automatically turn connected devices ON and OFF according to your programmed schedule. The dial will continuously rotate clockwise, indicating the current time.
Manual Override:
To bypass the programmed settings and keep the connected devices continuously ON, slide the manual override switch to the "OUTLET ON" position. To resume programmed operation, slide the switch back to "TIMER ON".

Figure 5: Opposite side view of the Westek TM20DHB timer, showing the remaining two electrical outlets.
Maintenance
- Cleaning: Disconnect the timer from the wall outlet before cleaning. Wipe the exterior with a soft, dry cloth. Do not use liquid cleaners or abrasive materials.
- Storage: Store the timer in a cool, dry place when not in use.
Troubleshooting
| Problem | Possible Cause | Solution |
|---|---|---|
| Connected device does not turn ON/OFF as programmed. |
|
|
| Timer dial is not rotating. |
|
|
Specifications
| Model Number | TM20DHB |
| Voltage | 120 Volts AC |
| Frequency | 60 Hz |
| Max Load (Resistive) | 15 Amps / 1875 Watts |
| Max Load (Tungsten) | 1250 Watts |
| Motor Load | 1/2 HP |
| Number of Outlets | 4 (2-prong) |
| Programming Intervals | 30 minutes |
| Dimensions | 7 x 4.5 x 2.25 inches |
| Item Weight | 5.4 ounces |

Figure 6: Back view of the Westek TM20DHB timer, displaying the product label with detailed electrical specifications and certifications.

Figure 7: Top view of the Westek TM20DHB timer, showing the two-prong electrical plug for insertion into a wall outlet.
Warranty and Support Information
For warranty information or technical support, please refer to the contact details provided with your product packaging or visit the official Westek website. Keep your purchase receipt as proof of purchase.
Manufacturer: Amertac
Brand: Westek


