
1. Introduction and Product Overview
The Prym 611915 Mini Steam Iron is a compact and practical appliance designed for precision ironing tasks. Its small size makes it ideal for delicate handicraft work, such as pressing seams in quilting or sewing, and for ironing fine hems. It is also an excellent travel companion for quickly smoothing out wrinkled garments.
This mini iron features a specially shaped handle for a comfortable and secure grip, ensuring efficient power transmission during use. It offers dual voltage capability, allowing it to be switched between 110V and 220V, making it suitable for international travel. The package includes a measuring cup for easy water tank filling and a convenient storage bag.
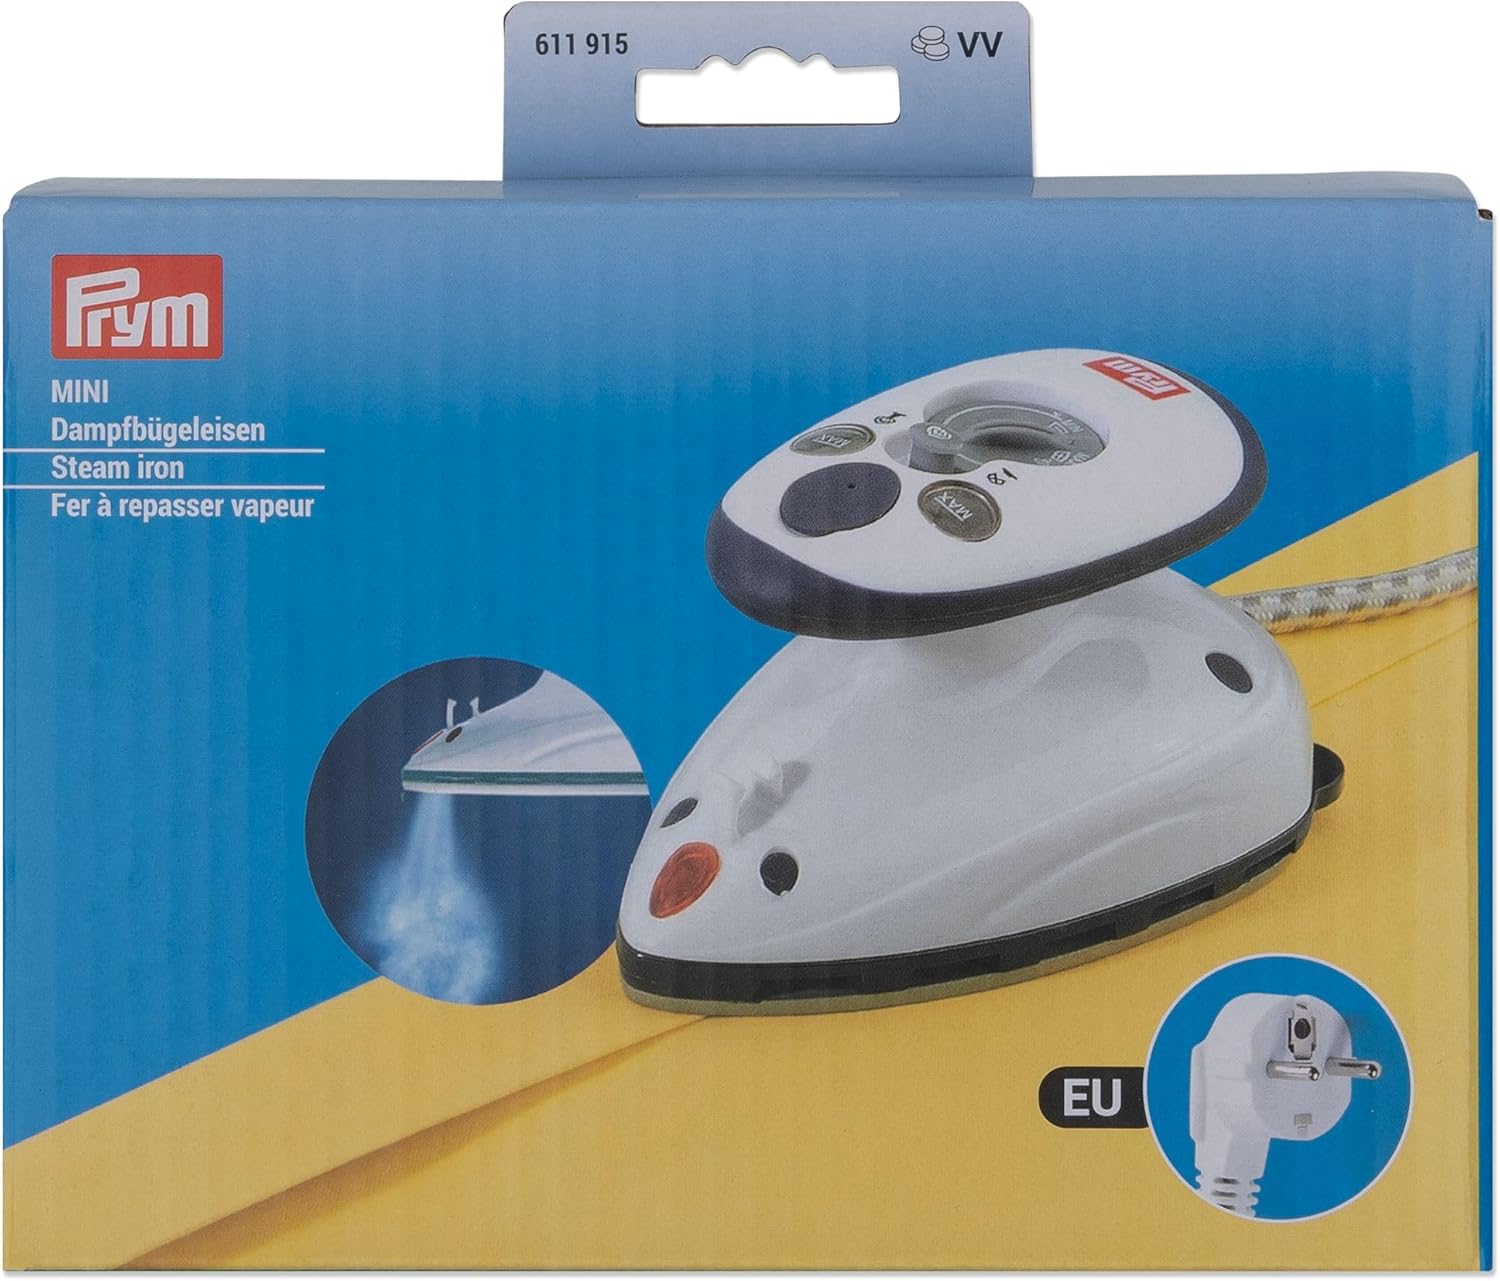
Image 1.1: The Prym 611915 Mini Steam Iron shown in its retail packaging.
2. Safety Information
- WARNING: Keep away from children. This appliance is not intended for use by persons (including children) with reduced physical, sensory or mental capabilities, or lack of experience and knowledge, unless they have been given supervision or instruction concerning use of the appliance by a person responsible for their safety.
- Always ensure the voltage selector switch is set to the correct voltage (110V or 220V) for your region before plugging in the iron. Incorrect voltage selection can damage the appliance and pose a safety risk.
- Do not immerse the iron, power cord, or plug in water or other liquids.
- Always unplug the iron from the electrical outlet when filling with water, emptying, or when not in use.
- Do not touch hot surfaces. Use handles or knobs. The soleplate and steam can cause burns.
- Use the iron only for its intended purpose as described in this manual.
- Never operate the iron with a damaged cord or plug, or if the iron has been dropped or damaged. Contact qualified service personnel for examination and repair.
- Place the iron on a stable, heat-resistant surface when resting.
3. Package Contents
Please check the package contents to ensure all items are present:
- Prym 611915 Mini Steam Iron
- Measuring Cup for water filling
- Storage Bag
- Instruction Manual (this document)
4. Setup
4.1. Voltage Selection
Locate the voltage selector switch on the iron. Depending on your region's electrical supply, set the switch to either 110V or 220V. Ensure this is done correctly before plugging in the iron.
4.2. Filling the Water Tank
- Ensure the iron is unplugged from the power outlet.
- Open the water inlet cap, usually located on the top of the iron.
- Using the provided measuring cup, carefully pour water into the water tank. Do not overfill.
- Close the water inlet cap securely.

Image 4.1: Close-up view of the iron's top, showing the water inlet and control buttons.
4.3. Power Connection
After selecting the correct voltage and filling the water tank, plug the iron's power cord into a suitable electrical outlet.

Image 4.2: The power plug of the Prym Mini Steam Iron.
5. Operating Instructions
5.1. Temperature Control
Turn the temperature dial to select the appropriate heat setting for your fabric. Allow a few minutes for the iron to reach the desired temperature. The indicator light will typically turn off when the set temperature is reached.
5.2. Steam Function
For steam ironing, ensure the water tank is filled and the temperature is set to a higher setting (usually indicated on the dial for steam). Press the steam button or adjust the steam selector to release steam. For dry ironing, ensure the steam function is off and the water tank is empty or the steam selector is set to 'dry'.
5.3. Ironing
Gently glide the iron over the fabric. For delicate areas like collars, cuffs, or small seams, the mini iron's compact size provides excellent maneuverability. Always test on an inconspicuous area first, especially with new or delicate fabrics.

Image 5.1: The mini iron in use, demonstrating its suitability for small fabric areas.
5.4. After Use
Once ironing is complete, turn the temperature dial to the minimum setting, unplug the iron, and allow it to cool completely before storing.
6. Maintenance
6.1. Cleaning the Soleplate
To clean the soleplate, ensure the iron is unplugged and completely cool. Wipe the soleplate with a damp cloth and a mild, non-abrasive cleaner if necessary. Do not use harsh scouring pads or metallic cleaners, as these can damage the soleplate surface.

Image 6.1: View of the iron's soleplate.
6.2. Emptying the Water Tank
For optimal performance and to prevent mineral buildup, it is recommended to empty the water tank after each use, especially if storing the iron for an extended period. Ensure the iron is cool and unplugged before emptying.
6.3. Storage
Store the cooled iron in its provided storage bag in a dry, safe place, out of reach of children.
7. Troubleshooting
| Problem | Possible Cause | Solution |
|---|---|---|
| Iron does not heat up. | Not plugged in; power outlet faulty; voltage switch incorrect; temperature dial set to minimum. | Check power connection; try another outlet; ensure voltage switch is correct; turn temperature dial to desired setting. |
| No steam or insufficient steam. | Water tank empty; temperature too low for steam; steam selector off. | Fill water tank; increase temperature setting; activate steam selector. |
| Water leaking from soleplate. | Water tank overfilled; temperature too low for steam (water not vaporizing); water inlet cap not closed properly. | Do not overfill; ensure temperature is high enough for steam; close water inlet cap securely. |
8. Specifications
- Model Number: 611915
- Brand: Prym
- Color: White, Violet
- Dimensions (L x W x H): 17 x 9.5 x 19 cm (6.7 x 3.7 x 7.5 inches)
- Weight: 566 grams (1.25 lbs)
- Power: 260-420 Watts (110V) / 343-408 Watts (230V)
- Voltage: 110V / 220V (Switchable)
- Material: Polyester (body), Aluminum or Stainless Steel (soleplate)
- Special Features: Turbo function, Continuous temperature adjustment, Ironing programs (refer to temperature dial for specific fabric settings)
9. Warranty and Support
For warranty information, please refer to the documentation provided at the time of purchase or contact your retailer. If you encounter any issues not covered in this manual or require further assistance, please contact Prym customer support through their official website or the contact details provided with your product.
10. Product Video (Demonstration)
A video demonstrating the usage of the Prym Mini Steam Iron is available from the manufacturer. This video provides visual guidance on filling the water tank, setting the temperature, and effective ironing techniques.
Video 10.1: Product demonstration video for the Prym Mini Steam Iron. (Note: Actual video source not provided in JSON, placeholder image used.)

