
1. Introduction
This manual provides detailed instructions for the installation, operation, and maintenance of your Lanzar Heritage Series HTG158 Mono-Block Mosfet Amplifier. Please read this manual thoroughly before attempting installation or operation to ensure proper use and to prevent damage to the unit or your vehicle's electrical system. This amplifier is designed to provide high-quality audio amplification for your car audio system.
2. Safety Information
- Always disconnect the vehicle's battery negative terminal before starting any electrical work.
- Ensure all wiring is properly routed and secured to prevent pinching, cutting, or short-circuiting.
- Use appropriate gauge wiring for power and ground connections as specified in this manual.
- Install the amplifier in a location that allows for adequate ventilation to prevent overheating.
- Avoid mounting the amplifier in areas exposed to direct sunlight, excessive heat, moisture, or dust.
- If you are unsure about any part of the installation process, consult a professional car audio installer.
3. Setup and Installation
3.1 Unpacking and Inspection
Carefully remove the amplifier from its packaging. Inspect the unit for any signs of damage that may have occurred during shipping. If damage is found, contact your dealer immediately.
3.2 Mounting the Amplifier
Choose a mounting location that is dry, well-ventilated, and secure. Ensure there is sufficient space around the amplifier for air circulation. Use the provided mounting hardware to secure the amplifier firmly to a solid surface in your vehicle.
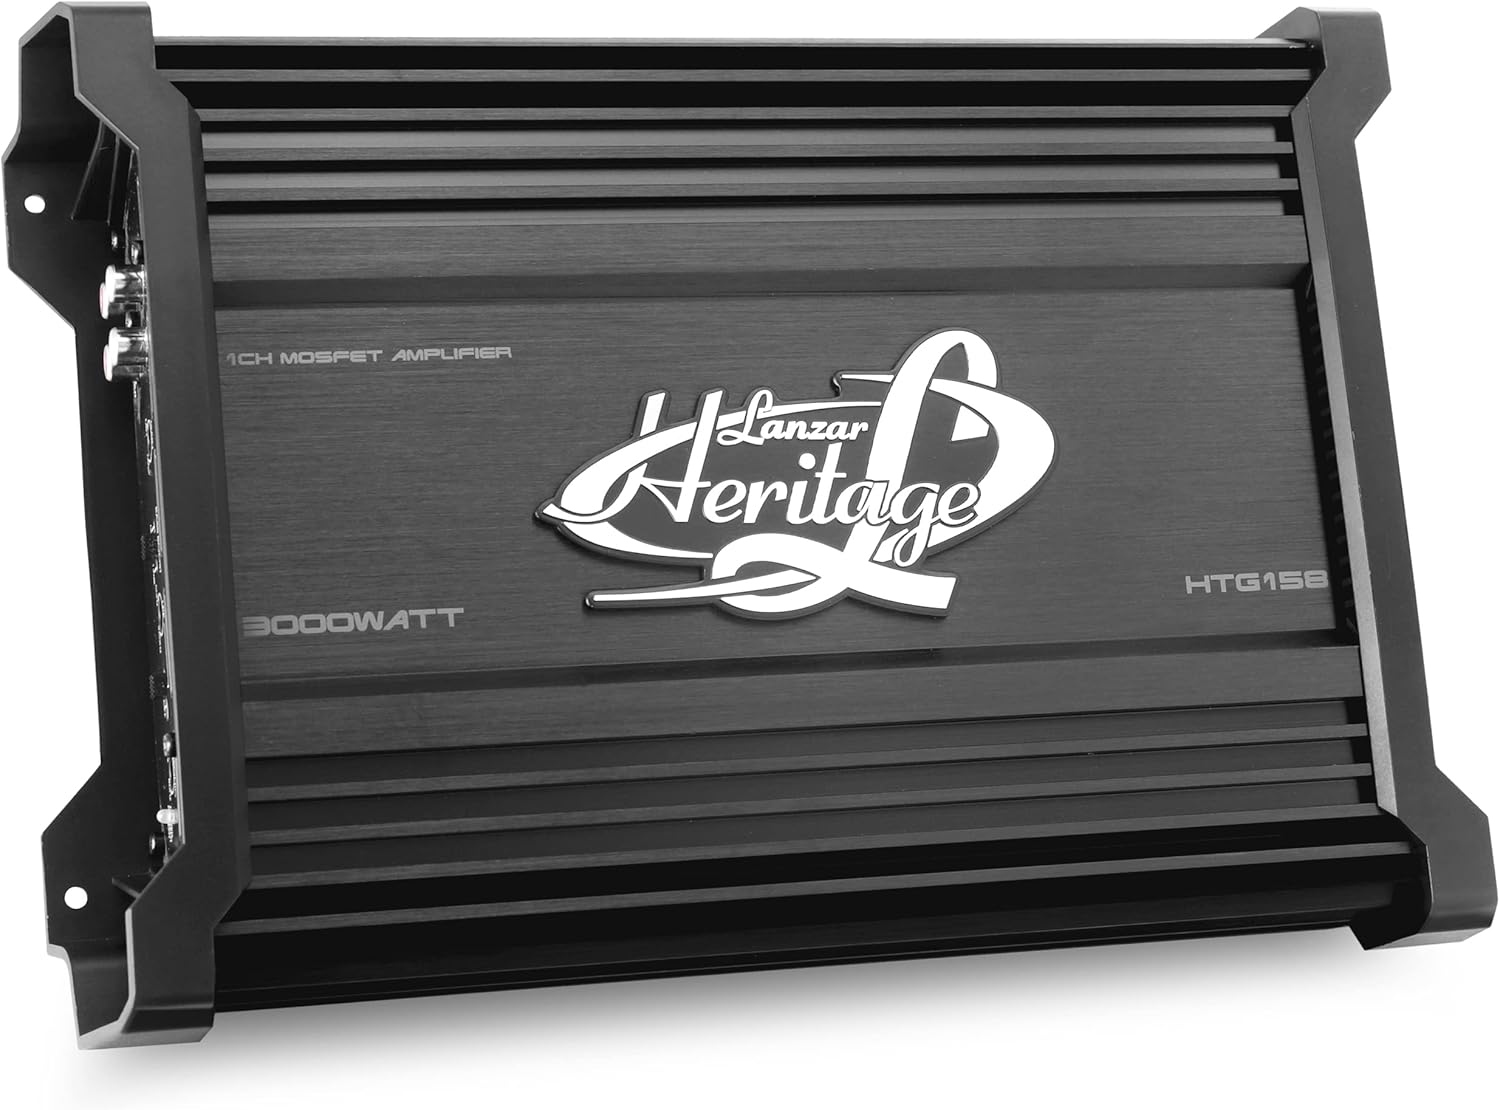
Image: Lanzar HTG158 Mono-Block Mosfet Amplifier showing its dimensions (12.99'' x 8.81'' x 2.24'').
3.3 Wiring Connections
Refer to the system diagram below for proper wiring connections. Ensure all connections are tight and secure to prevent intermittent operation or damage.

Image: System Diagram illustrating connections for the Lanzar HTG158 amplifier, including receiver, subwoofer, RCA cables, battery, fuse, and ground to vehicle chassis.
3.3.1 Power Input (BATT+)
Connect a heavy-gauge power cable (e.g., 4-gauge) directly from the positive terminal of your vehicle's battery to the +12V terminal on the amplifier. Install an appropriate fuse (40A x1) within 18 inches of the battery terminal.
3.3.2 Ground Input (GND)
Connect a heavy-gauge ground cable (e.g., 4-gauge) from the GND terminal on the amplifier to a clean, unpainted metal surface on the vehicle's chassis. Ensure a good electrical connection.
3.3.3 Remote Turn-On (REM)
Connect a remote turn-on wire from your head unit's remote output (usually a blue/white wire) to the REM terminal on the amplifier. This wire signals the amplifier to turn on when the head unit is active.
3.3.4 RCA Inputs (L/R)
Connect RCA cables from your head unit's pre-amp outputs to the RCA INPUT (L/R) terminals on the amplifier.

Image: Close-up view of the RCA input connections on the Lanzar HTG158 amplifier.
3.3.5 Speaker Output
Connect your subwoofer(s) to the SPEAKER OUTPUT terminals. This is a mono-block amplifier, designed for a single channel output. Ensure the speaker impedance matches the amplifier's capabilities (2 Ohm stable).

Image: Close-up view of the power input, fuse, and speaker output terminals on the Lanzar HTG158 amplifier.
4. Operating the Amplifier
The HTG158 amplifier features various controls to fine-tune your audio experience. Familiarize yourself with the control panel:

Image: Front panel layout of the Lanzar HTG158 amplifier, indicating RCA inputs, auxiliary output, gain control, bass boost, crossover (LPF), subsonic filter, and LED indicators.
4.1 Gain Control (GAIN)
Adjust the GAIN control to match the output voltage of your head unit. Start with the gain at minimum (MIN) and slowly increase it until you achieve a clear, undistorted sound at your desired volume level. Avoid setting the gain too high, as this can introduce distortion.
4.2 Low Pass Filter (LPF)
The LPF control allows you to set the upper frequency limit for the amplifier's output. This is crucial for subwoofers, as it ensures they only reproduce low-frequency sounds. Adjust the LPF between 50Hz and 250Hz to blend smoothly with your other speakers.
4.3 Bass Boost (BASS BOOST)
The BASS BOOST control provides an adjustable boost to low frequencies (around 50Hz) at 0, 6, or 12dB. Use this feature to enhance the bass response of your subwoofer. Use sparingly to avoid distortion or damage to your speakers.
4.4 Subsonic Filter (SUBSONIC)
The SUBSONIC filter removes extremely low frequencies (below 0Hz to 80Hz) that are inaudible but can cause your subwoofer to waste power and potentially damage it. Set this control to protect your subwoofer from over-excursion.
4.5 LED Indicators
- POWER LED: Illuminates when the amplifier is powered on and operating normally.
- PROTECTION LED: Illuminates when the amplifier enters protection mode due to overheating, short circuit, or other fault conditions. If this LED lights up, turn off your audio system and investigate the cause.
5. Maintenance
The Lanzar HTG158 amplifier requires minimal maintenance. Follow these guidelines to ensure longevity:
- Keep the amplifier clean and free of dust. Use a soft, dry cloth to wipe down the exterior.
- Ensure proper ventilation around the amplifier. Do not block cooling fins or vents.
- Periodically check all wiring connections for tightness and corrosion.
- If the fuse blows, replace it only with a fuse of the same type and rating (40A). Using a fuse with a higher rating can cause serious damage to the amplifier or your vehicle.
6. Troubleshooting
If you experience problems with your amplifier, refer to the following troubleshooting guide:
| Problem | Possible Cause | Solution |
|---|---|---|
| No Power (Power LED Off) | Blown fuse; Loose power/ground/remote connection; No remote turn-on signal. | Check and replace fuse; Verify all power, ground, and remote connections; Check head unit's remote output. |
| Protection LED On | Overheating; Short circuit in speaker wiring; Speaker impedance too low. | Allow amplifier to cool; Check speaker wiring for shorts; Verify speaker impedance is 2 Ohms or higher. |
| No Sound Output | Loose RCA cables; Gain set too low; Muted head unit; Faulty speaker. | Check RCA connections; Adjust gain; Check head unit settings; Test speaker functionality. |
| Distorted Sound | Gain set too high; Improper LPF/Subsonic settings; Damaged speaker. | Reduce gain; Adjust LPF/Subsonic controls; Inspect speaker for damage. |
| Engine Noise (Whine) | Poor ground connection; RCA cables too close to power cables; Ground loop. | Improve ground connection; Reroute RCA cables away from power cables; Install a ground loop isolator. |
7. Specifications
The following are the technical specifications for the Lanzar Heritage Series HTG158 Mono-Block Mosfet Amplifier:
- Amplifier Class: Class “AB”
- Power Supply: Mosfet PWM
- RMS Power @ 4 Ohms: 1 x 650W
- Peak Power @ 4 Ohms: 1 x 1250W
- RMS Power @ 2 Ohms: 1 x 1500W
- Max Power @ 2 Ohms: 1 x 3000W
- THD: <0.1%
- S/N Ratio: >90dB
- Frequency Response: 10Hz~45KHz
- LPF Frequency Response: 50Hz-250Hz
- Subsonic Frequency Response: 0Hz~80Hz
- Bass Boost (50Hz): 0, 6, 12dB
- Input Sensitivity: 0.2V~6V
- Fuse: 40A x1
- Dimensions (L x W x H): 12.99'' x 8.81'' x 2.24'' inches
- Material Type: Metal and Plastic
8. Warranty and Support
8.1 Warranty Information
Lanzar products are designed and manufactured to high-quality standards. For specific warranty terms and conditions, please refer to the warranty card included with your product or visit the official Lanzar website. Keep your purchase receipt as proof of purchase for any warranty claims.
8.2 Customer Support
If you have any questions or require technical assistance with your Lanzar HTG158 amplifier, please contact Lanzar customer support. Contact details can typically be found on the official Lanzar website or in the product packaging.

