
Introduction
Thank you for choosing the KC HiLiTES Apollo Pro 6" 100W Light System. This system is designed to provide enhanced visibility for off-road and driving applications. The Apollo Pro series features a durable black polymax housing with an integrated stone guard, an optical quality glass lens, a 100-watt halogen bulb, and polished reflectors to generate a powerful, focused spread beam of light. This manual provides essential information for the proper installation, operation, and maintenance of your new light system.
Product Features
- Durable Construction: 6-inch round slim black polymax housing with an integrated stone guard/bezel.
- High Performance Illumination: 100 Watt H3 Halogen Bulb (replaceable) providing 200,000 candlepower.
- Optimized Beam Pattern: Driving (Spread) beam pattern designed for additional width and distance to maximize visibility.
- Complete Wiring System: Includes a complete relay wiring harness and switch kit for straightforward installation.
- Adjustable Mounting: Two-axis mount allows for easy aiming and precise light direction.
- Made in USA: Polymax housing is manufactured in the USA.
What's in the Box
Your KC HiLiTES Apollo Pro 6" 100W Light System (Spread Pair) package includes:
- Two (2) KC HiLiTES 151 Apollo Pro 6" 100w Driving Lights
- Complete Relay Wiring Harness
- Switch Kit
- Integrated Stone Guards
Setup and Installation
Proper installation is crucial for the performance and longevity of your KC HiLiTES Apollo Pro lights. If you are not confident in your ability to perform the installation, it is recommended to seek professional assistance.
General Installation Steps:
- Mounting: Securely attach the lights to your vehicle using the provided two-axis mounts. Ensure the mounting location is stable and can support the weight of the lights. The slim profile of the polymax housing allows for mounting in areas with tight clearances.
- Wiring: Connect the lights to your vehicle's electrical system using the included complete relay wiring harness and switch kit. Follow the wiring diagram provided with the harness for correct connections. Ensure all connections are secure and properly insulated to prevent shorts and corrosion.
- Aiming: Once mounted and wired, adjust the lights using the two-axis mount to achieve the desired beam pattern and coverage. The spread beam is designed to provide wide illumination.

Image: KC HiLiTES Apollo Pro lights mounted on the hood of a vehicle, demonstrating a typical installation location.
Operating Instructions
Your KC HiLiTES Apollo Pro lights are designed for straightforward operation.
- Power On/Off: Use the included switch to turn the lights on or off. Ensure your vehicle's ignition is in the appropriate position (usually ACC or ON) for the lights to receive power.
- Beam Pattern: The Apollo Pro 6" 100W Light System features a driving (spread) beam pattern. This pattern is optimized to provide a wide and far-reaching light output, ideal for illuminating the path ahead and the surrounding terrain during off-road adventures or when additional visibility is required.
Video: An official product video from KC HiLiTES demonstrating the Apollo Pro 6" 100w Driving Light System in action, showcasing its features and light output.
Maintenance
Regular maintenance will help ensure the optimal performance and longevity of your KC HiLiTES Apollo Pro lights.
- Cleaning: Periodically clean the glass lens and housing with a soft cloth and mild soap and water. Avoid abrasive cleaners that could scratch the lens or damage the finish.
- Bulb Replacement: The lights use a replaceable 100W H3 Halogen bulb. If a bulb burns out, carefully replace it by accessing the bulb housing. Refer to the specific instructions provided with your bulb for safe handling and replacement.
- Wiring Inspection: Regularly check all wiring connections for tightness and signs of wear or corrosion. Ensure the wiring harness is securely routed and protected from moving parts or sharp edges.
- Mounting Hardware: Verify that all mounting hardware is secure and free from rust or damage. Tighten any loose bolts or screws as needed.
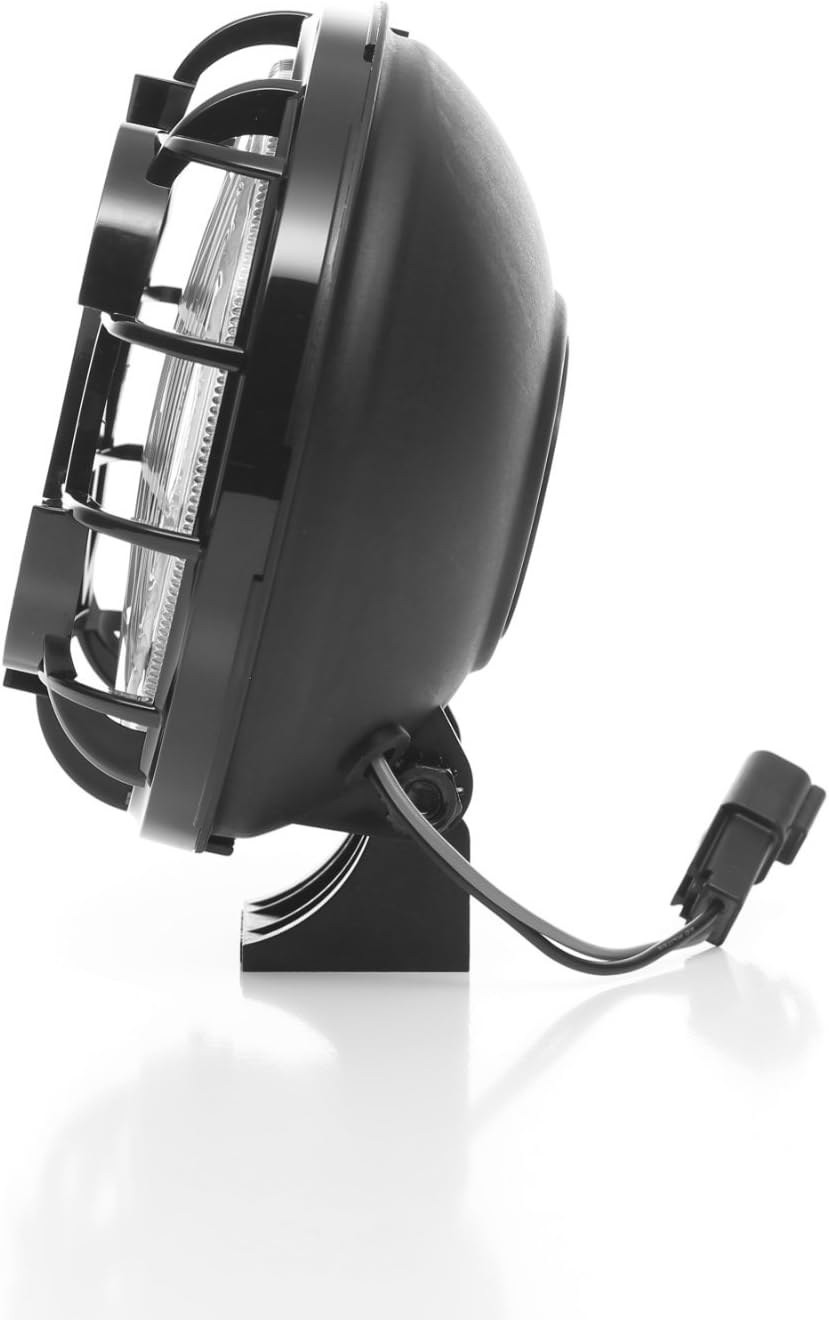
Image: Side view of the KC HiLiTES Apollo Pro light, highlighting the wiring connection point for maintenance checks.
Troubleshooting
If you encounter issues with your KC HiLiTES Apollo Pro lights, refer to the following common troubleshooting steps:
- Lights Not Turning On:
- Check the fuse in the wiring harness. Replace if blown.
- Verify all electrical connections are secure and free from corrosion.
- Test the bulb. If the bulb is faulty, replace it with a new 100W H3 Halogen bulb.
- Ensure the switch is functioning correctly.
- Lights Are Dim:
- Check the vehicle's voltage. Low voltage can cause dim lights.
- Inspect wiring for any signs of damage or poor connections that could cause resistance.
- Ensure the bulb is correctly seated and not nearing the end of its lifespan.
- Lights Flicker:
- This often indicates a loose electrical connection. Check all wiring, especially at the light, relay, and switch.
- Inspect the bulb for a loose filament.
If these steps do not resolve the issue, please contact KC HiLiTES customer support for further assistance.
Specifications
| Brand | KC |
| Model Number | 151 |
| Light Source Type | Halogen (H3) |
| Wattage | 100 watts |
| Voltage | 30 Volts (System designed for 12V vehicle systems) |
| Beam Pattern | Driving (Spread) |
| Housing Material | Polymax (Black) |
| Lens Material | Glass (Clear) |
| Item Dimensions (Single Light) | 12 x 6.75 x 9.5 inches |
| Item Weight (Single Light) | 4 Pounds |
| Vehicle Service Type | Car, Truck (Universal Fit) |
| Included Components | Lights, Wiring Harness, Switch Kit, Stone Guards |
Warranty and Support
KC HiLiTES provides a warranty for this product. For detailed information regarding warranty coverage, terms, and conditions, please refer to the official KC HiLiTES website or contact their customer support directly. Keep your proof of purchase for warranty claims.
For technical support, installation questions, or any other inquiries, please visit the KC HiLiTES official website or contact their customer service department.


