
1. Product Overview
The Tiger Boston Grab Bar is designed to provide additional support and safety in your bathroom or other areas of your home. Crafted from high-quality polished stainless steel, it offers a modern and minimalist design that complements contemporary interiors. This grab bar is a durable solution for enhanced stability.

Image: A polished stainless steel grab bar, featuring a sleek, cylindrical design with circular mounting plates at each end.
2. Safety Information
Before installation and use, please read all instructions carefully. Ensure the mounting surface is suitable and capable of supporting the maximum weight capacity. Improper installation can lead to instability and potential injury.
- Maximum Weight Capacity: 150 Kilograms (approximately 330 pounds). Do not exceed this limit.
- Regularly check the grab bar for any signs of looseness or damage. If any issues are found, discontinue use immediately and re-secure or replace the product.
- This grab bar is intended for support and balance assistance, not for full body weight suspension unless explicitly stated otherwise by a qualified professional.
- Ensure all mounting hardware is correctly installed into a solid, weight-bearing structure.
3. Package Contents
Verify that all components are present before beginning installation.
- 1x Tiger Boston Grab Bar
- Mounting hardware (screws, wall plugs)
- Installation template (if included)
- Instruction manual
4. Installation Guide
The Tiger Boston Grab Bar is designed for secure screw-mount installation. For surfaces where drilling is not desired, alternative mounting solutions like Tigerfix or 3M tape may be available separately for certain applications. This manual details the standard screw-mount installation.
Tools Required (Not Included)
- Drill
- Drill bits appropriate for wall material and screw size
- Pencil
- Measuring tape
- Level
- Screwdriver
- Allen key (often included with hardware)
Step-by-Step Installation
- Select Location: Choose a suitable location on a solid wall or reinforced surface. Ensure there are no hidden pipes or electrical wires behind the drilling area.
- Mark Drilling Points: Hold the grab bar in the desired position and use a pencil to mark the drilling points for the mounting plates. Alternatively, use the provided installation template.
- Drill Holes: Drill holes at the marked points using the appropriate drill bit for your wall material (e.g., masonry bit for concrete, wood bit for studs). Insert the wall plugs into the drilled holes.
- Mount Flanges: Attach the two separate mounting flanges to the wall using the provided screws. Ensure they are firmly secured and level.

Image: Close-up of the circular mounting plate with the 'TIGER' logo, showing the attachment mechanism.
- Attach Cover Plates: Place the decorative cover plates over the mounted flanges.
- Secure Grab Bar: Carefully slide the main grab bar onto the posts extending from the cover plates. The grab bar has specific openings that align with these posts.
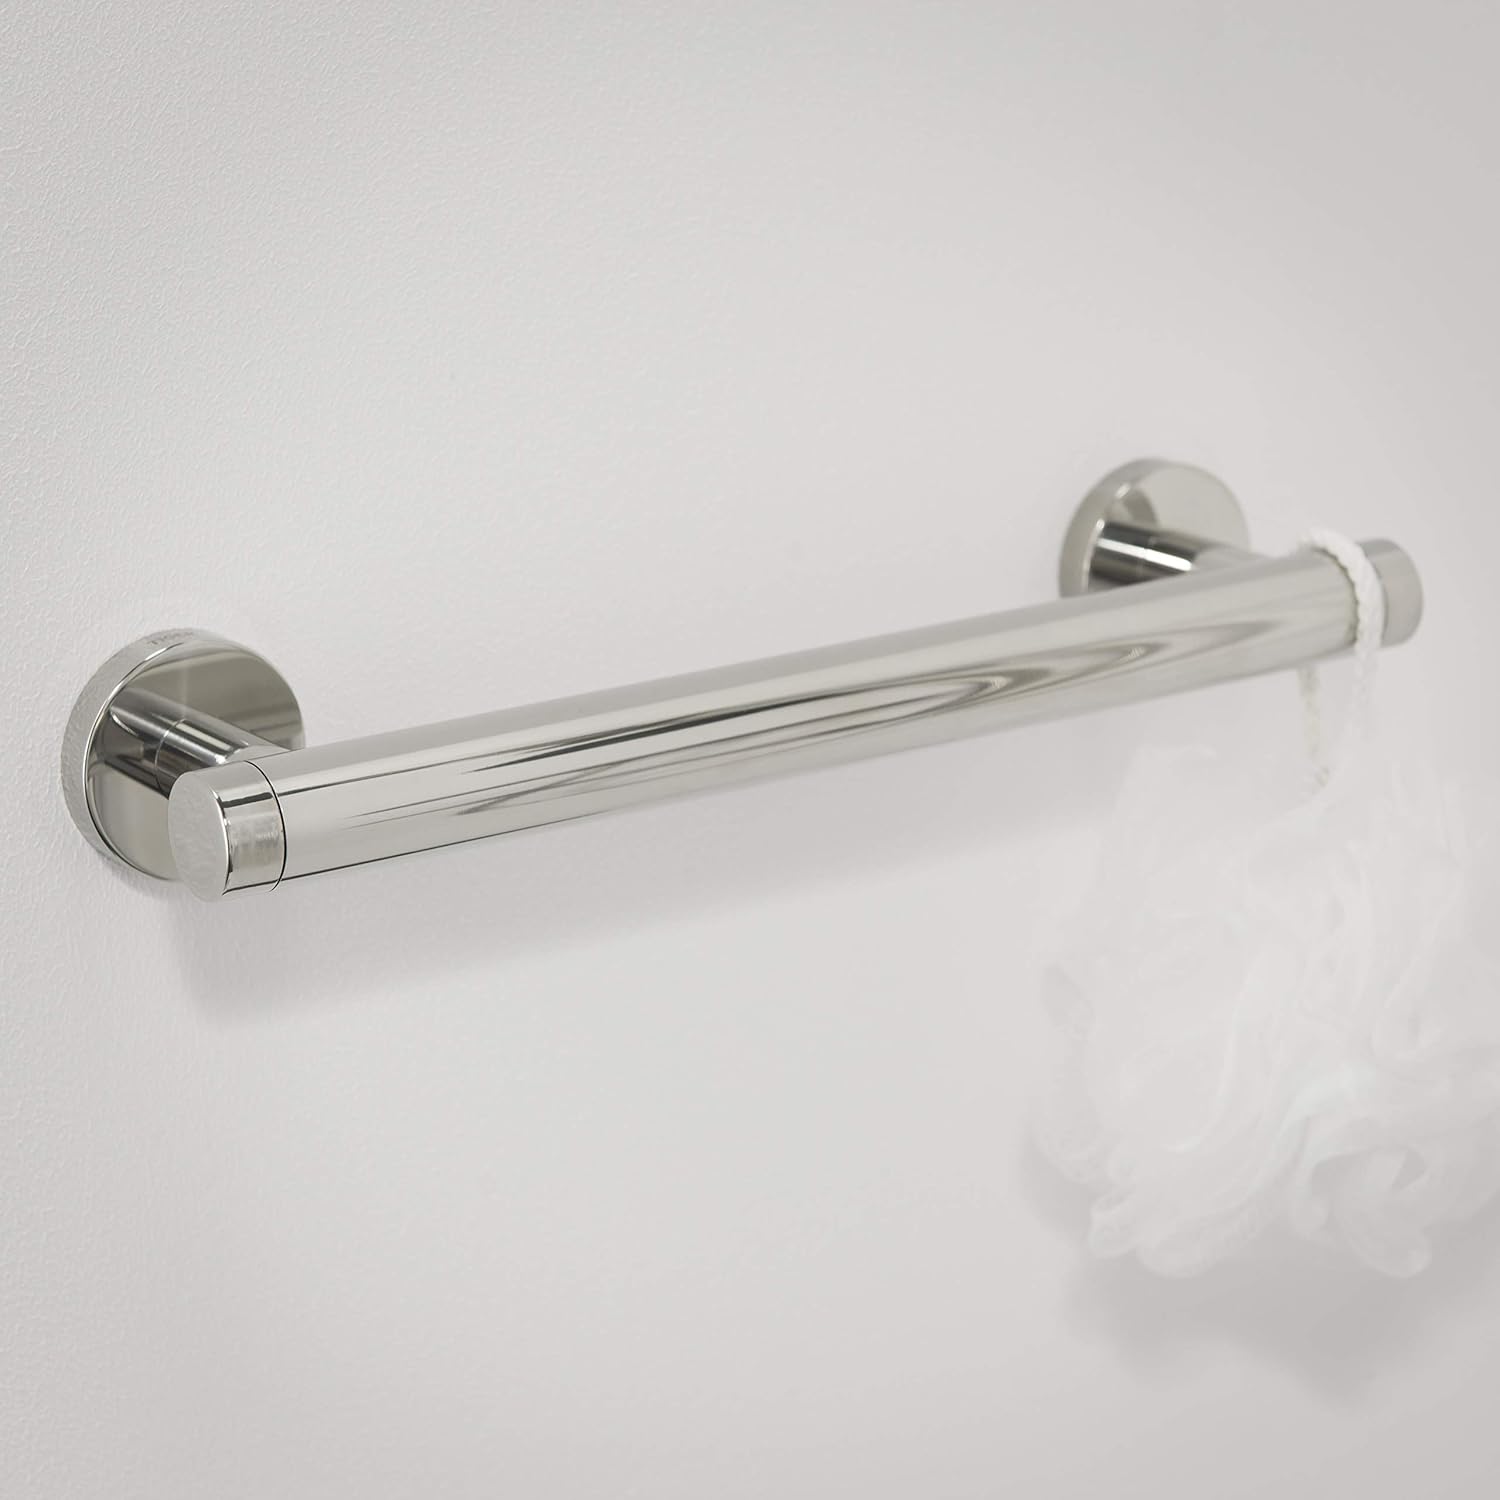
Image: The Tiger Boston Grab Bar securely installed on a white wall, ready for use.
- Tighten Set Screws: Locate the small set screws (grub screws) on the underside of the grab bar near the mounting points. Use an Allen key (often included) to tighten these screws, securing the grab bar to the flanges. This step requires precision to ensure the bar is perfectly aligned and stable.
- Test Stability: Gently apply pressure to the grab bar to ensure it is securely mounted and does not wobble. It must be able to support the intended weight.

Image: A technical diagram illustrating the dimensions of the Tiger Boston Grab Bar: 300mm total length, 250mm center-to-center mounting distance, 51mm depth from wall, and 69mm height.
5. Usage
The Tiger Boston Grab Bar is designed to provide a stable handhold for support when moving around the bathroom, especially near showers, toilets, or bathtubs. It assists in maintaining balance and reducing the risk of falls.
- Use the grab bar to steady yourself when entering or exiting the shower/tub.
- Lean on it for support when standing up or sitting down.
- Avoid hanging heavy objects or applying excessive force beyond its intended use.

Image: The polished stainless steel grab bar installed in a shower, demonstrating its practical use as a support and also showing a loofah hanging from it, indicating its versatility.

Image: A Tiger Boston Grab Bar mounted horizontally on the ceiling, positioned above a foldable shower seat, illustrating an alternative installation for overhead support.
6. Maintenance and Care
To ensure the longevity and appearance of your Tiger Boston Grab Bar, follow these simple care instructions:
- Cleaning: Clean regularly with a soft, damp cloth and a mild, non-abrasive cleaner. Avoid harsh chemicals, abrasive sponges, or scouring powders, as these can damage the polished stainless steel finish.
- Drying: After cleaning, dry the grab bar thoroughly with a soft, dry cloth to prevent water spots and maintain its shine.
- Inspection: Periodically check all mounting screws and connections to ensure they remain tight and secure. Re-tighten if necessary.
- Damage: If the grab bar becomes damaged or shows signs of corrosion, it should be replaced to ensure continued safety.
7. Troubleshooting
Grab Bar Feels Loose After Installation
If the grab bar feels loose or wobbly after installation, it is crucial to address this immediately to prevent accidents.
- Check Set Screws: Ensure the small set screws that secure the grab bar to the mounting flanges are fully tightened. These require precise adjustment.
- Verify Flange Mounting: The mounting flanges must be securely attached to the wall. If they are loose, remove the grab bar and cover plates, then re-tighten the screws holding the flanges to the wall. Ensure the wall plugs are properly seated and the wall material is sound.
- Wall Integrity: Confirm that the wall material itself is not compromised. If the wall is weak or damaged, the grab bar may need to be relocated or the wall reinforced.
Difficulty Aligning Grab Bar During Assembly
The unique mounting system requires precision. If you are having trouble aligning the grab bar with the posts on the flanges:
- Re-measure: Double-check the distance between the mounted flanges. Even slight inaccuracies can prevent proper assembly.
- Gentle Pressure: Apply gentle, even pressure to slide the grab bar onto the posts. Do not force it, as this could damage components.
8. Specifications
| Feature | Detail |
|---|---|
| Brand | Tiger |
| Model Number | 297720346 |
| Material | Stainless Steel |
| Finish Type | Polished |
| Product Dimensions (L x W x H) | 30 cm x 5.1 cm x 6.9 cm |
| Item Weight | 589.67 g (1.3 pounds) |
| Maximum Weight Capacity | 150 Kilograms |
| Number of Items | 1 |
| Style | Modern / Minimalist |
| ASIN | B006L27ZUO |
| GTIN | 04008912977003 |
| First Available Date | 27 August 2012 |
| Batteries Included? | No |
| Batteries Required? | No |
9. Warranty and Support
For warranty information or technical support, please refer to the manufacturer's official website or contact their customer service directly. Keep your proof of purchase for any warranty claims.
Manufacturer: Tiger
Contact: Please visit the official Tiger website for support details.
